No products in the cart.

Queenbee spoiler board assembly
QueenBee PRO style CNC spoiler board assembly BOM
| Product | Price | Qty | ||
|---|---|---|---|---|
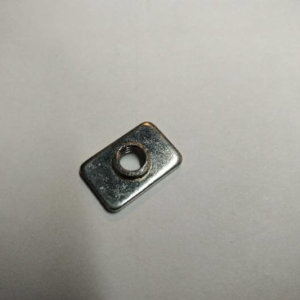 | T-Slot Nut M5 Openbuilds style In stock | $0.16 | 52 | Add to Cart |
 | 2040 extrusion end cap | $1.33 | 4 | Add to Cart |
 | 2080 v slot - 960mm, Clear anodized | $42.65 | 3 | Add to Cart |
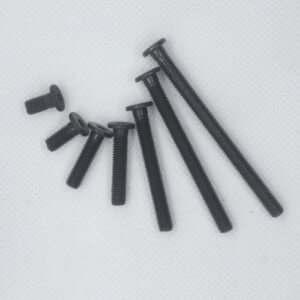 | Low profile screw M5 - 8mm | $0.11 | 52 | Add to Cart |
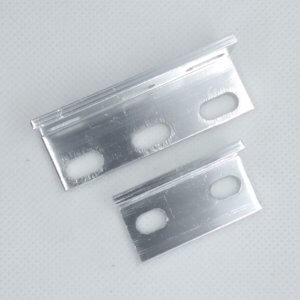 | L Bracket - double | $3.20 | 12 | Add to Cart |
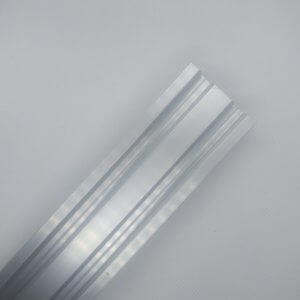 | 2040 v slot - 945mm, Clear anodized | $15.99 | 2 | Add to Cart |
| | 2040 v slot - 800mm, Clear anodized | $15.99 | 2 | Add to Cart |
| Add All To Cart |
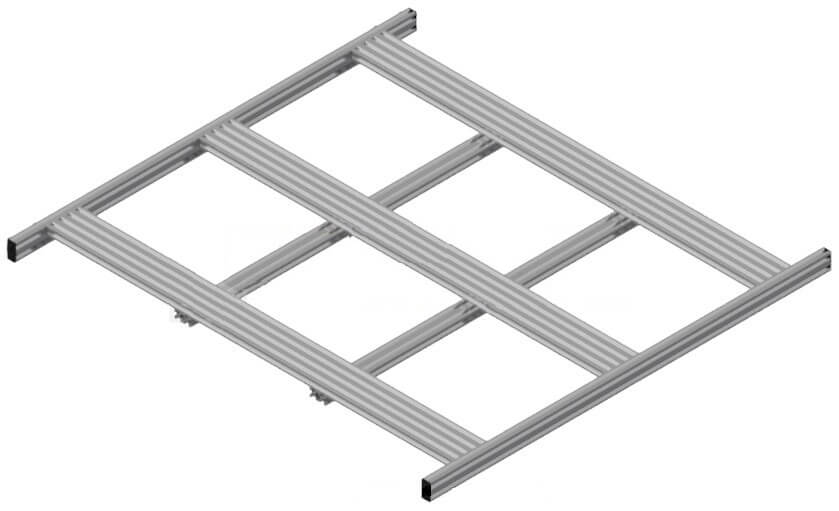
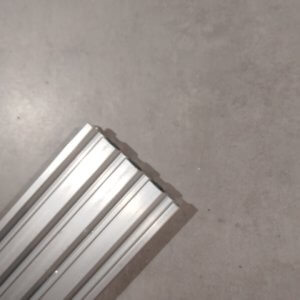
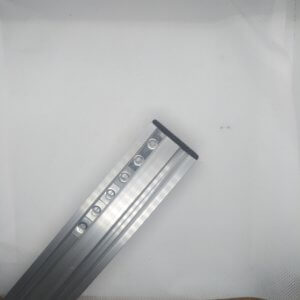
1. Prepare the 2 2040 extrusions
Use the 945mm 2040 extrusions (in case of a 1000×1000 machine configuration). If you are converting from a Workbee type CNC, then these will be the 995mm extrusions.
Slide in 2x 4 T slot nuts at one side (distributed over both channels). And 6 T slot nuts at the other side (in one channel):
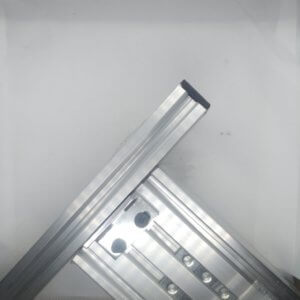
Then you can put on end caps:
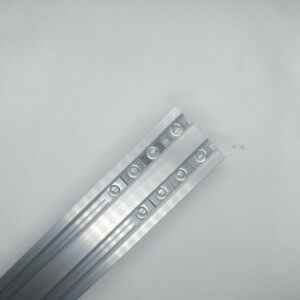
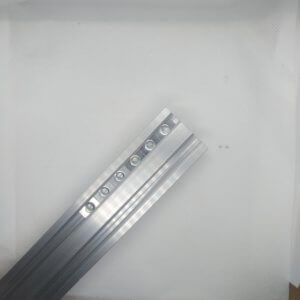
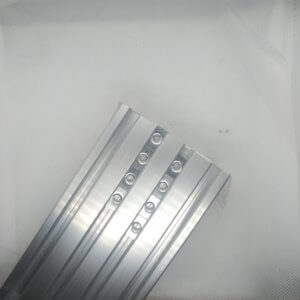
2. Prepare the 2080 extrusions
Slide in 2x 4 T slot nuts at one side (distributed over the 2 middle channels):
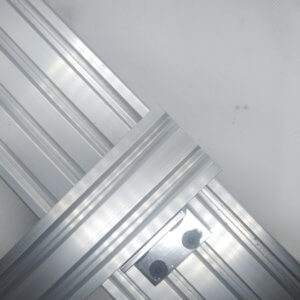
3. Connect the 2080 extrusions to the 2040 ones
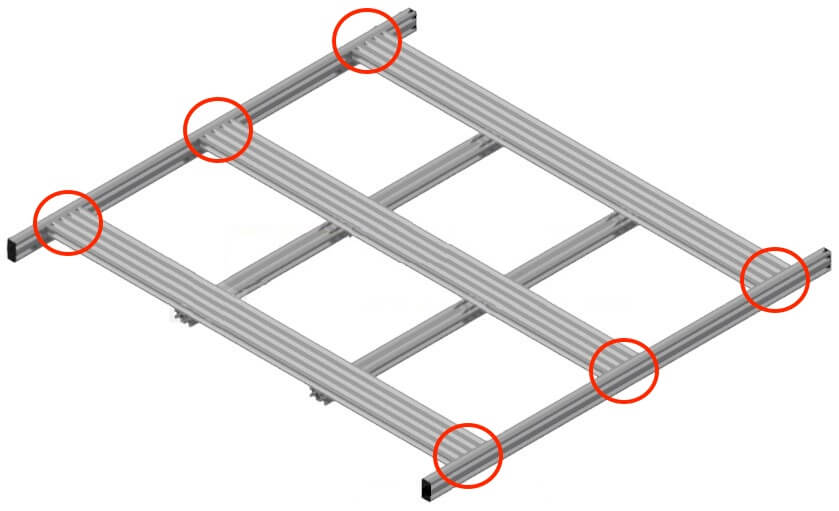
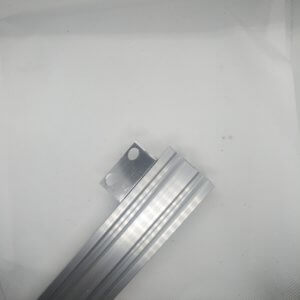
Use double L brackets to connect the 2080 extrusions to the 2040 ones, with 8mm low profile screws:
4. Prepare the supporting 2040 extrusions
Use the 800mm long 2040 extrusions (in case of a 1000×1000 machine configuration). If you are converting from a Workbee type CNC, then these will be the 915mm extrusions.
Attach double L brackets with T slot nuts and 8mm low profile screws at the points where the 2040 extrusions will support the 2080 extrusions along the length:
5. Attach the supporting 2040 extrusions to the 2080 extrusions
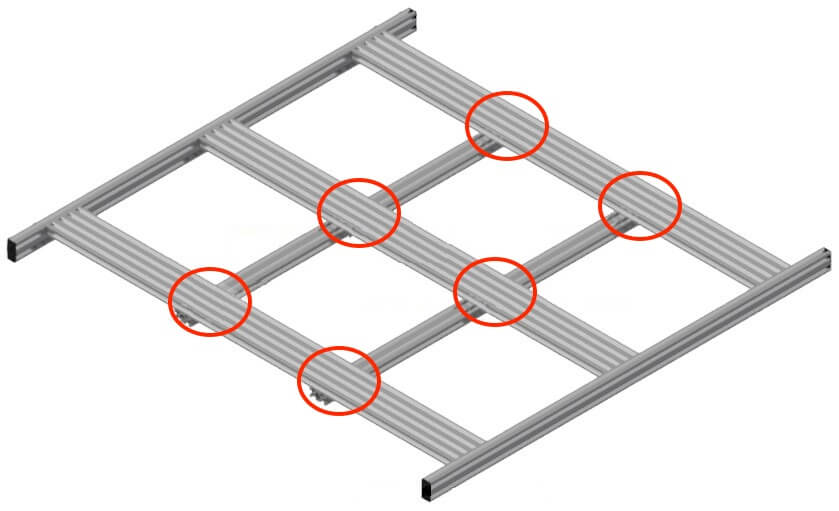
Use 8mm low profile screws: