No products in the cart.

Upgrading leadscrews to ballscrews (Workbee-type)
Bills of materials
The parts lists per C beam
Some parts from your leadscrew (i.e. a bearing, the motor couplers, and an 8mm shim) can be reused.
Some extra parts – namely 9mm spacers – are provided for free.
The ballscrew bearing is attached to the ballscrew with machined ends, and thus included in the ballscrew’s price.
For 750mm: about 75 euro (VAT included) / 62,5 euro (VAT excluded – export out of EU) / 76 usd (VAT excluded – export out of EU)
For 1000mm: about 86 euro (VAT included) /71,5 euro (VAT excluded – export out of EU) / 87 usd (VAT excluded – export out of EU)
For 1500mm: about 111 euro (VAT included) / 92,5 euro (VAT excluded – export out of EU) / 112.5 usd (VAT excluded – export out of EU)
Covid-19 and some history of trial and error with leadscrews, led to ball screws
Compared to leadscrews, ballscrews are quite simply the best thing since sliced bread.
Over the past 2 years, we tried out leadscrews in all shapes an forms.
First the 8mm Openbuilds leadscrews. They were fragile, and often got bent during transport, installation, or even packing. And at 1500mm they whip when rotation speeds are set high. They were not cheap either. And the supplier was far away, creating supply chain problems during the first Covid-19 wave in March and April 2020.
Then, we moved to a supplier nearby of standardized trapezoidal TR10 leadscrews. They were somewhat less fragile than the 8mm Openbuilds ones, yet, customers still regularly reported bends. Whip also still exists. Plus, the TR10x2 had a very low pitch, resulting in slow homing movements, much to the frustration of some customers who need machine for production purposes rather than private or hobby use.
So now we are moving towards these options:
- TR12 as standard (TR12x3) as have a better pitch than the TR10x2’s and as the 12mm makes them less subject to bending. These don’t have machined ends, so the standard holes in the workbee plates need to be enlarged slightly to 12-13mm opening. We provide 12mm bearings that fit the workbee plates, but there is a little downside: they do not have a plastic or metal dust cover, so they may need to be replaced over the lifespan of your machine when dust clogs up.
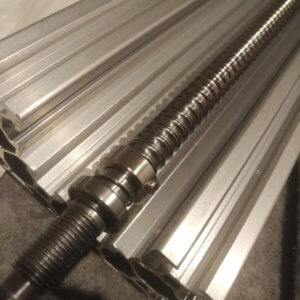
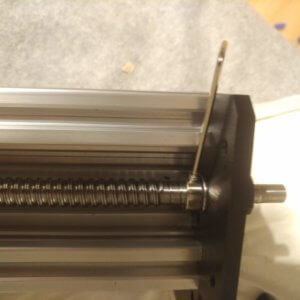
- 1204 ballscrews as upgrade. These have yet better pitch than the TR12’s and have machined ends so the standard bearings can be used (with dust covers) and they have precision M10x1 thread to put them under tension with a thrust bearing
This tutorial describes the installation of ballscrews, after removing the leadscrews.
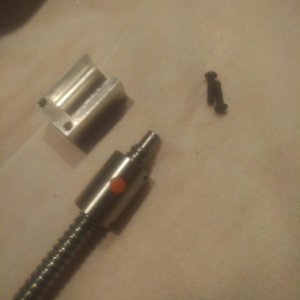
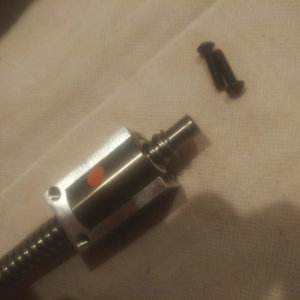
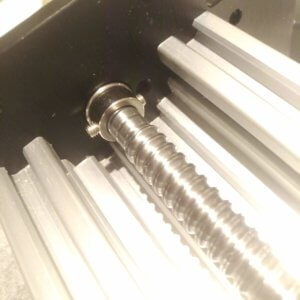
1. Attach the bearing holder to the custom aluminium bearing nut
Important: NEVER remove the ballscrew bearing from the screw! There are tiny little metal balls that will fall out and that are impossible to put correctly in again – it will require to buy and ship a new ballscrew bearing
Use M4x14mm screws to squeeze the ballscrew bearing on the ballscrew bearing holder

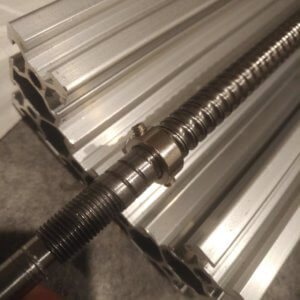
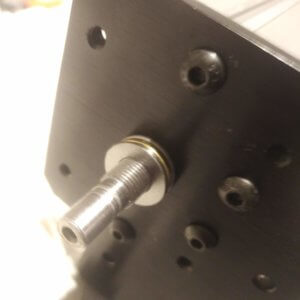
2. Attach the ballscrew to the end plates (Y axis)
First, start with the side that has the M10x1 thread.
Take a 10mm collar with the two precision hex screws:
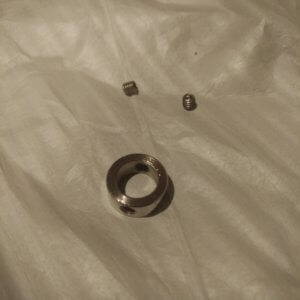
Fit in the two precision hex screws:
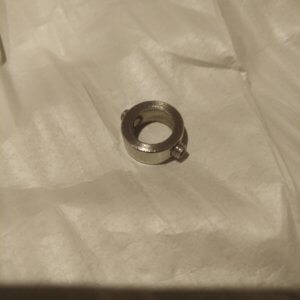
Place it over the end of the screw:
Then take a 10mm precision shim:
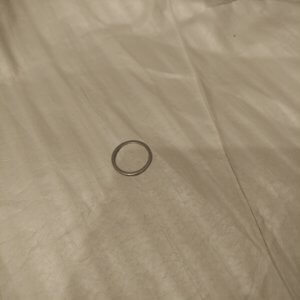
Also place it over the screw:
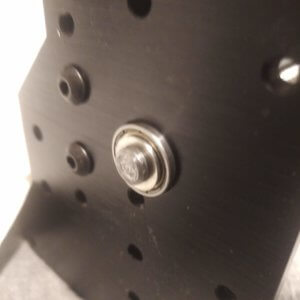
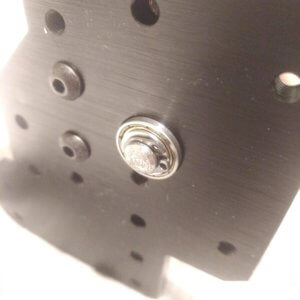
Then take a 10mm ID 16mm OD bearing:
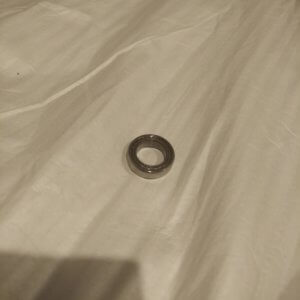
Also place it over the screw:
Don’t worry if the bearing does feel difficult to slide on the part behind the M10x1 thread. When you’ll screw the end plate on, it will automatically slide on that part.
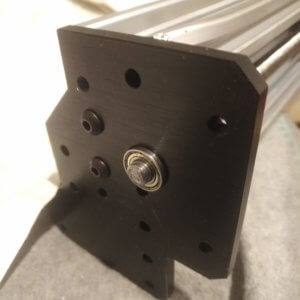
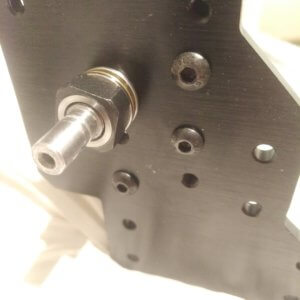
And then take an end plate, to attach it to the rail and with the screw through the hole in the plate. Watch the orientation of the hole where the bearing needs to fit in:
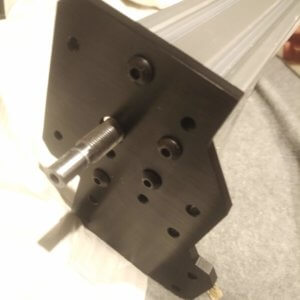
Then move to the other side and also there bolt on the end plate!
Picture coming soon
On that other side, take an 8mm ID 16mm OD bearing:
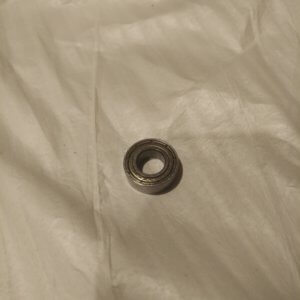
And slide it on the end that sticks out:
Then take an 8mm precision shim:

Slide it on the end of the screw:
Then take the supplied circlip

And attach it. Use the optional pliers if necessary
Then we go again to the side with the M10x1 thread!
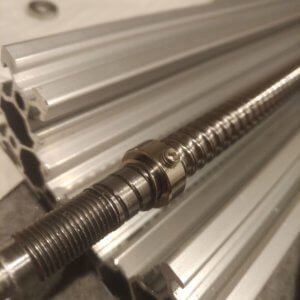
There, take a thrust bearing:
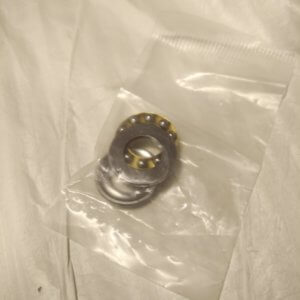
And slide it on the screw:
Now take an M10x1 precision thread nut:
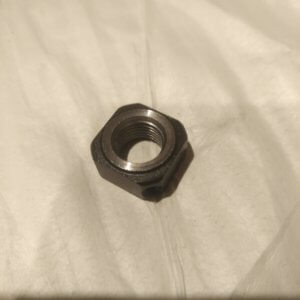
And turn it onto the M10x1 thread! And build up tension on the screw!
If you need to fixate the screw in some way, then it’s easy to just attach the 10mm collar and keep it positioned in it’s position with the hex driver:
And now you have succesfully put the screw under tension!
3. Modify the spacers on the Y plates
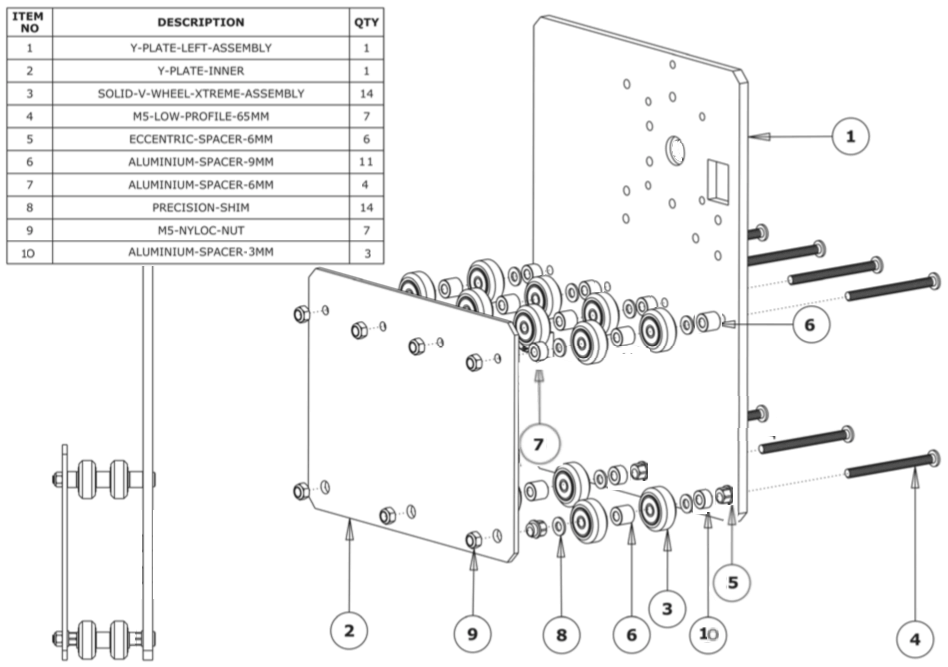
4 6mm spacers need to be changed to 9mm spacers (number 6 in the picture):
And 3 3mm spacers need to added where the eccentric spacers are (number 10 in the picture):
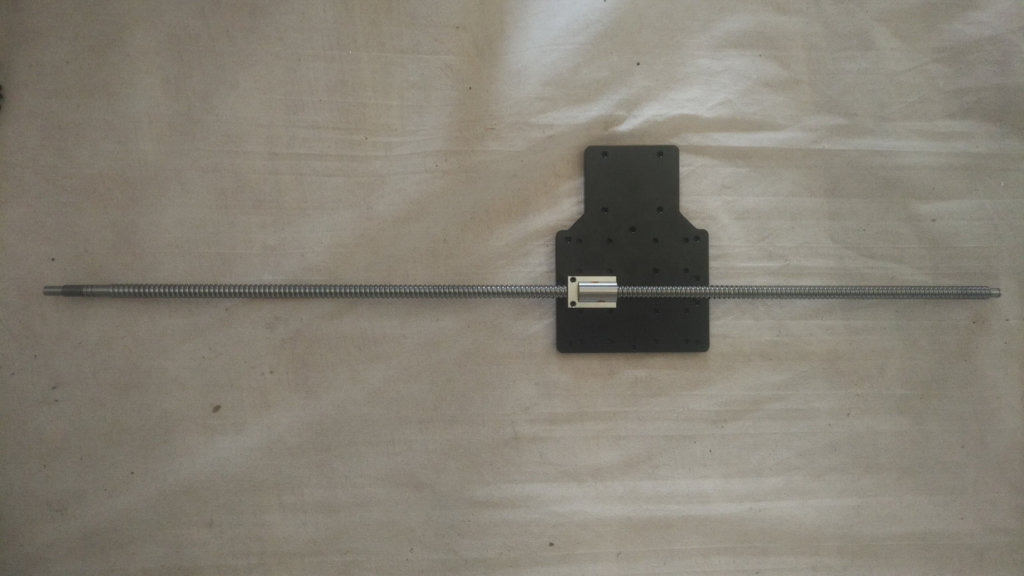
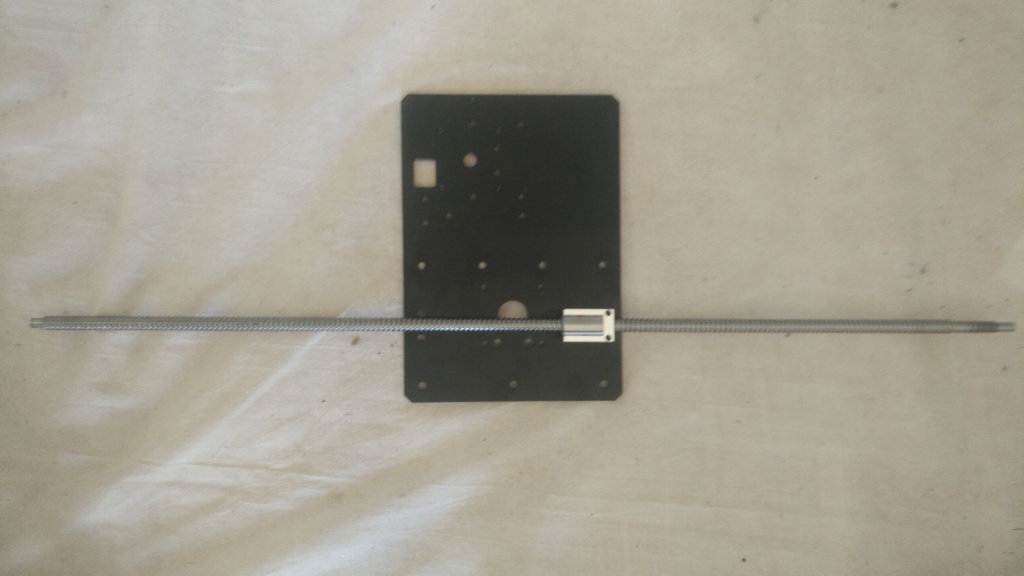
The bearing holders can now be attached to the Y plates that you slide over the C beams again (here a picture without the wheels, and without being attached to the structure, just to make it clear), at the place where you normally attach a delrin nut – note that only one is needed (leadscrews needed two):
4. Attach the ballscrew between the Y axis plates (X axis)
At the 8mm side, proceed exactly as you did before for the 2 Y axis ball screws
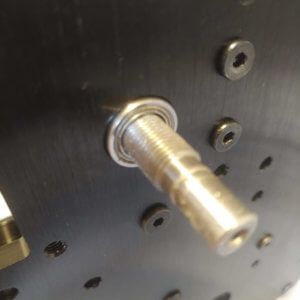
For the 10mm side: position the 1016 bearing:
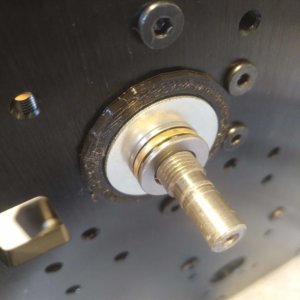
And then a 3D printed holder that will keep a round metal plate in position (both 3D print and round metal plate provided for free) as these serve to direct the tension around the outside housing ring of the 1016 bearing when you will put a thrust bearing and build up tension a M10*1 precision nut:
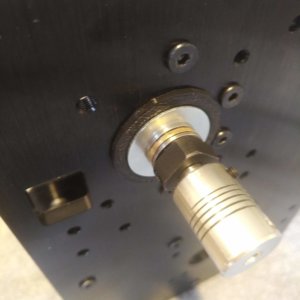
And the M10*1 precision nut and the coupler for the motor:
5. Modify the spacers on the X carriage
4 6mm spacers to 9mm spacers and 3 3mm need to be added like you did before for the Y plates
The bearing holder can now be attached to the X plate that you slide over the C beam again (here a picture without the wheels, and without being attached to the structure, just to make it clear), at the place where you normally attach a delrin nut – note that only one is needed (leadscrews needed two):