No products in the cart.

Belting
different belt clips to x carve instructions
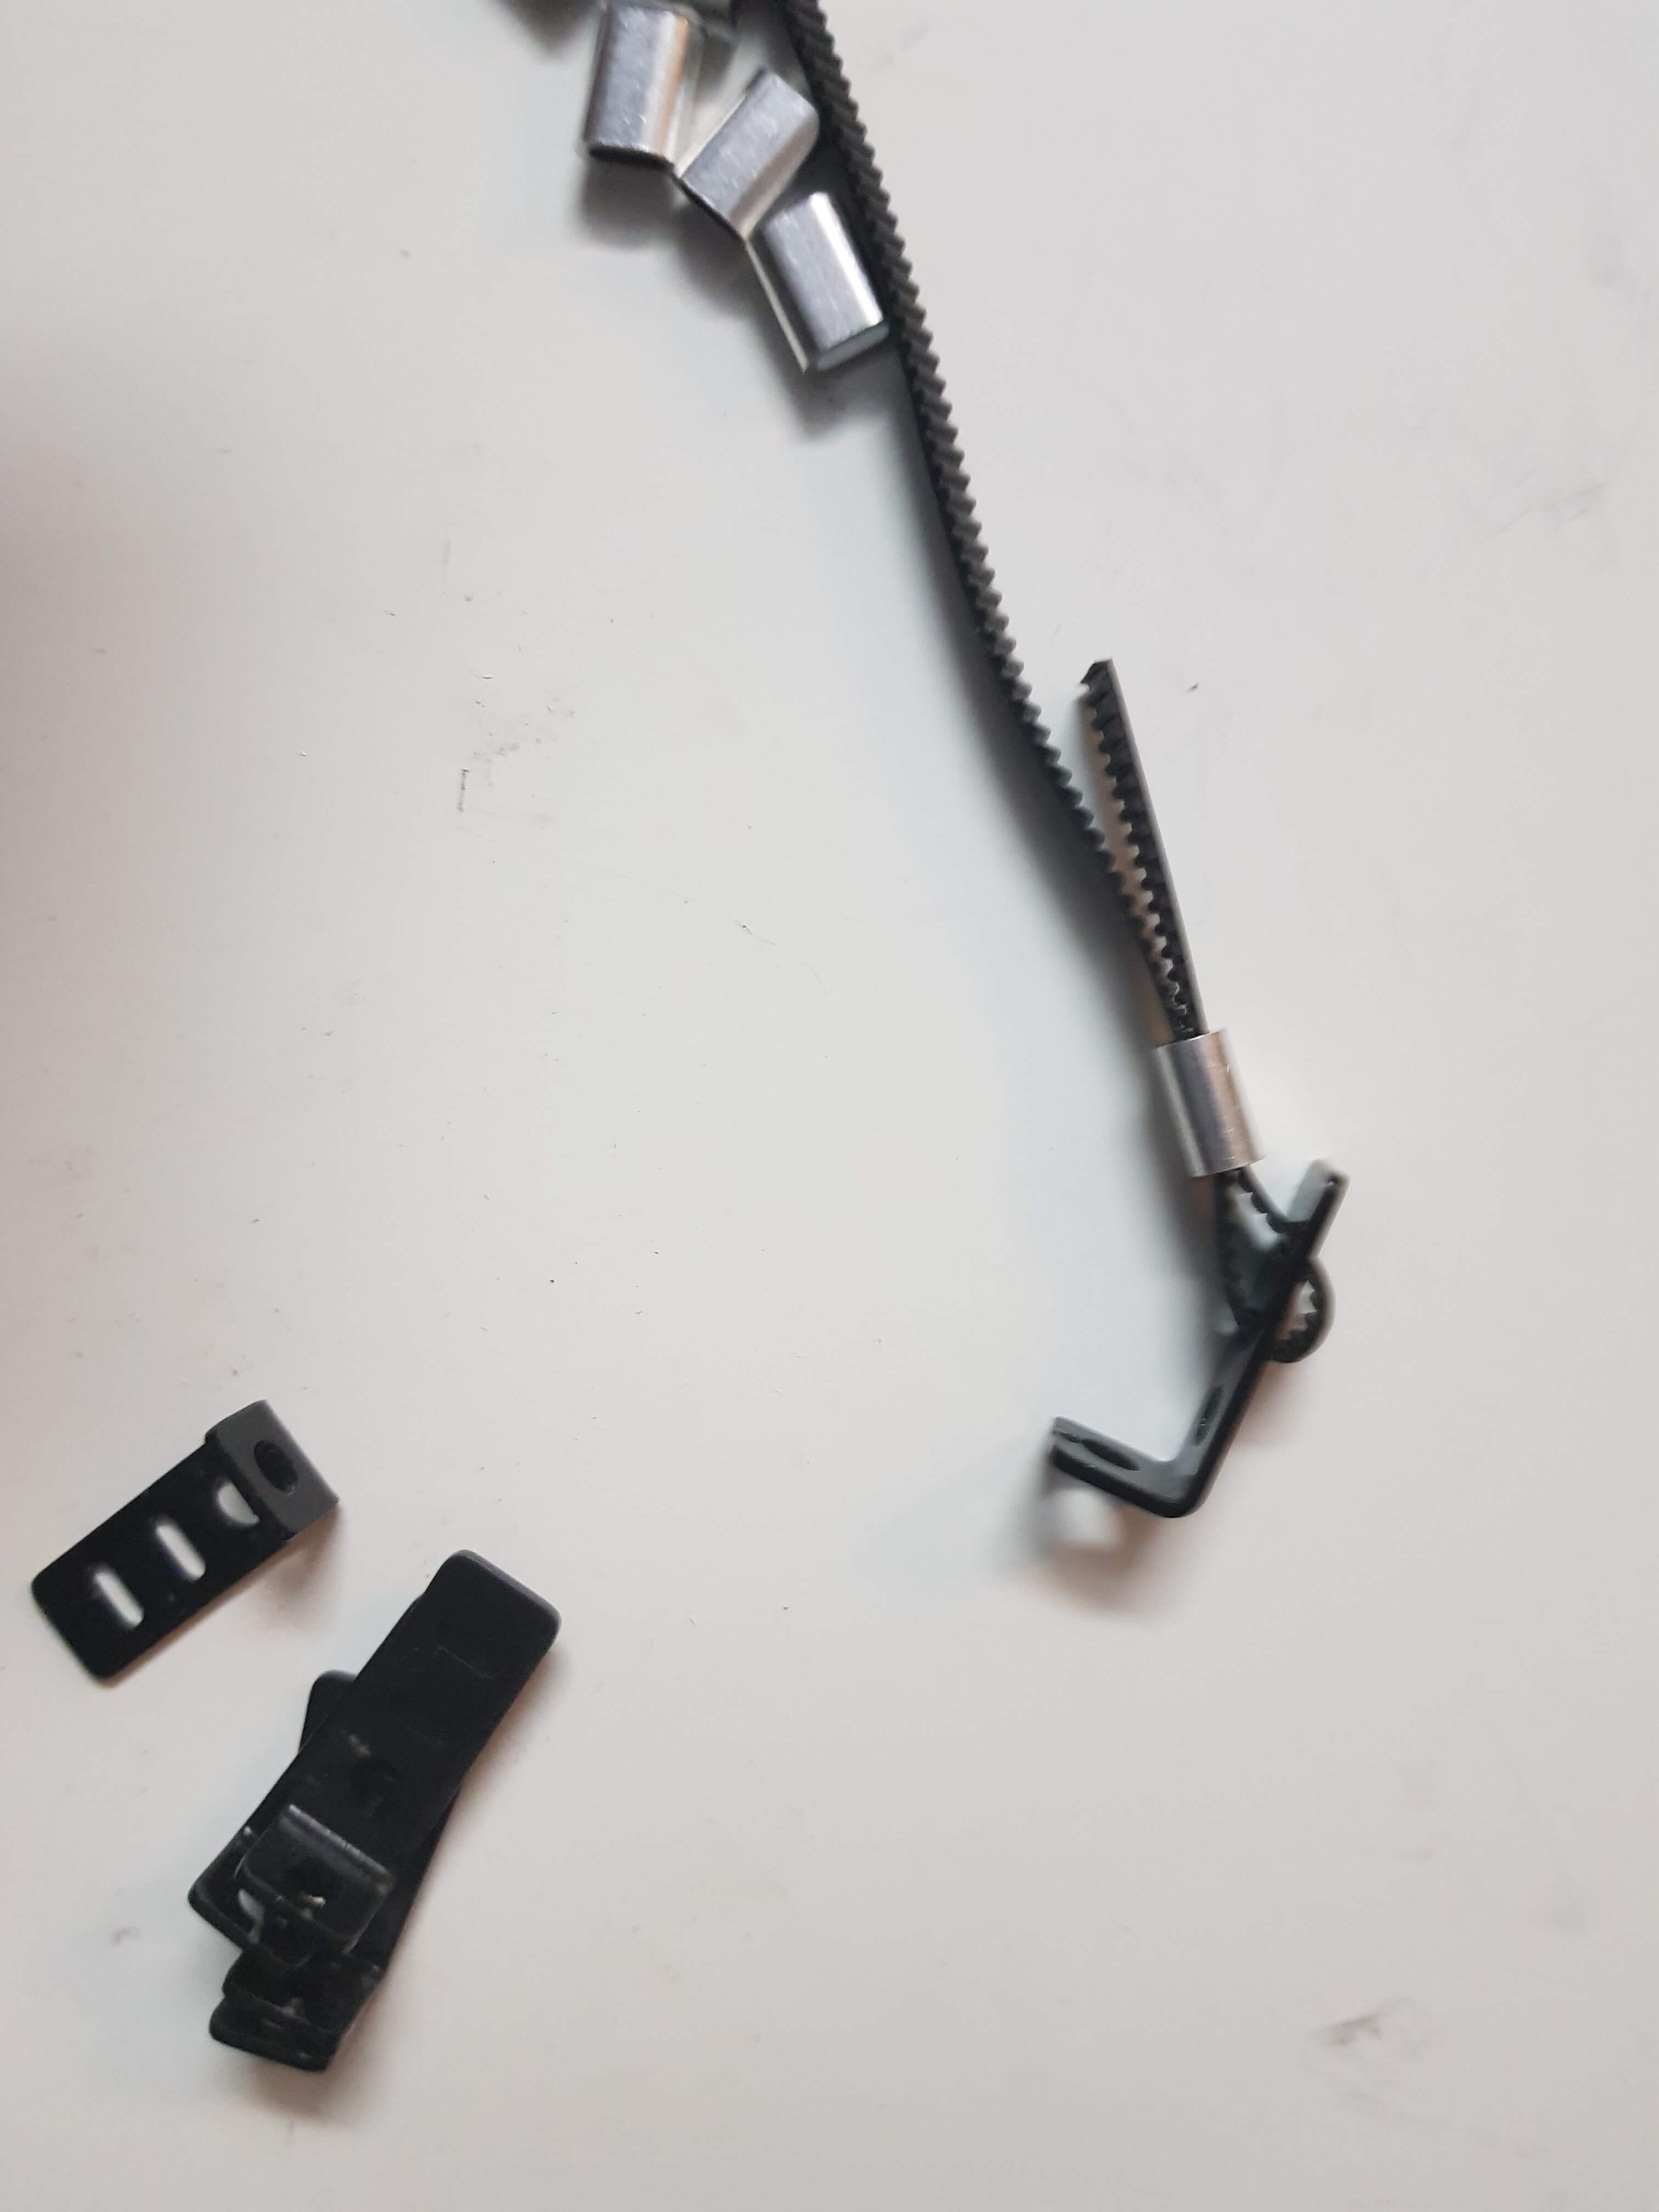
Now cut the GT2 belt in 3 equally long lengths of about 1.3 to 1.35 cm.
The belt at the makerslide will be prepared by first sliding over the oval aluminium part, and then bending the GT2 belt through the black belt clips:
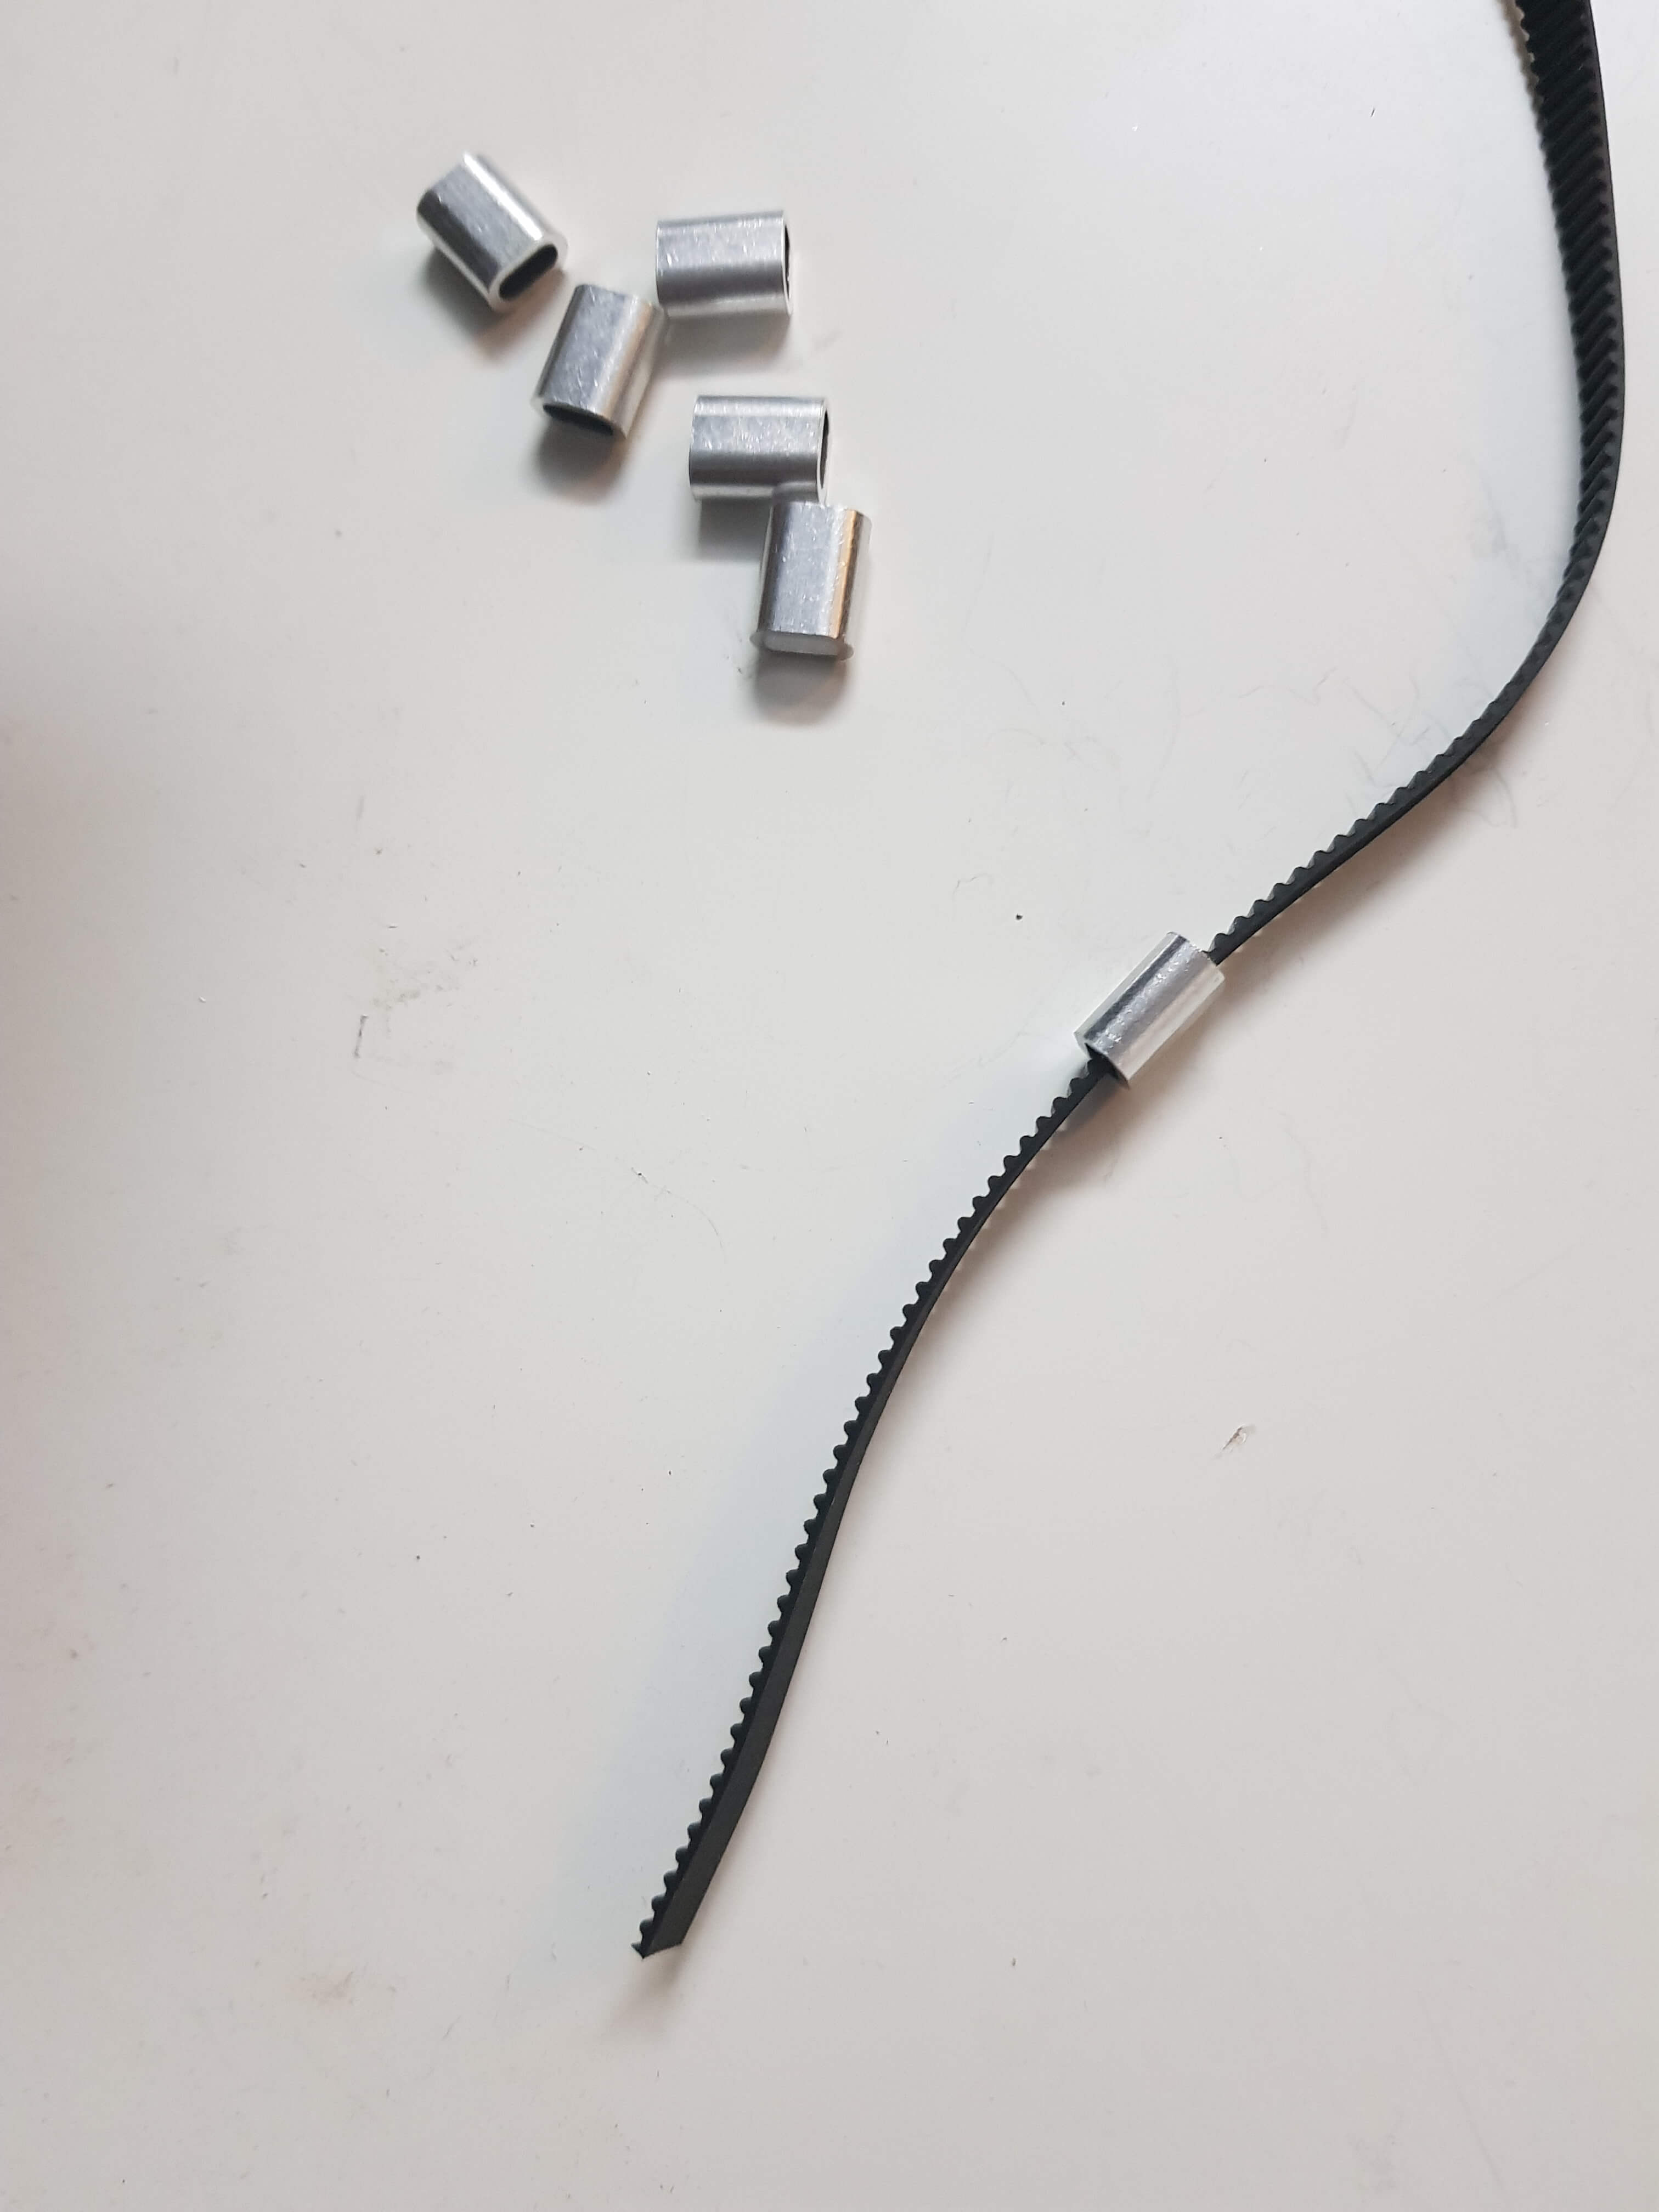

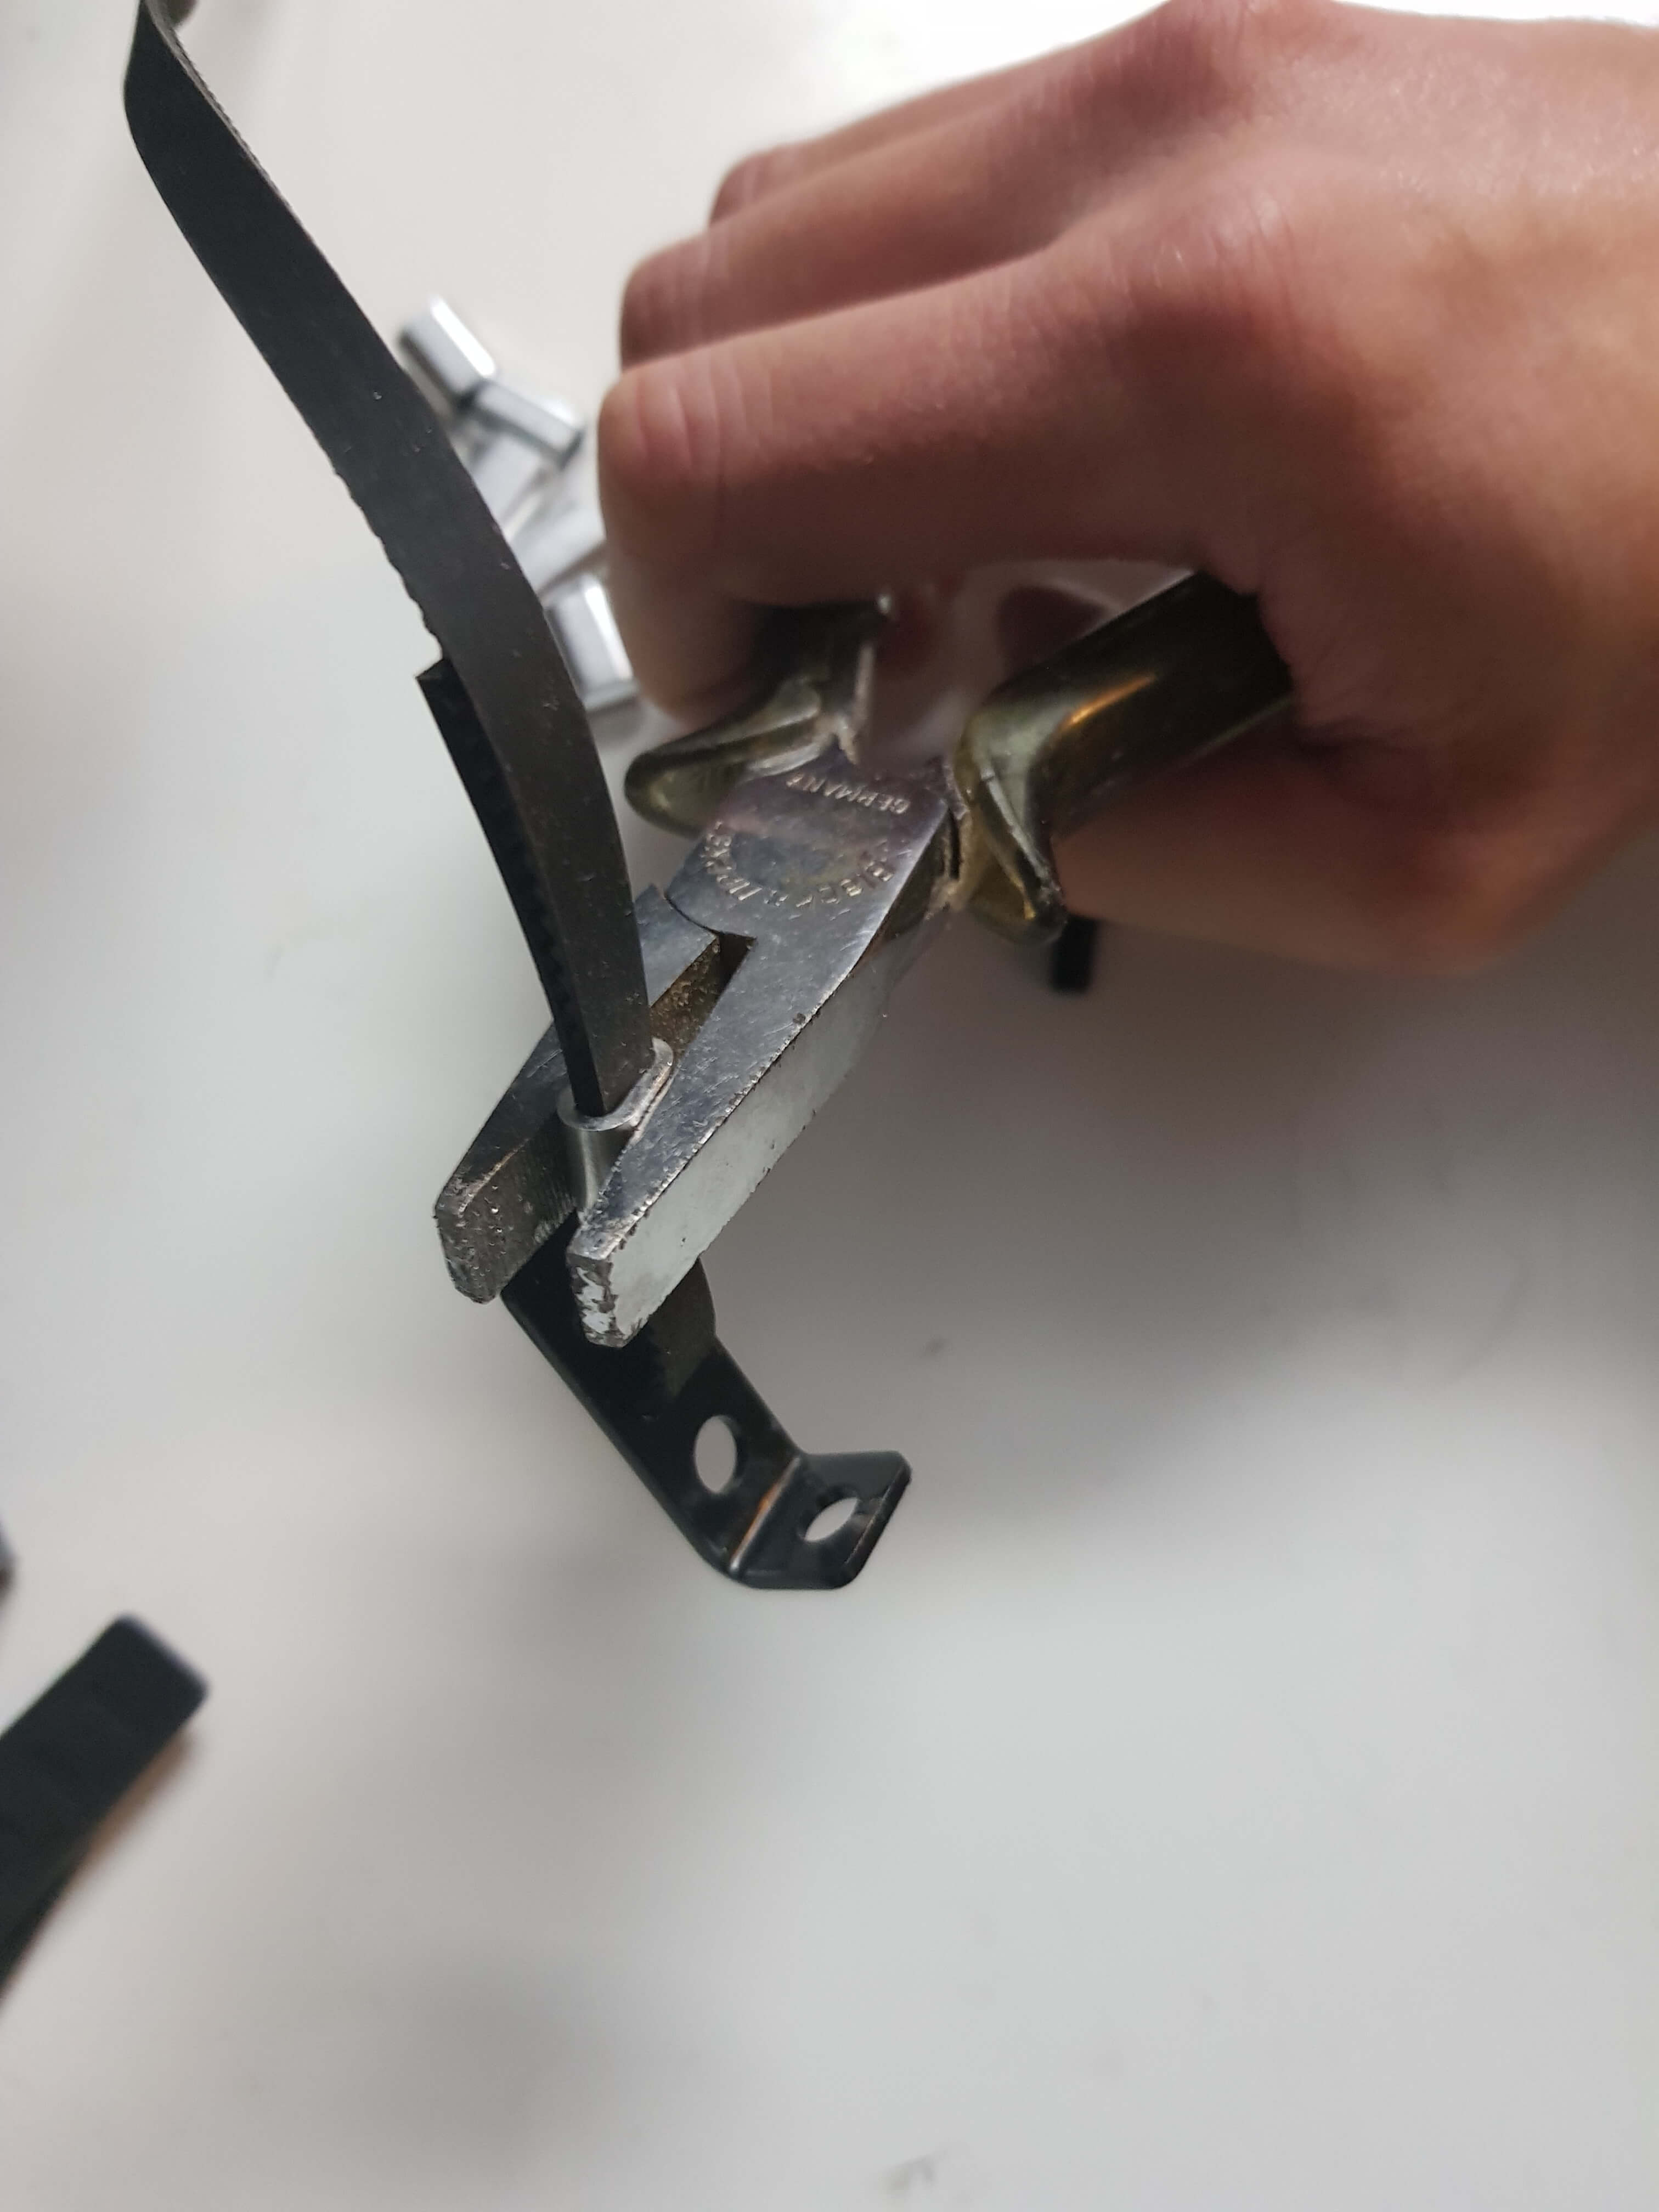
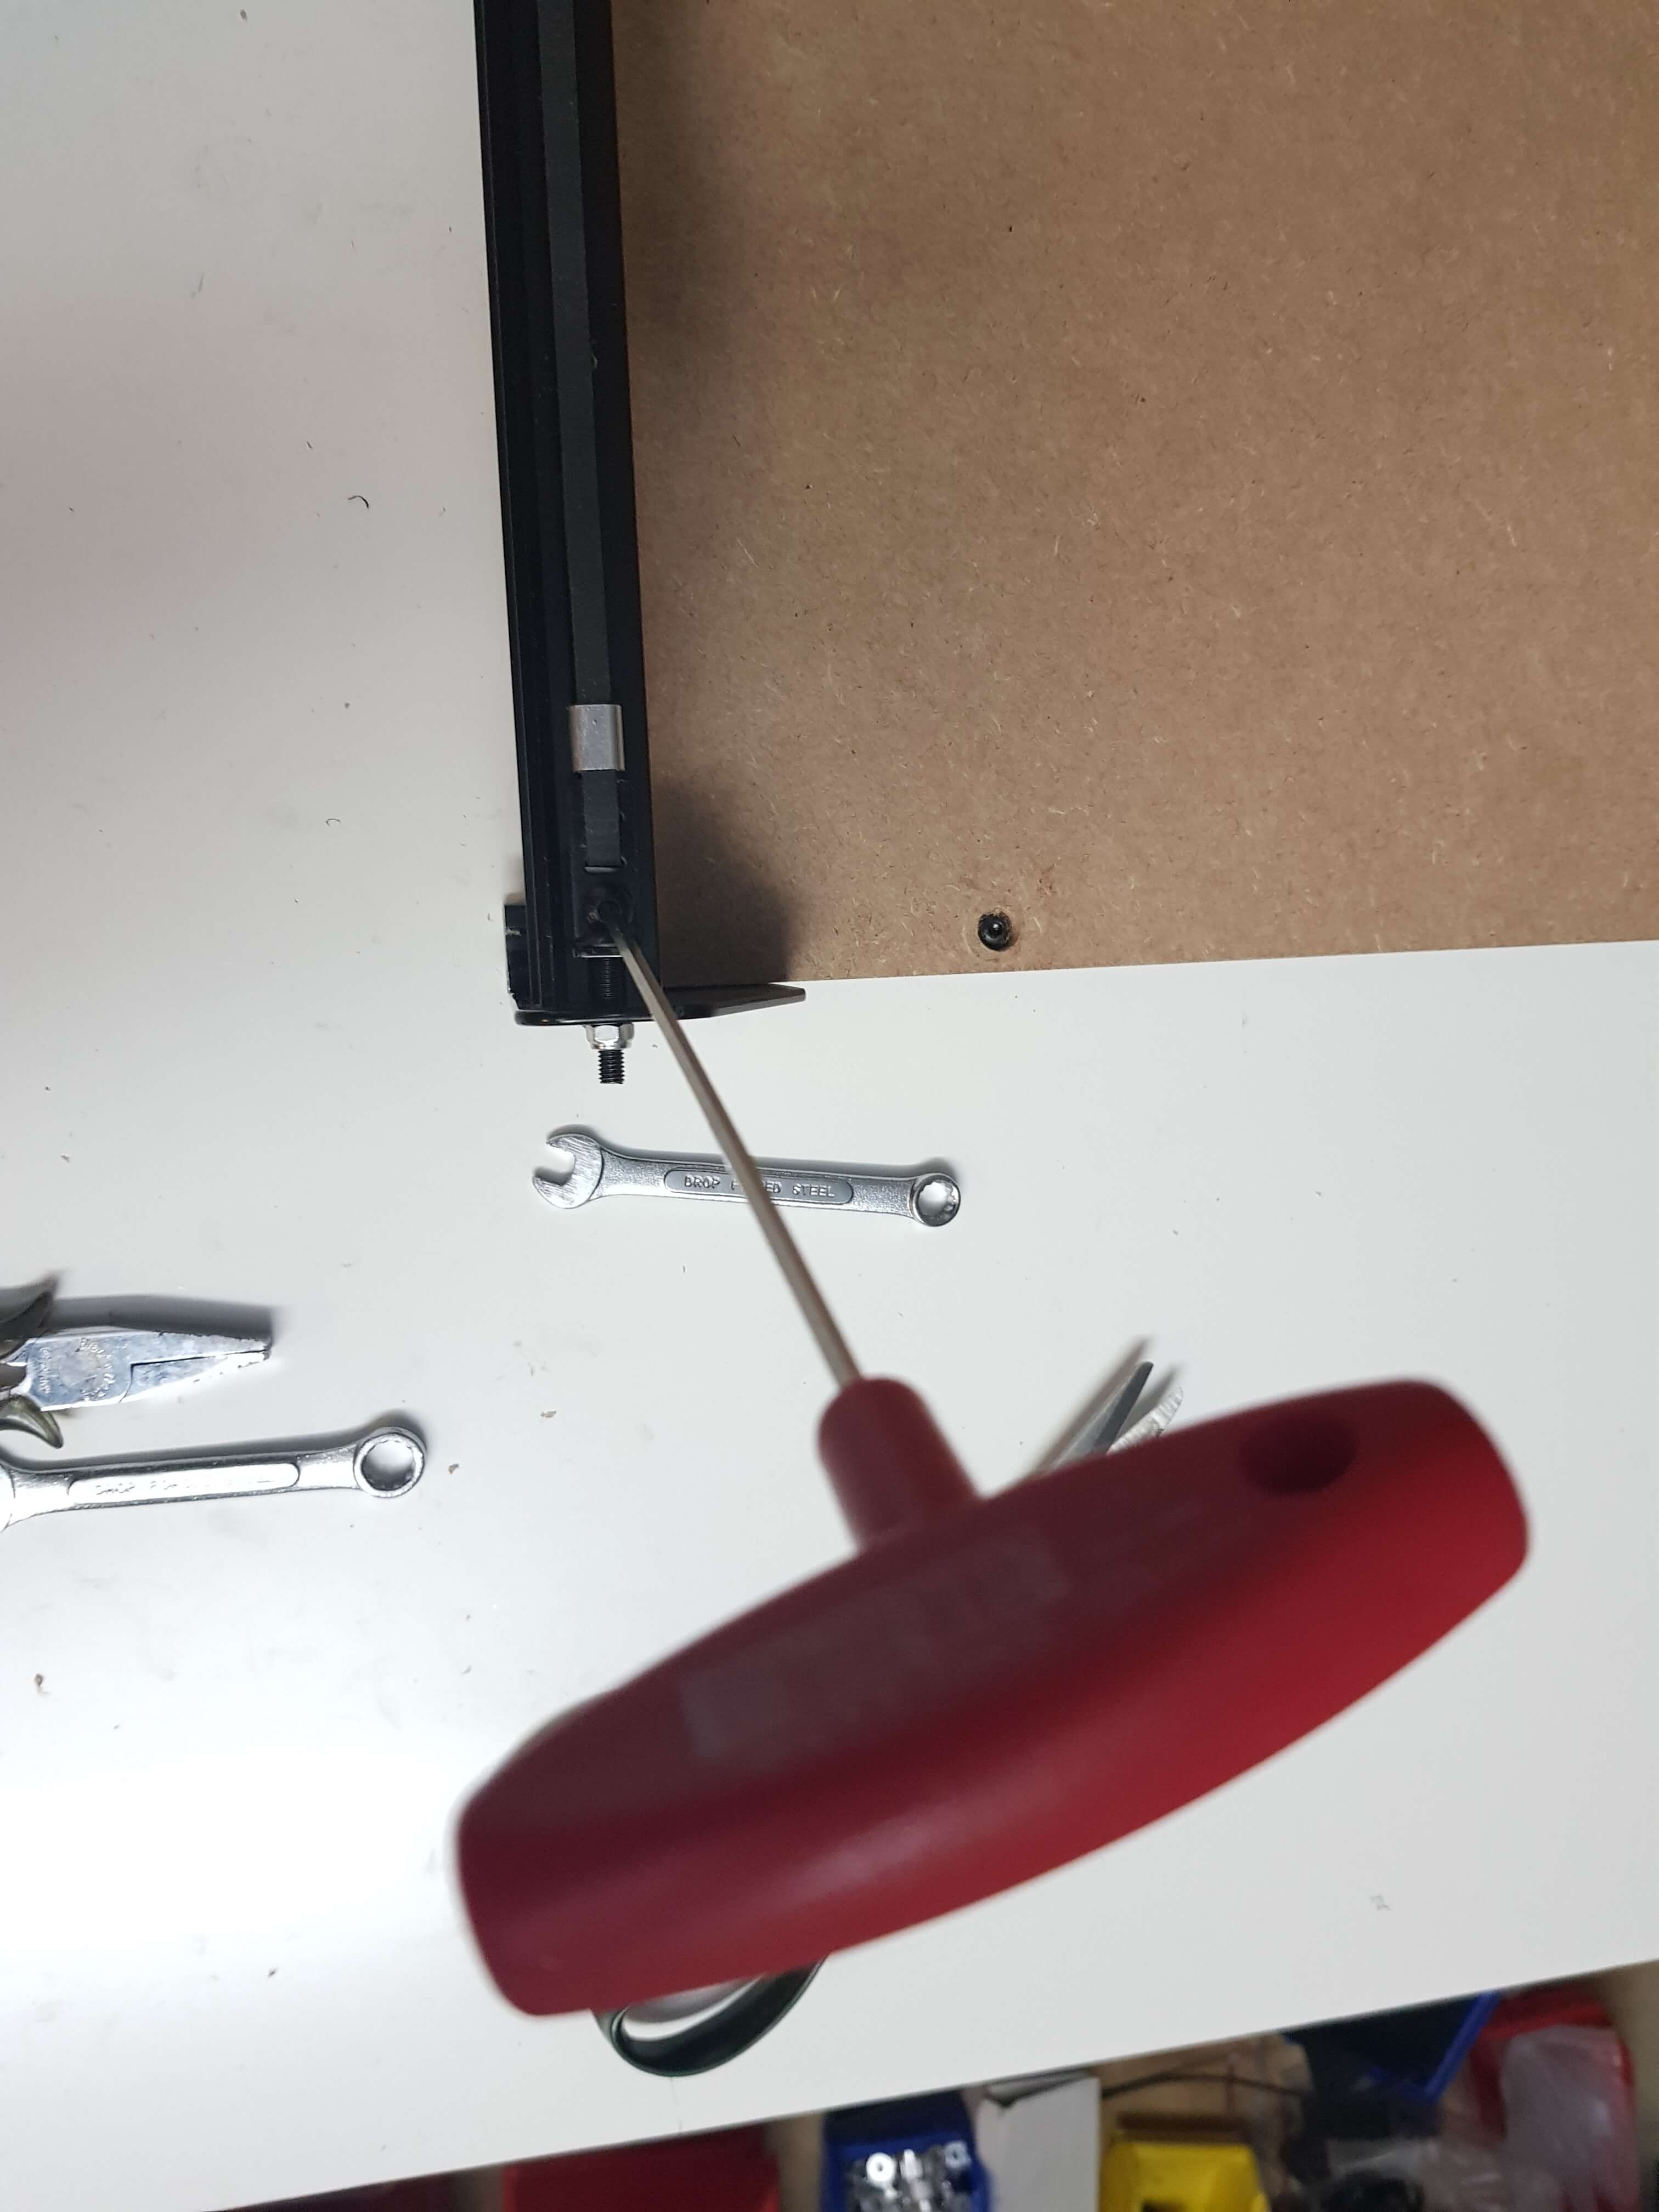
And then back through the oval aluminium part, that you can tighten with a tool:
then again same as x carve instructions
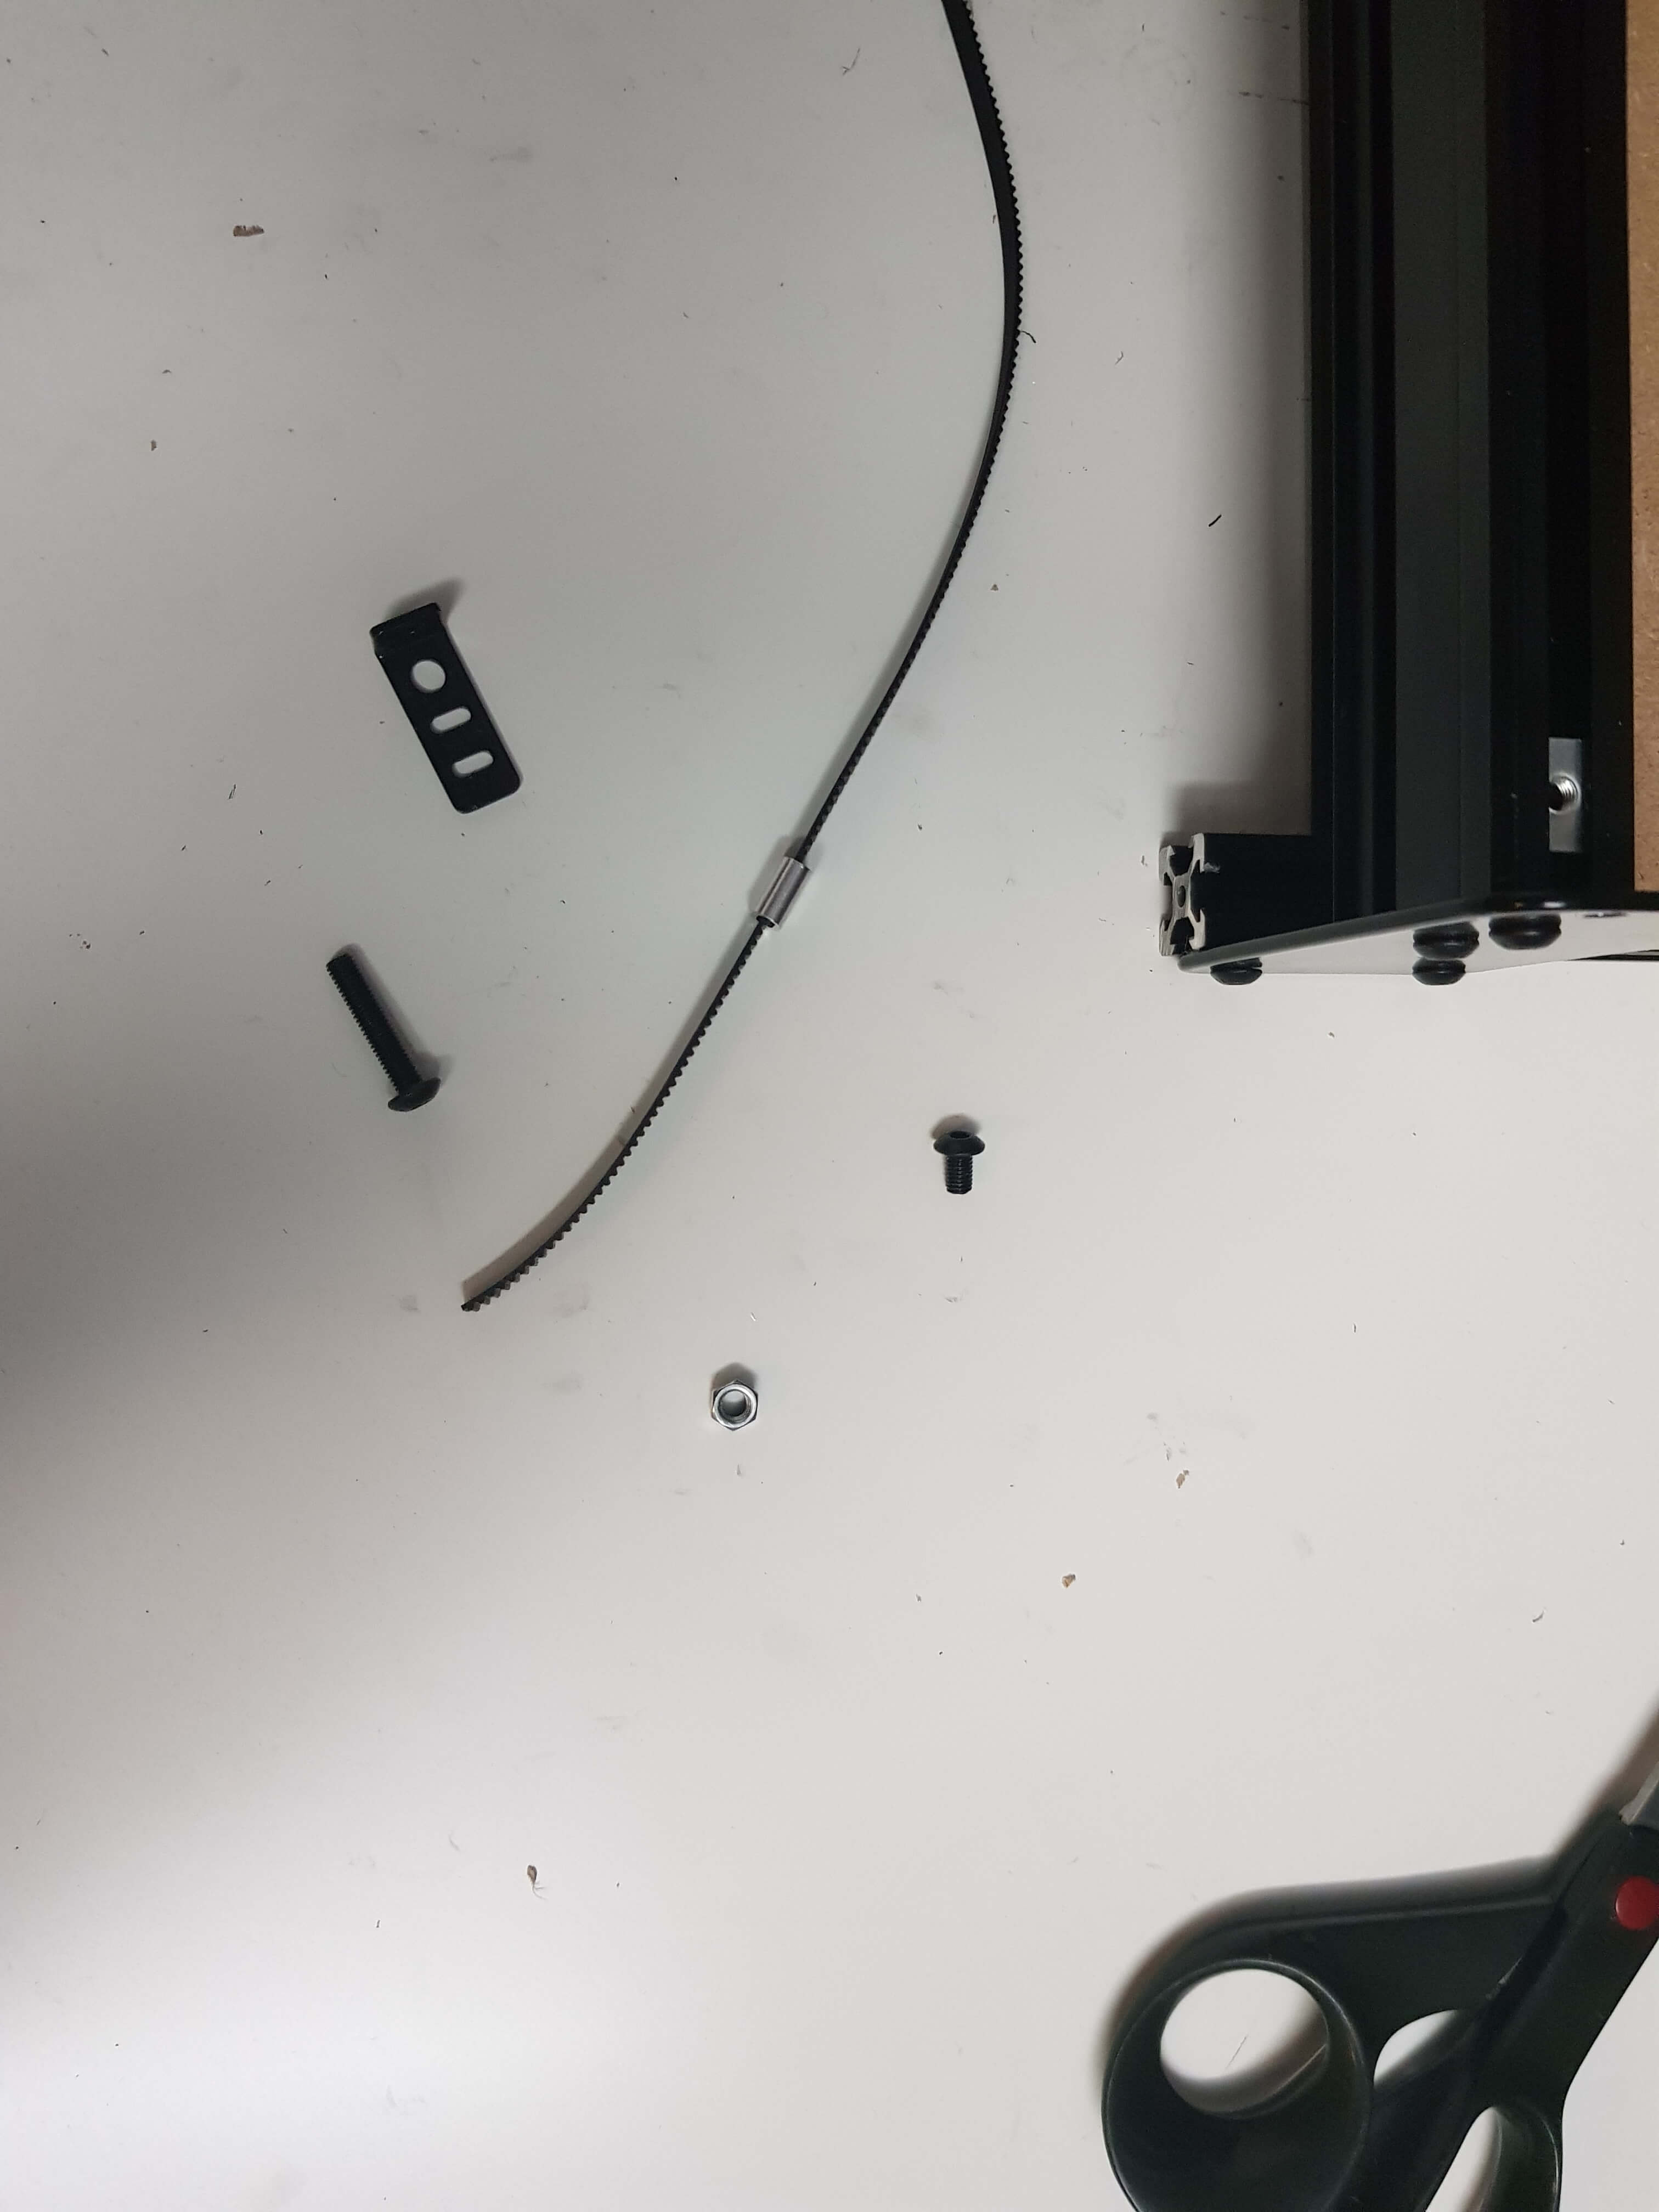
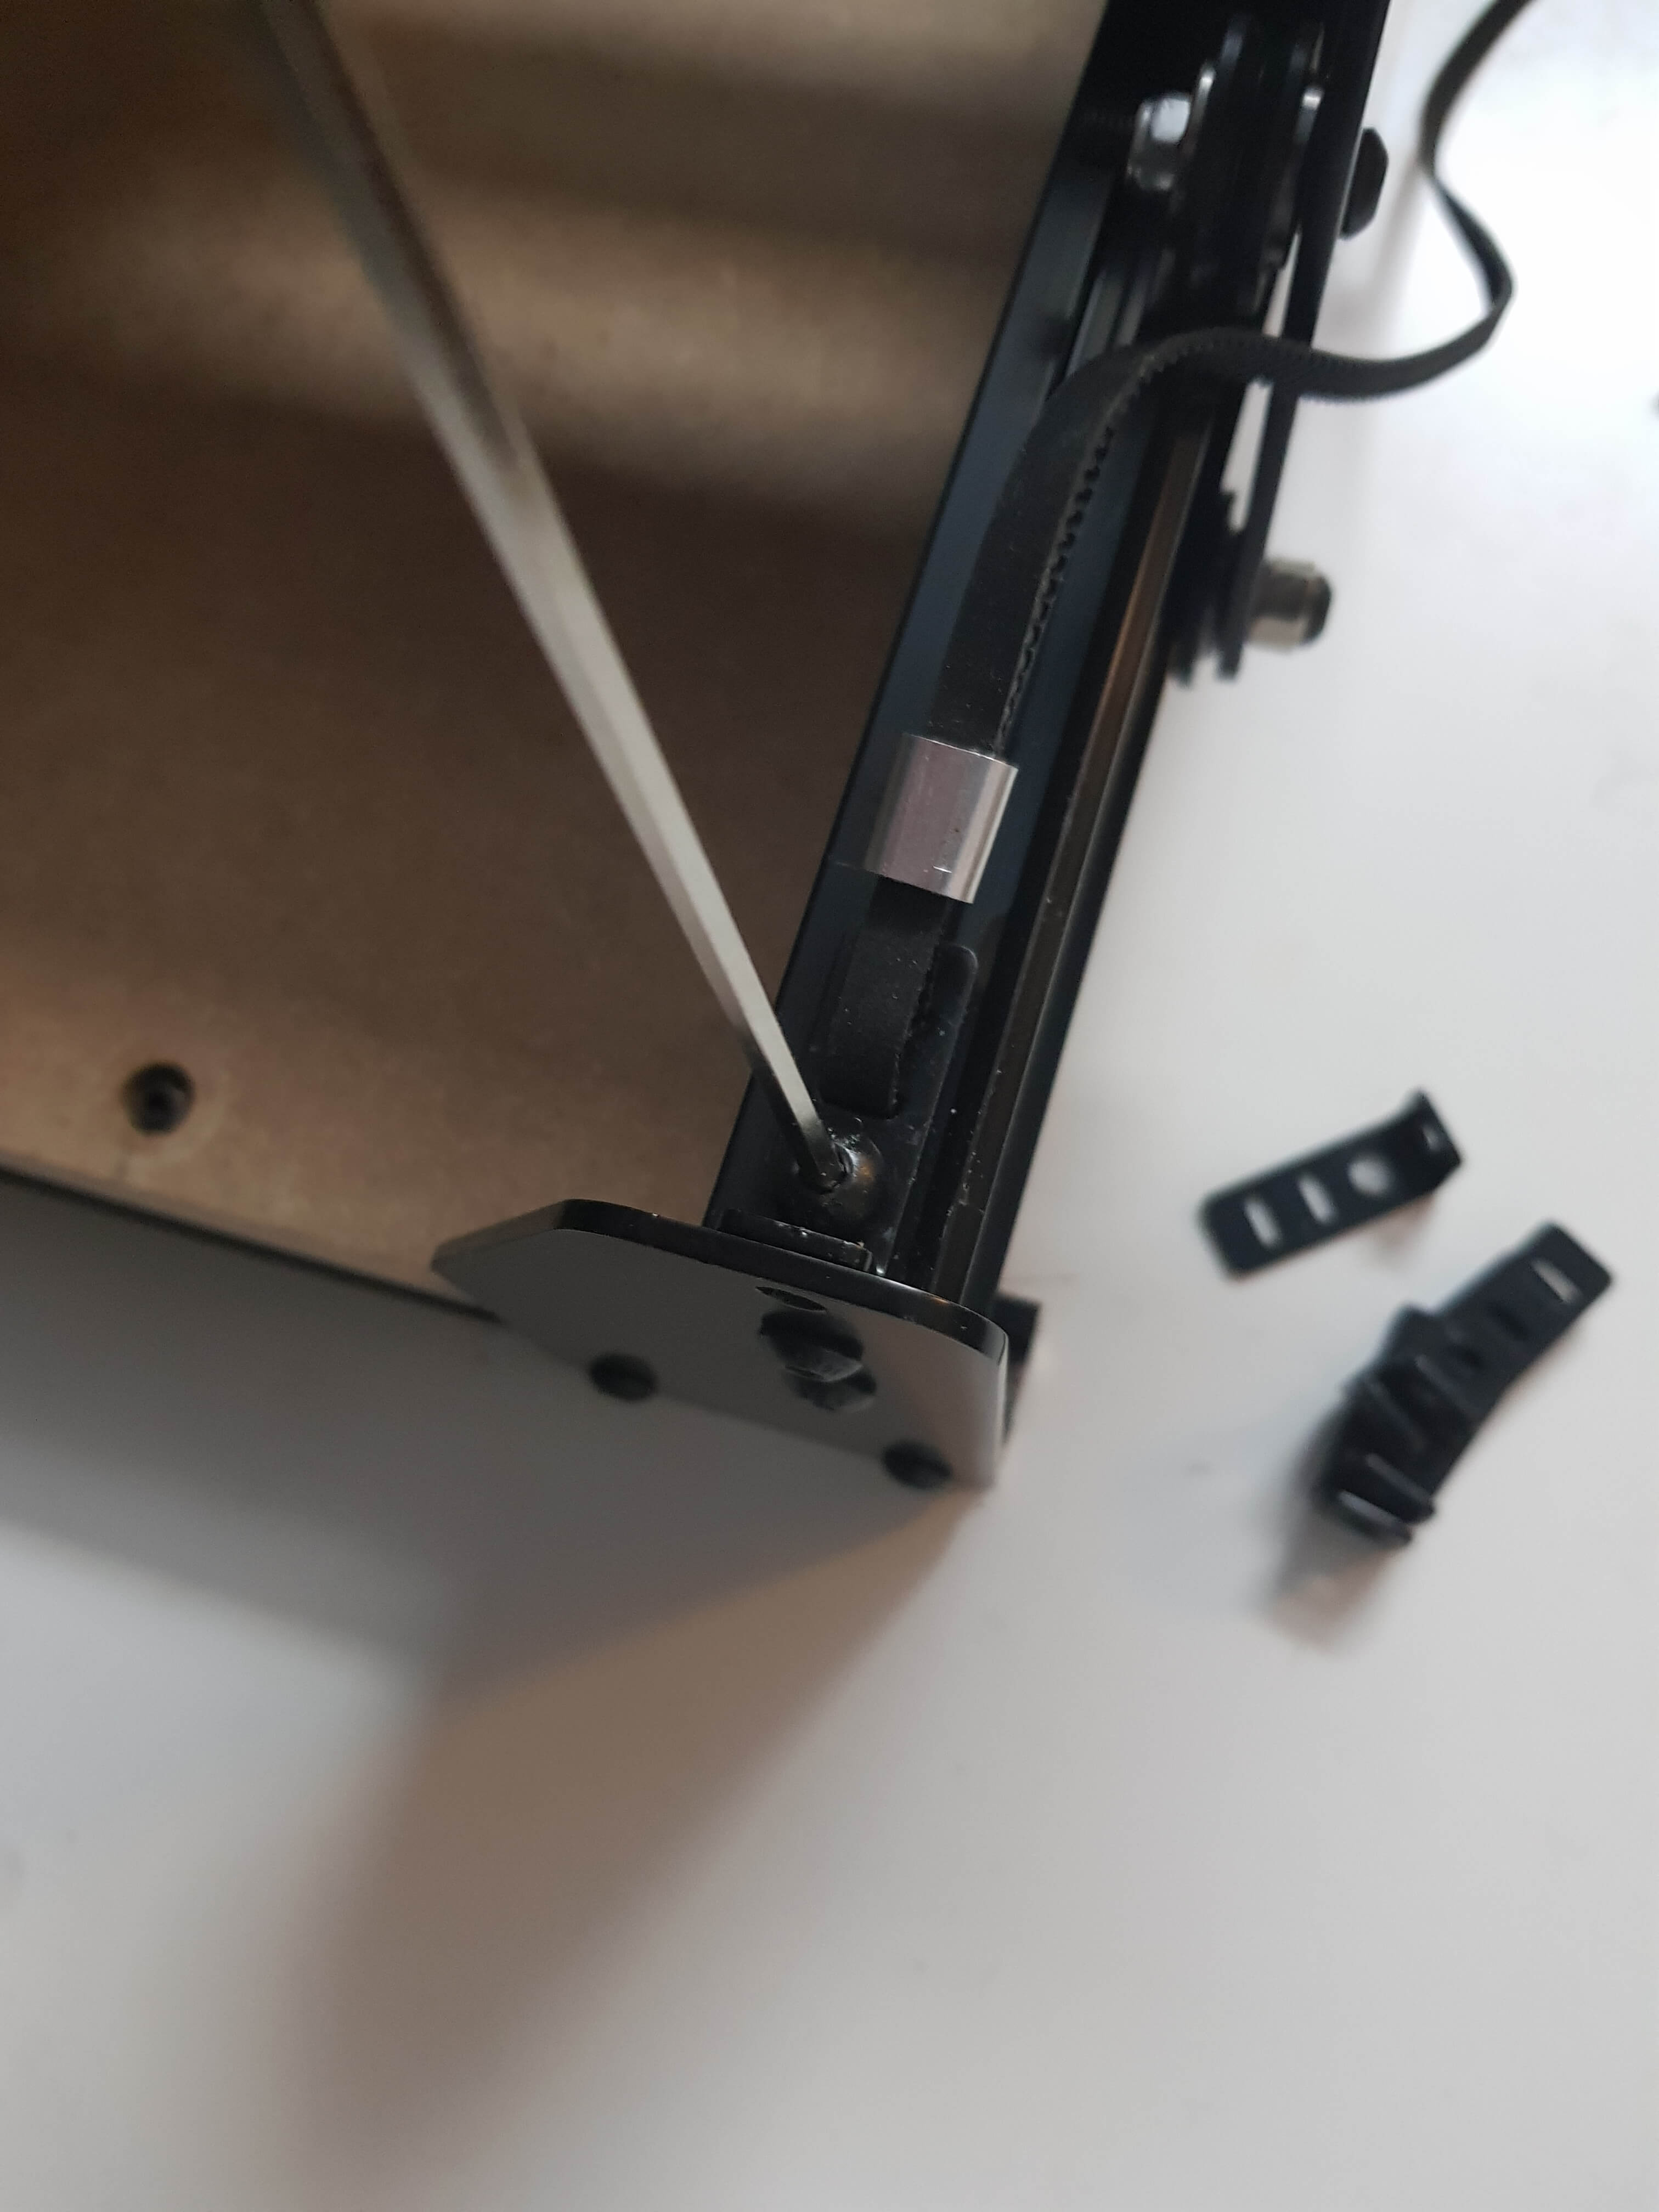
And attach the black belt clip with an M5 8mm button head screw in the T slot nut that you put in the makerslide earlier:
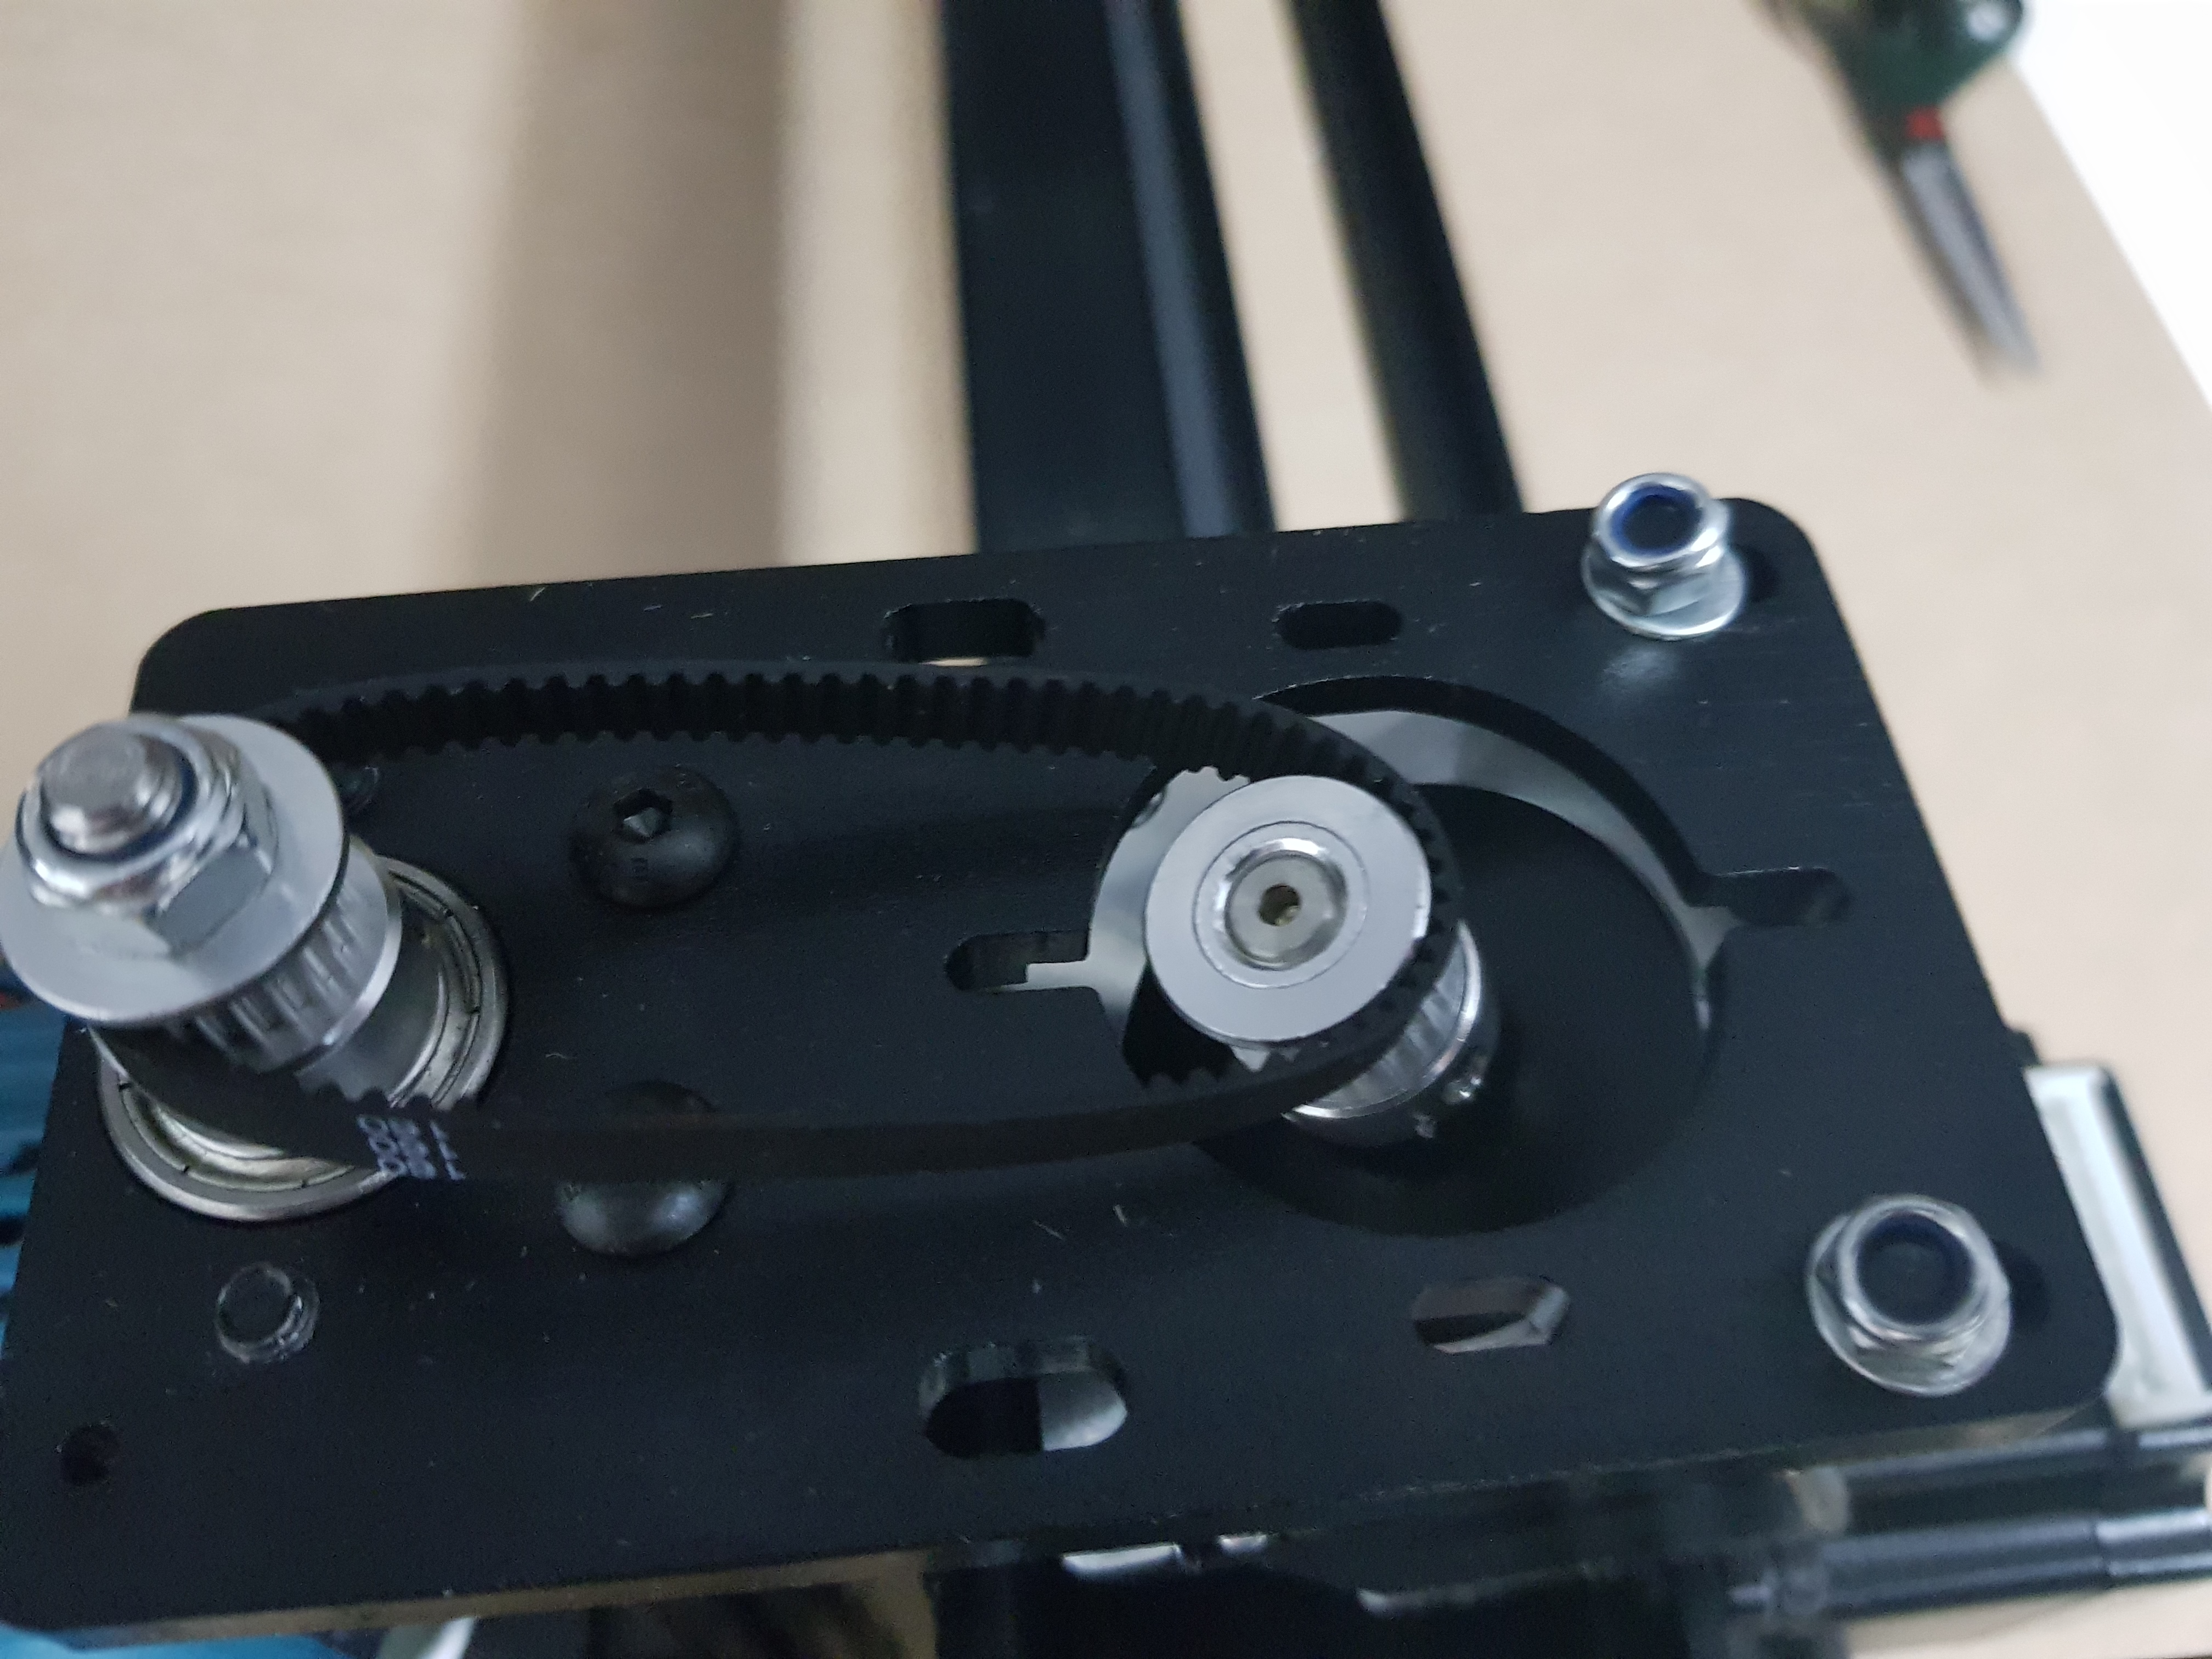
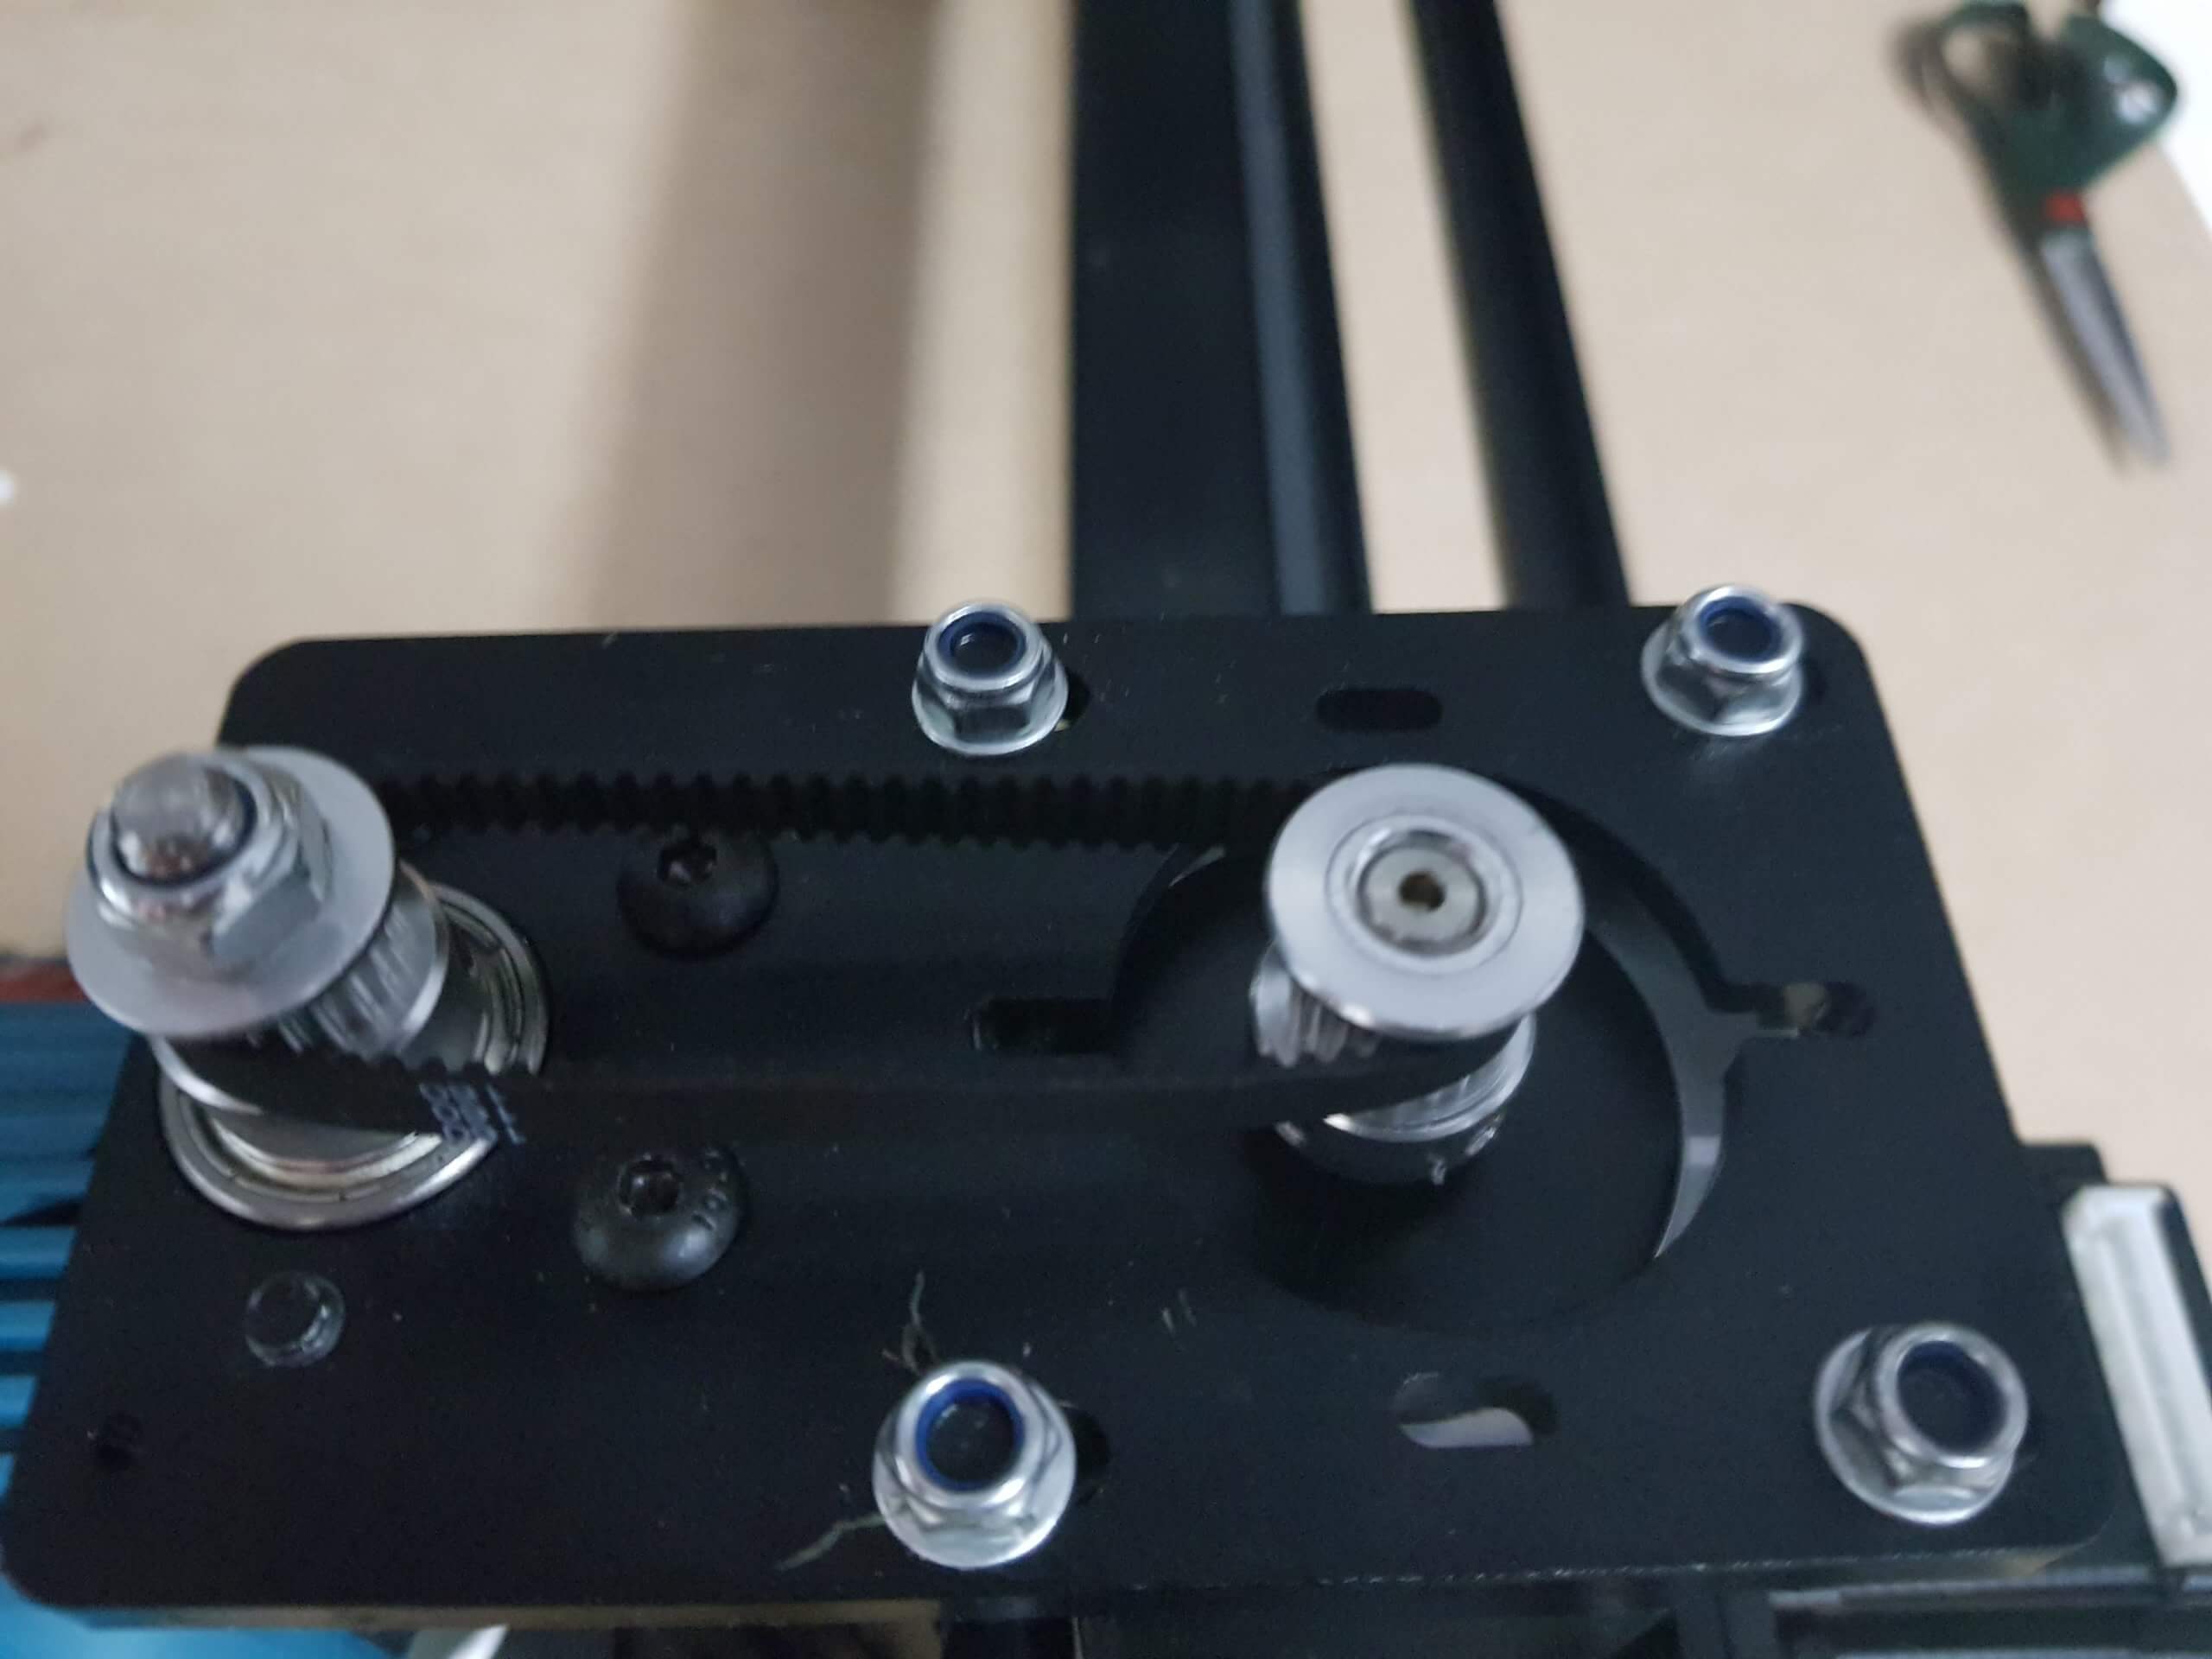
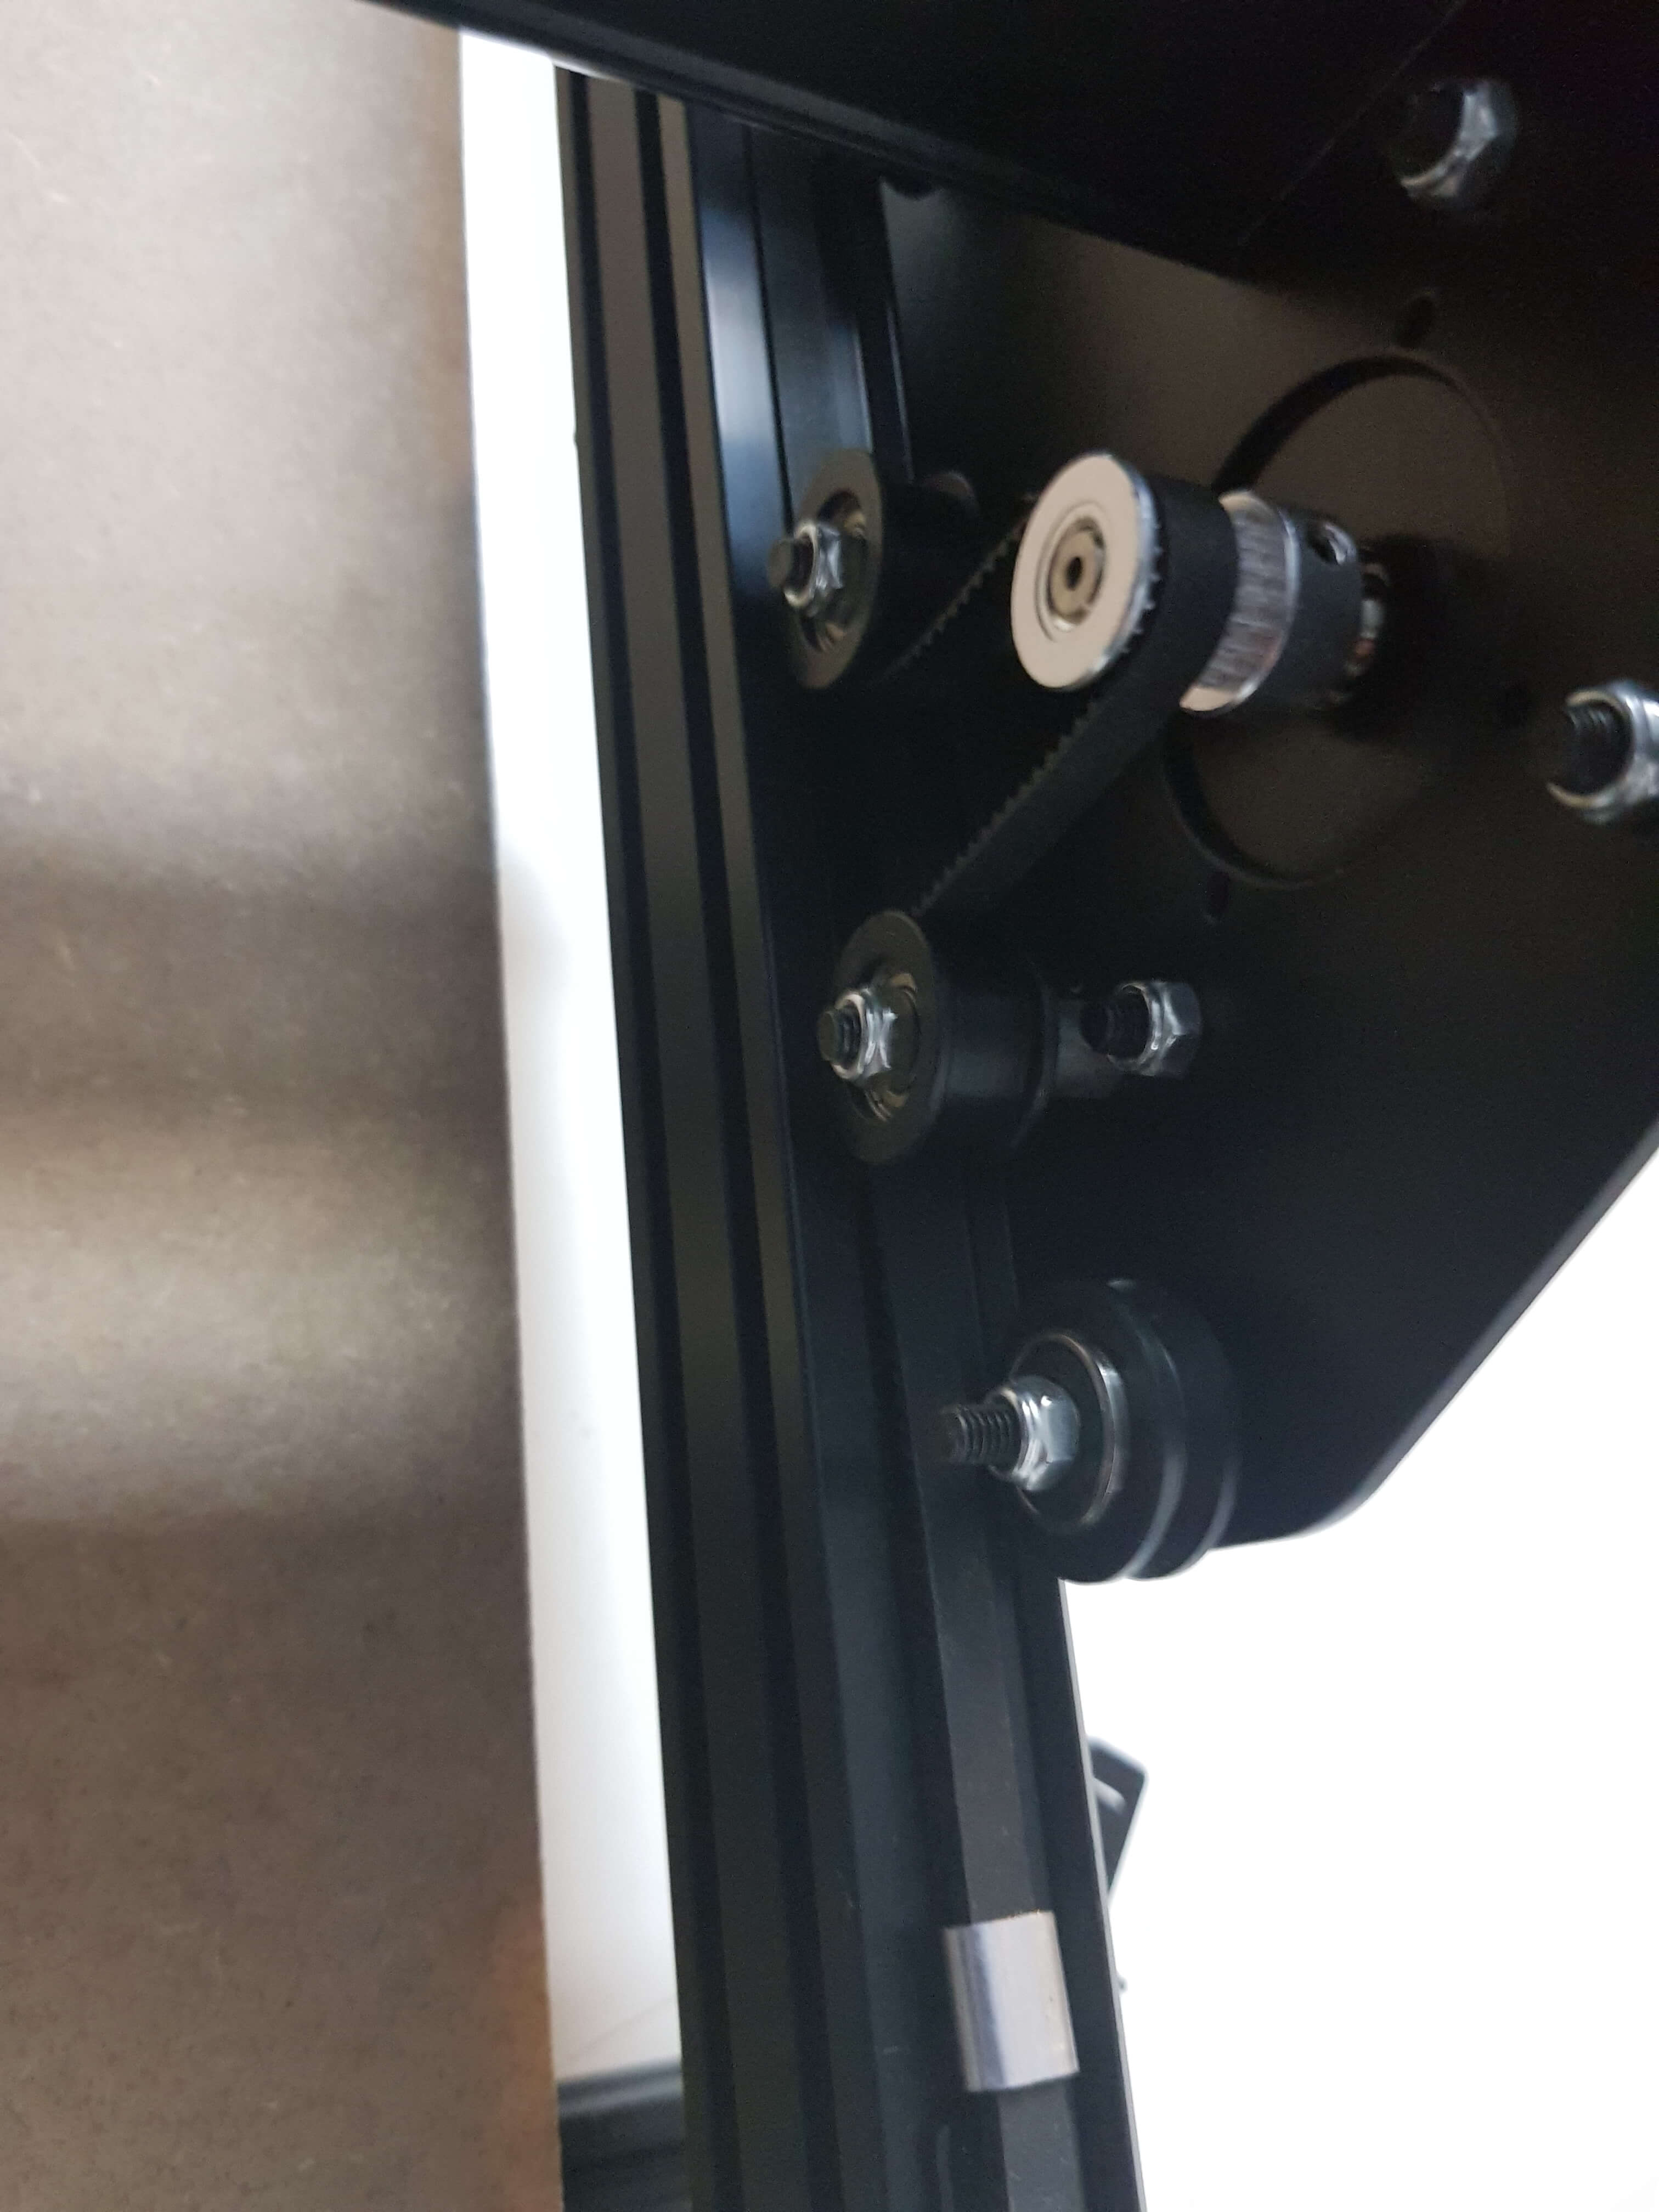
Before attaching it to the other end as well, put the GT2 belt first over the motor (watch the picture how the two smooth idlers push the belt on the makerslide):
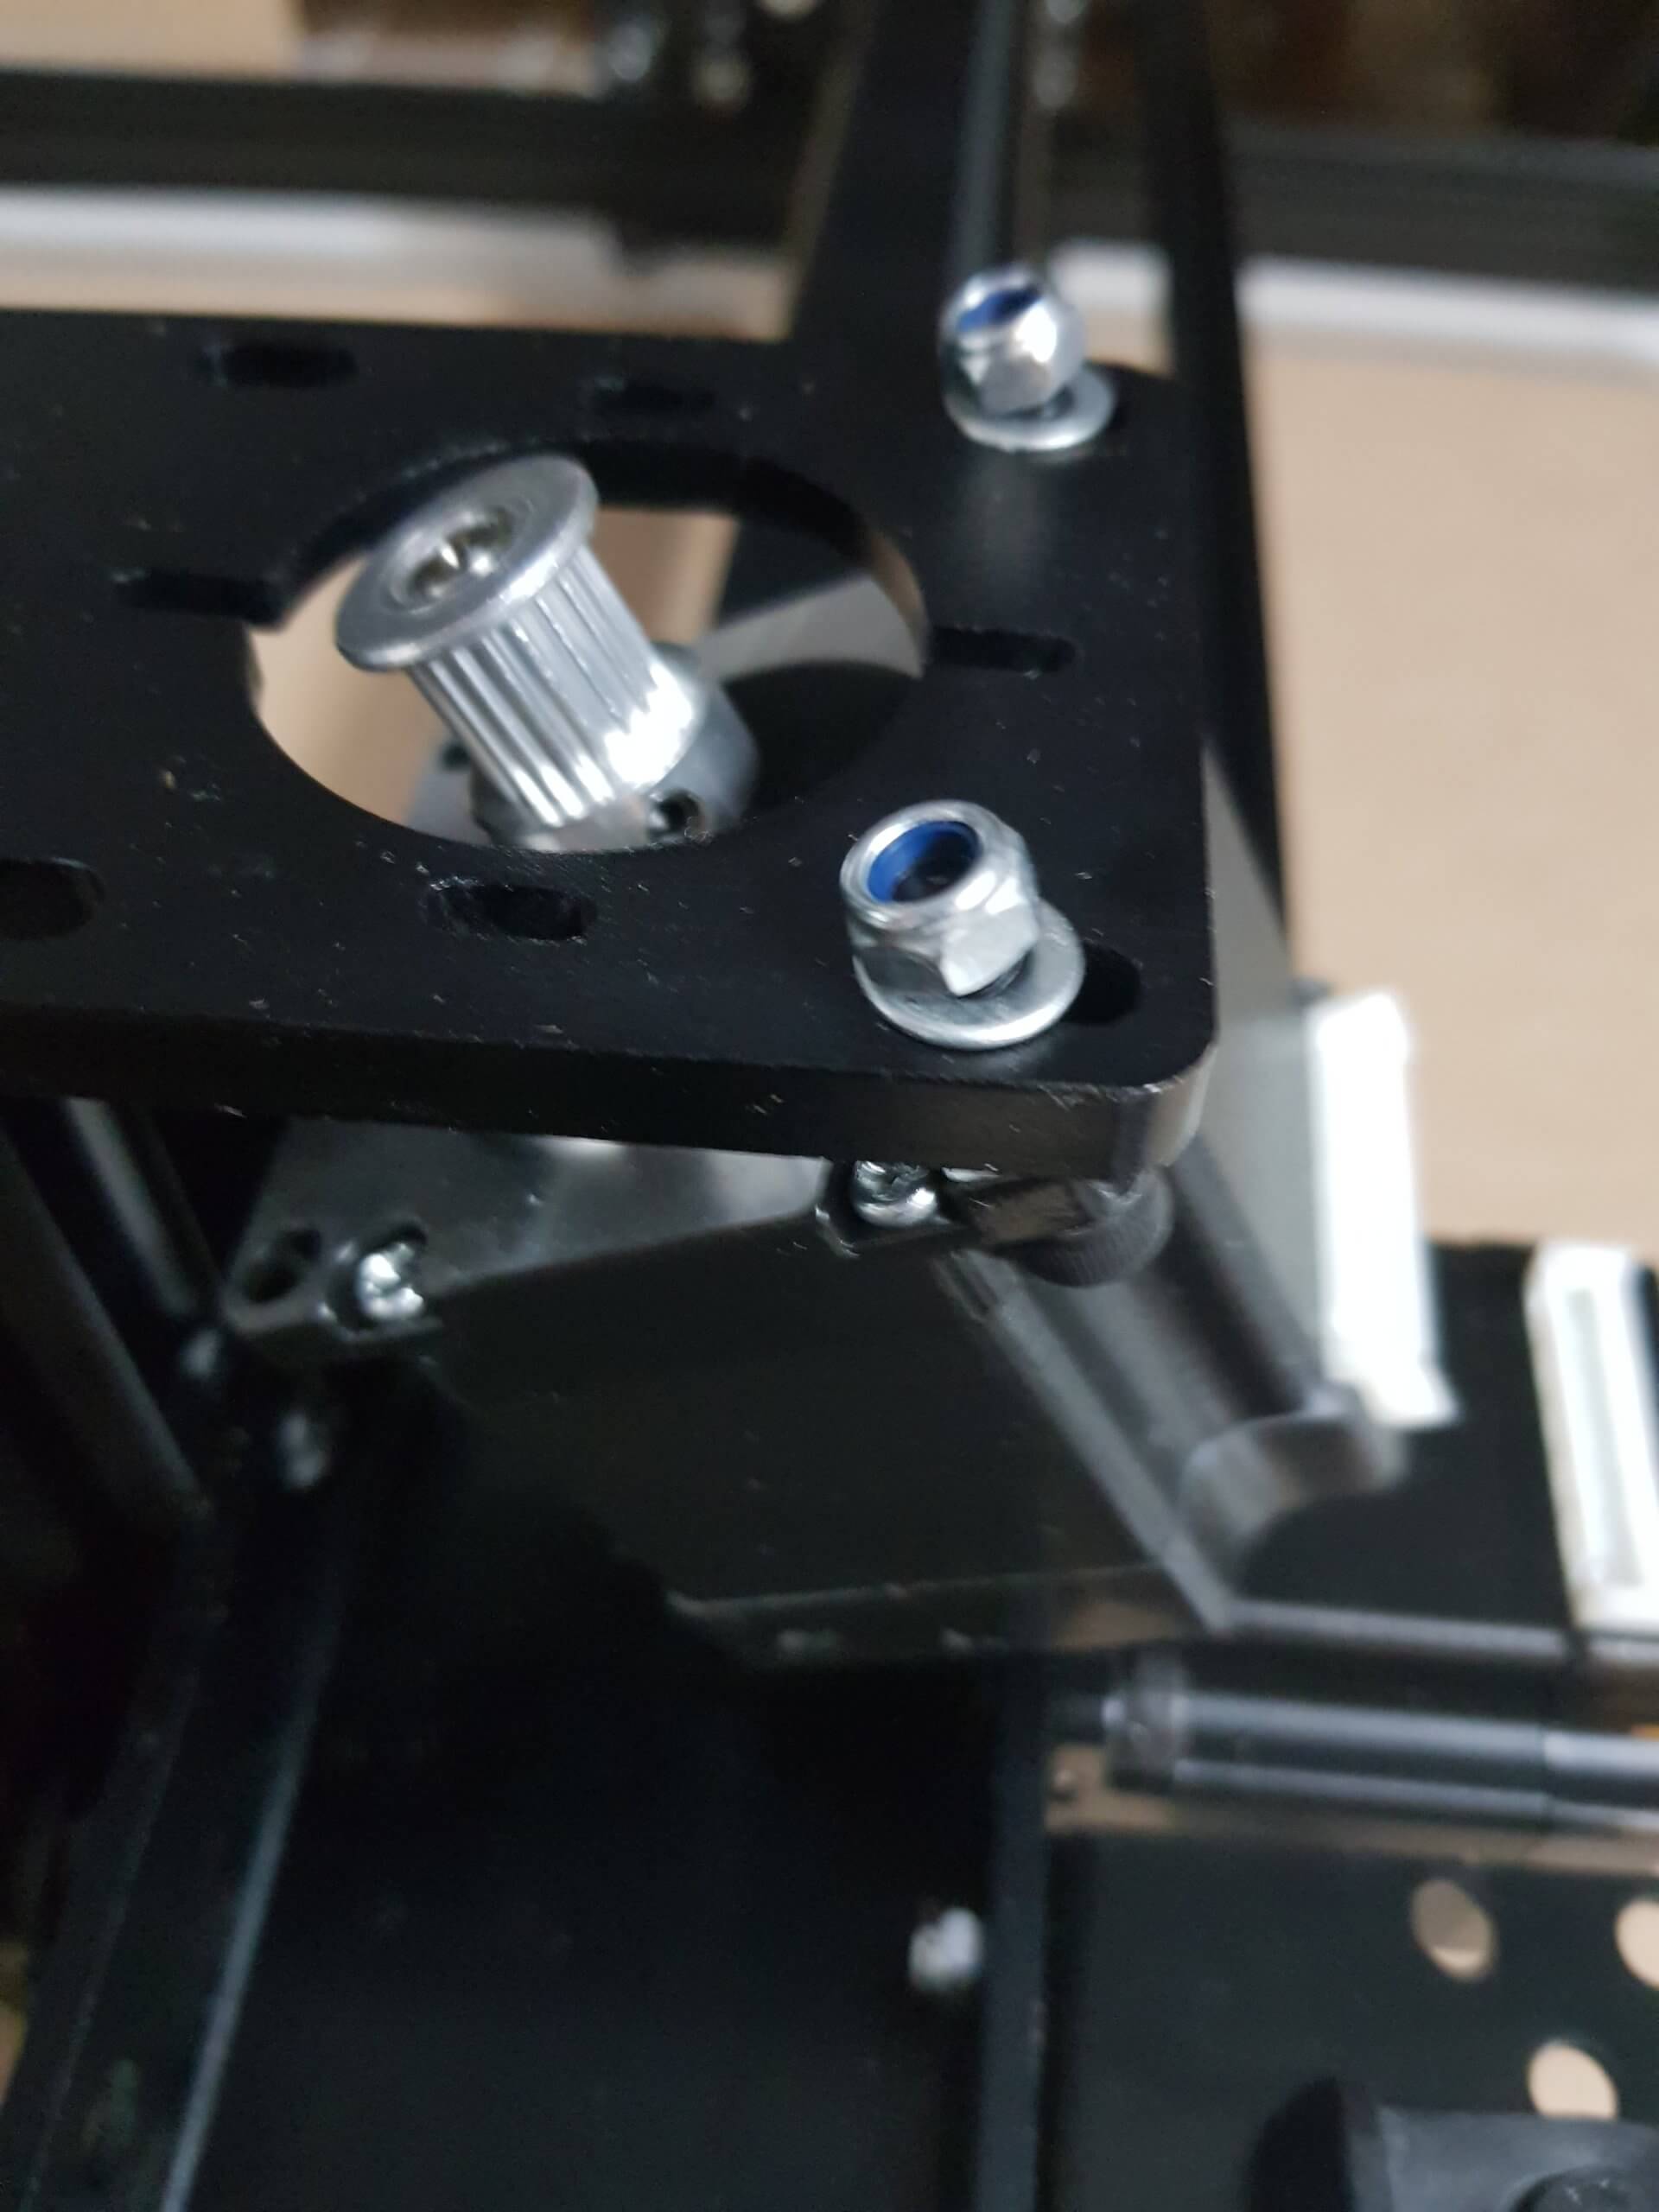
And at the other side, do the same steps as before – and also add a M5 25mm button head screw with an M5 nylon insert nut to have a mechanism to put the belt under tension:
For the belt on the wide makerslide, we will start from the middle: the belt needs to go over the motor and underneath the smooth idlers inside the x carriage before they go to the ends of the wide makerslide where they will be attached like the previous steps:

For the belt on the Z axis, we will first attach the motor (watch the positioning of the connector!) with two M5 20mm socket head screws and M5 washers so that it balances a bit:
Then sliding over the round GT2 belt and finally attaching the 2 other M5 20mm socket head screws, and tightening them all so that the round GT2 belt is not loose: