No products in the cart.

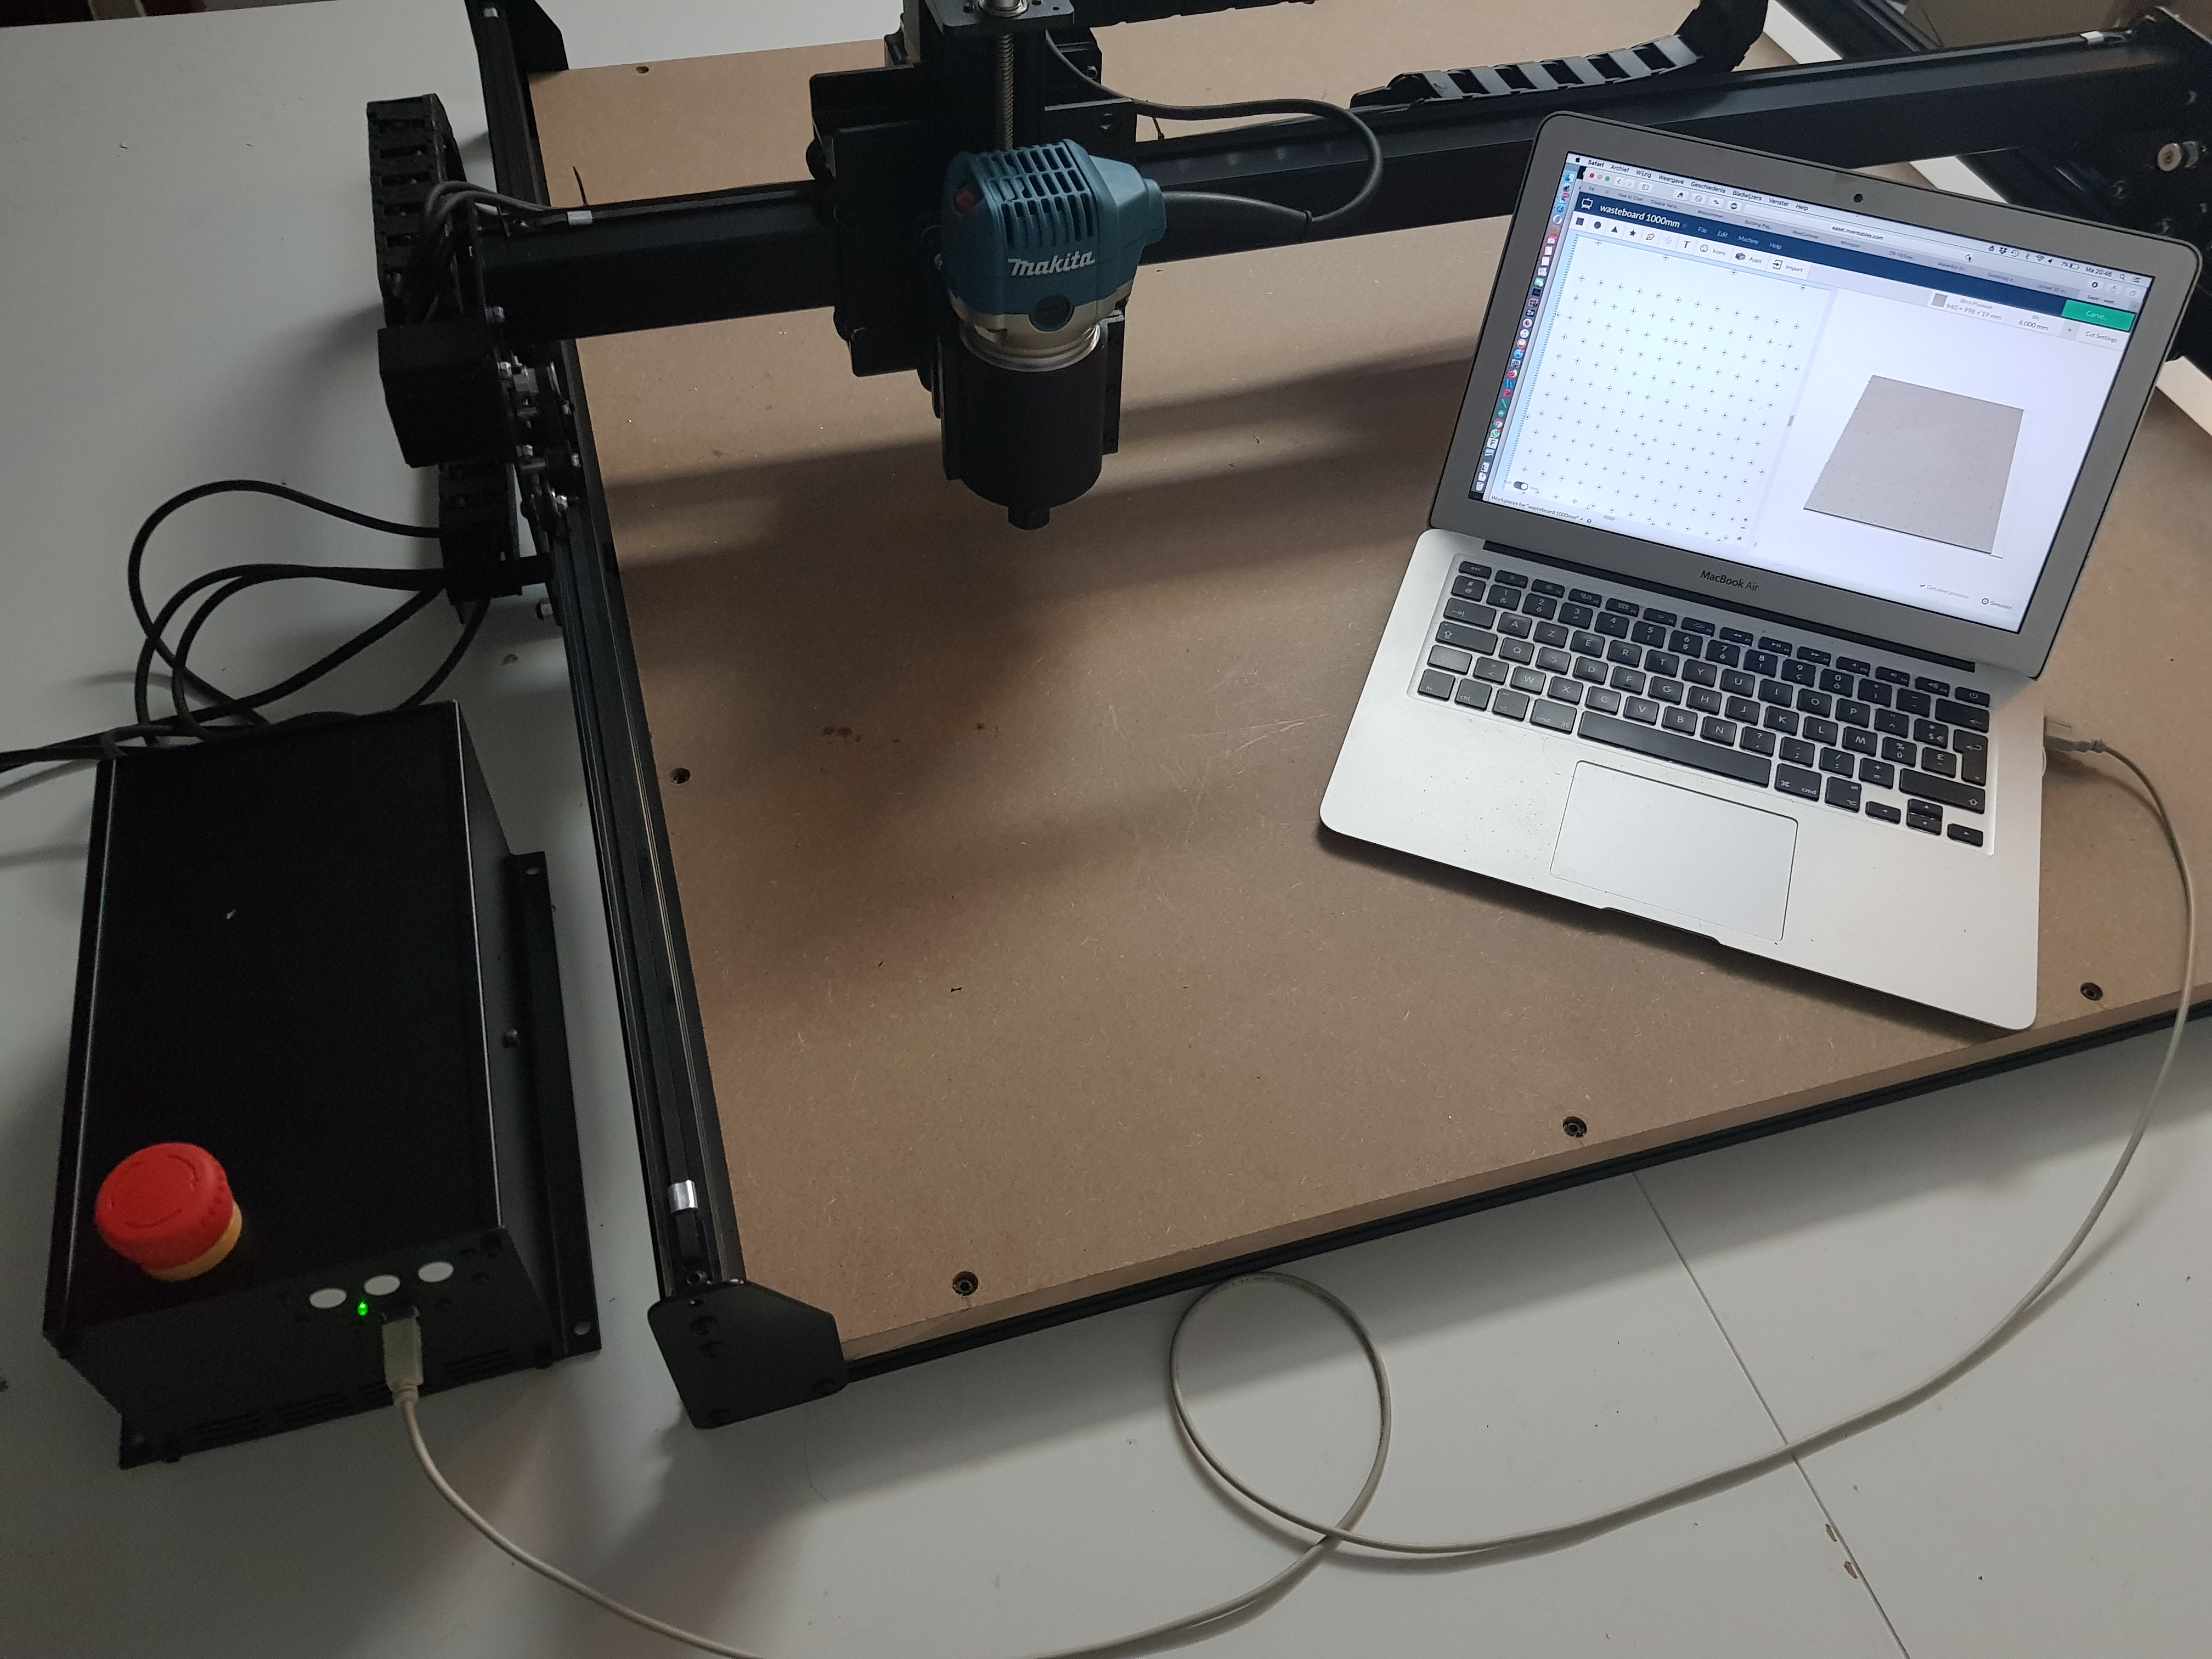
Computer setup
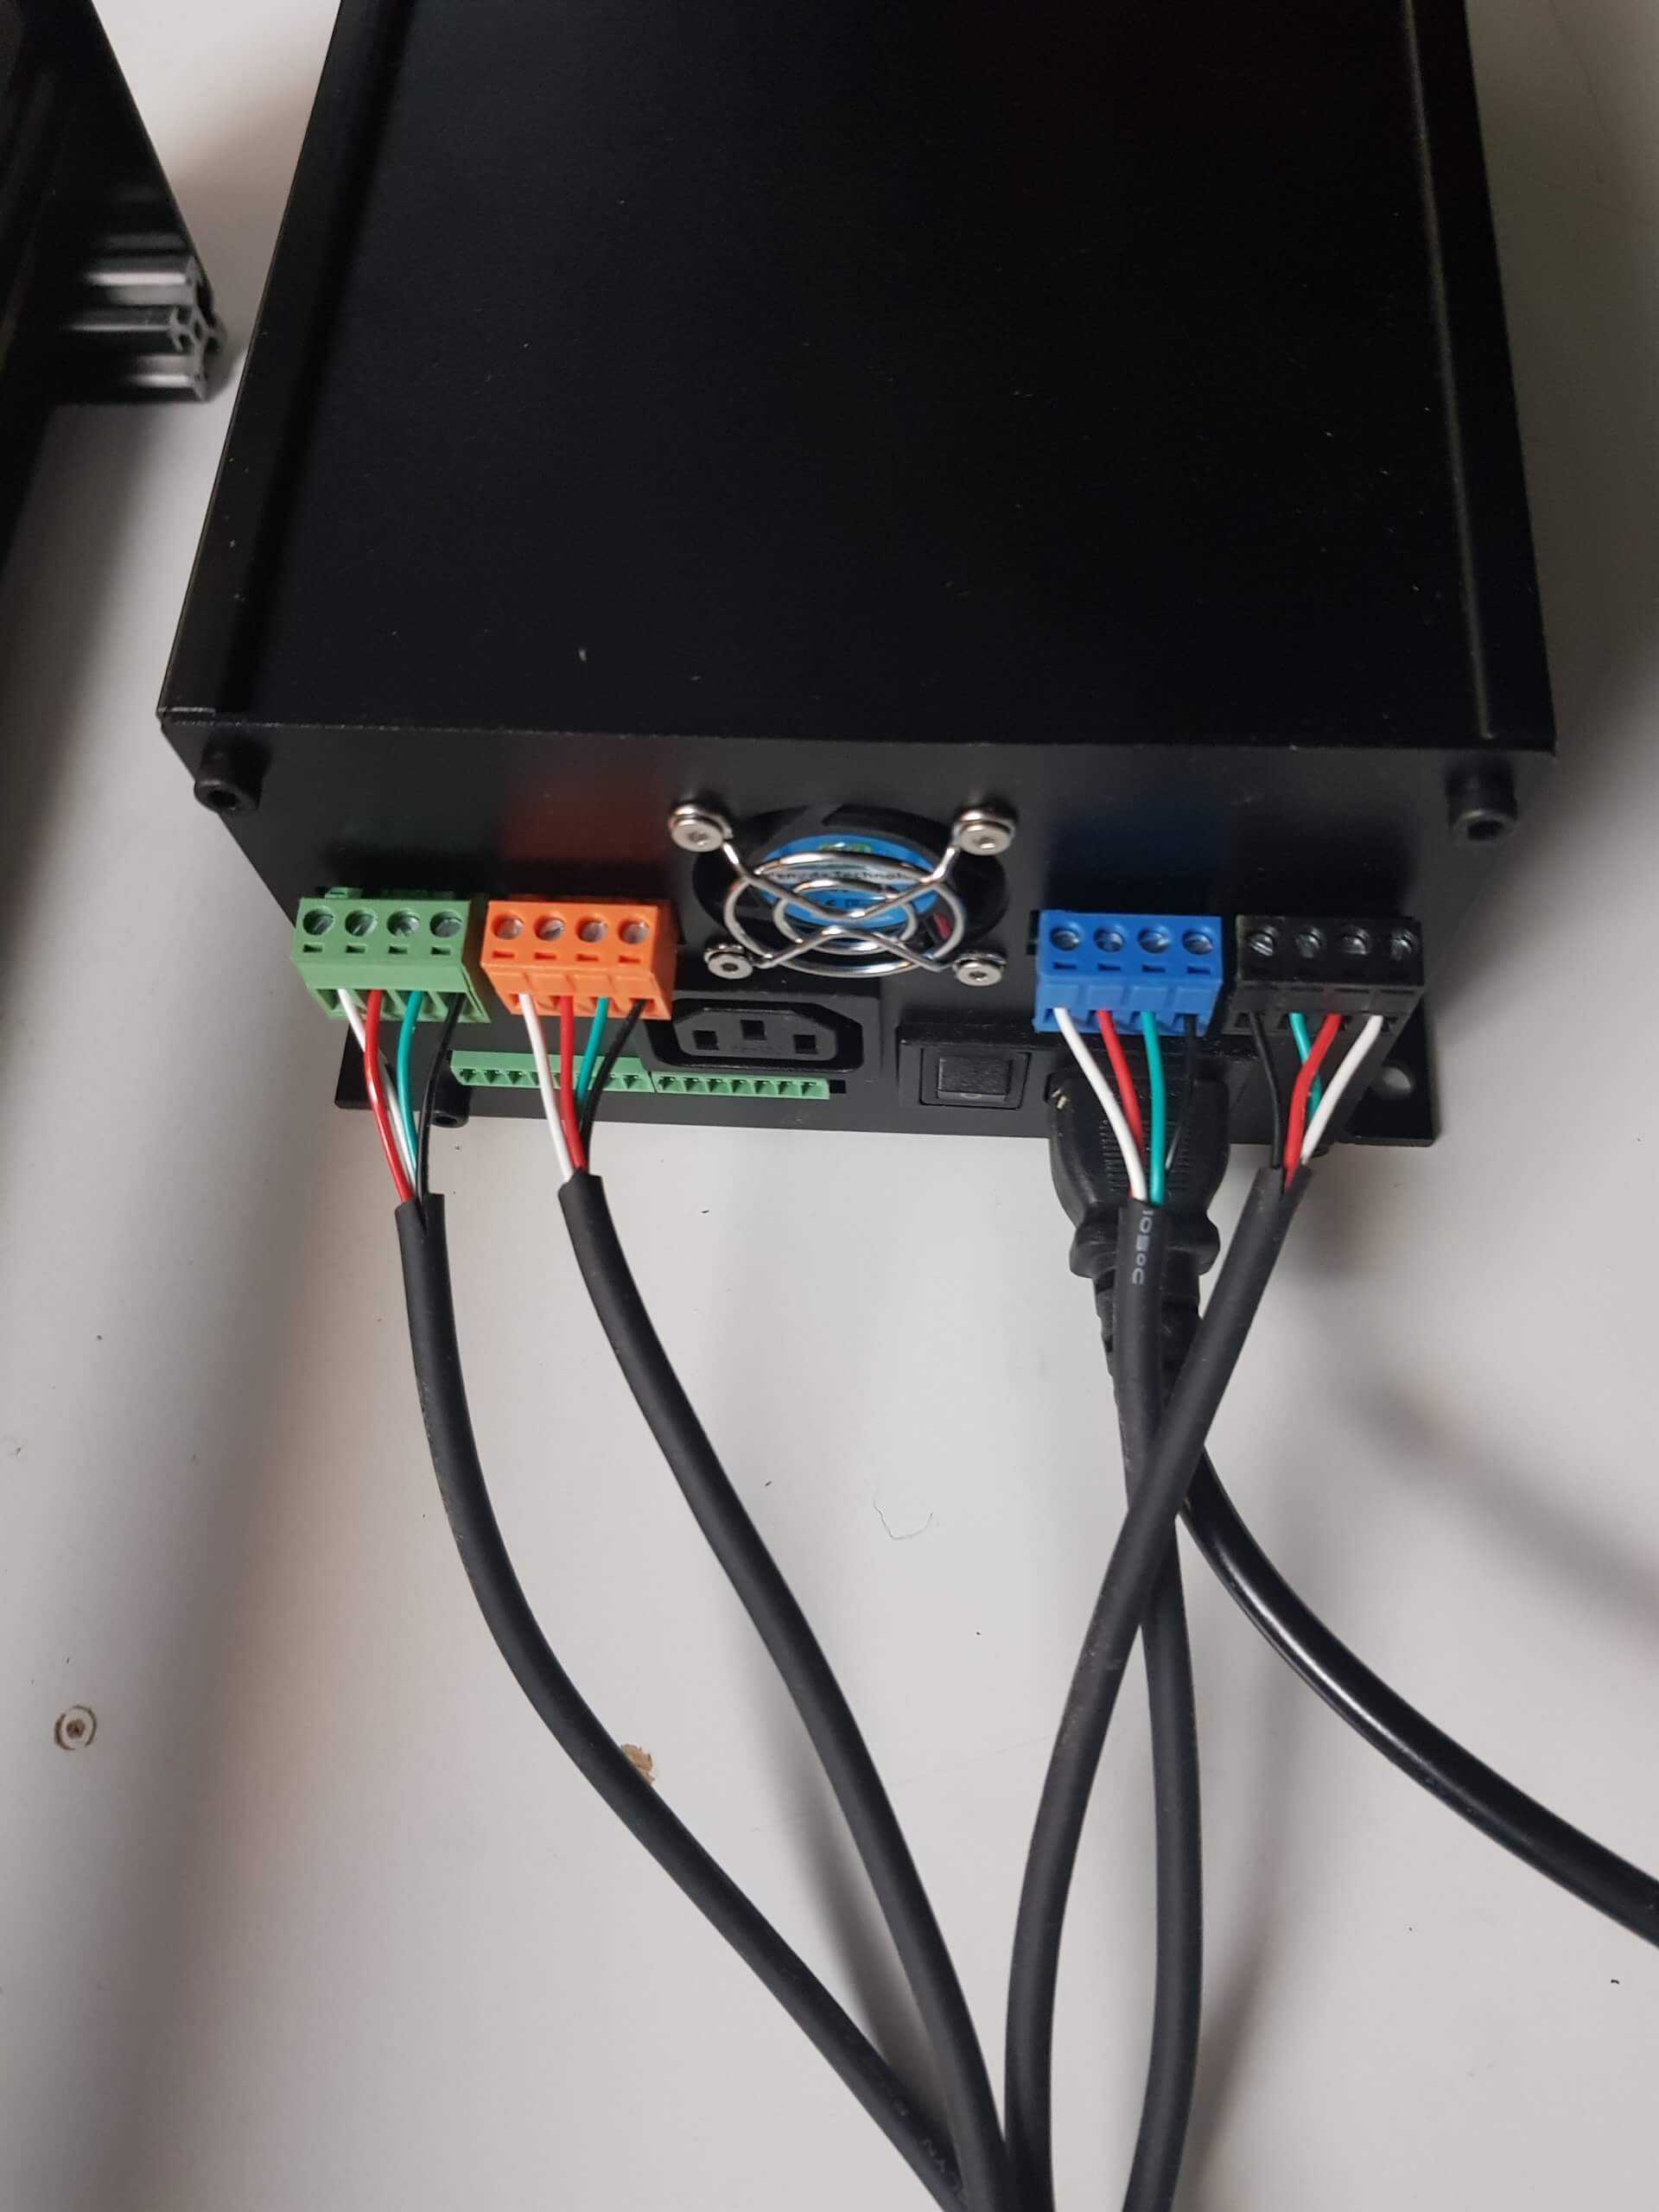
Now just plug the connectors according to their color, and plug the AC cable and connect the usb cable to the computer
If you use the high performance controller:
You can use the carving machine with different softwares.
If you use a windows computer (Mac users can skip this), start by installing the drivers by installing Arduino software (https://www.arduino.cc/en/main/software).
Some controllers are equiped with a USB communication chip that may require an additional driver, that you can download here, depending on your system (Windows, Mac, Linux): https://sparks.gogo.co.nz/ch340.html
Then, there are a number of choices for the user interface to control the machine.
You can install Universal Gcode Sender, that you can download here, an for which you can do the machine setup (direction of the movements, etc) as described in the link: https://winder.github.io/ugs_website/guide/platform/ Gcode can then for instance be generated in Fusion 360, but there is a learning curve involved.
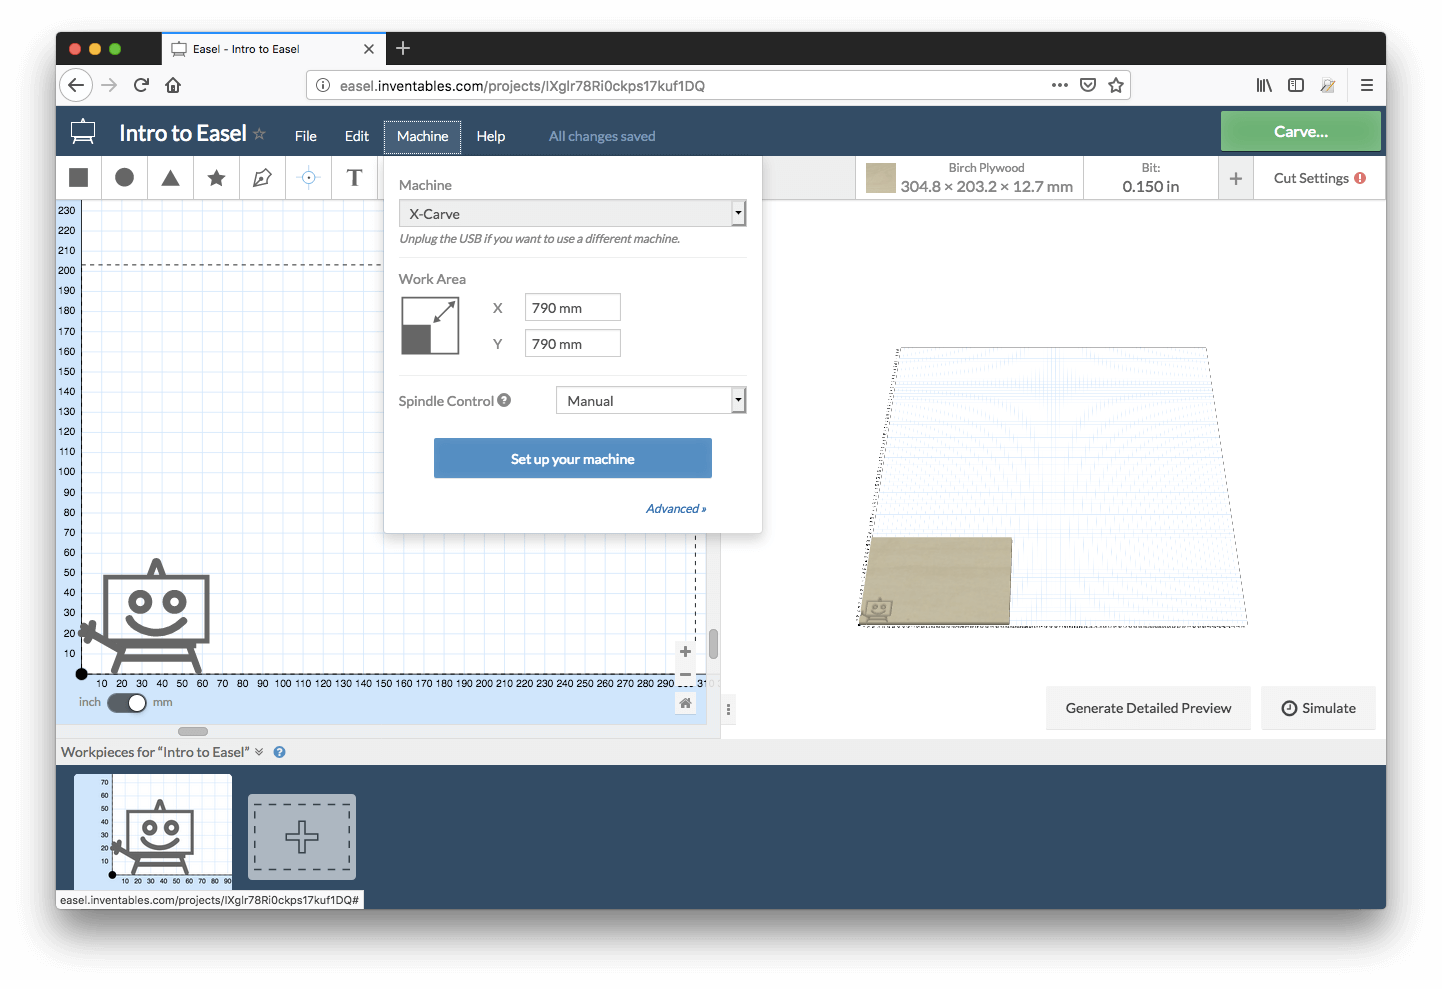
Another possibility is using the cloud software “easel”: http://easel.inventables.com – After you create an account there, you will see a button “carve” on the dashboard after logging in. Click it, and you will be asked to install a driver. After installing the driver, that button will become green and will instruct you to do “machine setup”. After that, you can draw or import drawings there, and have them sent to the machine by using that “carve” button.
When you go through “Machine setup” (in Easel or UGS), you’ll be able to check the right directions of the movements and you can change the directions in the machine setup wizard if needed.
If however, you would face the situation that the Y motors go each in opposite directions, then that’s something that the software can’t correct: in that case: simply unscrew a red and white cable in one of the connectors of one Y motor at the back of the controller (that’s the orange or blue connector, you can choose one), and reverse that red and white cable before fastening it in that connector again.
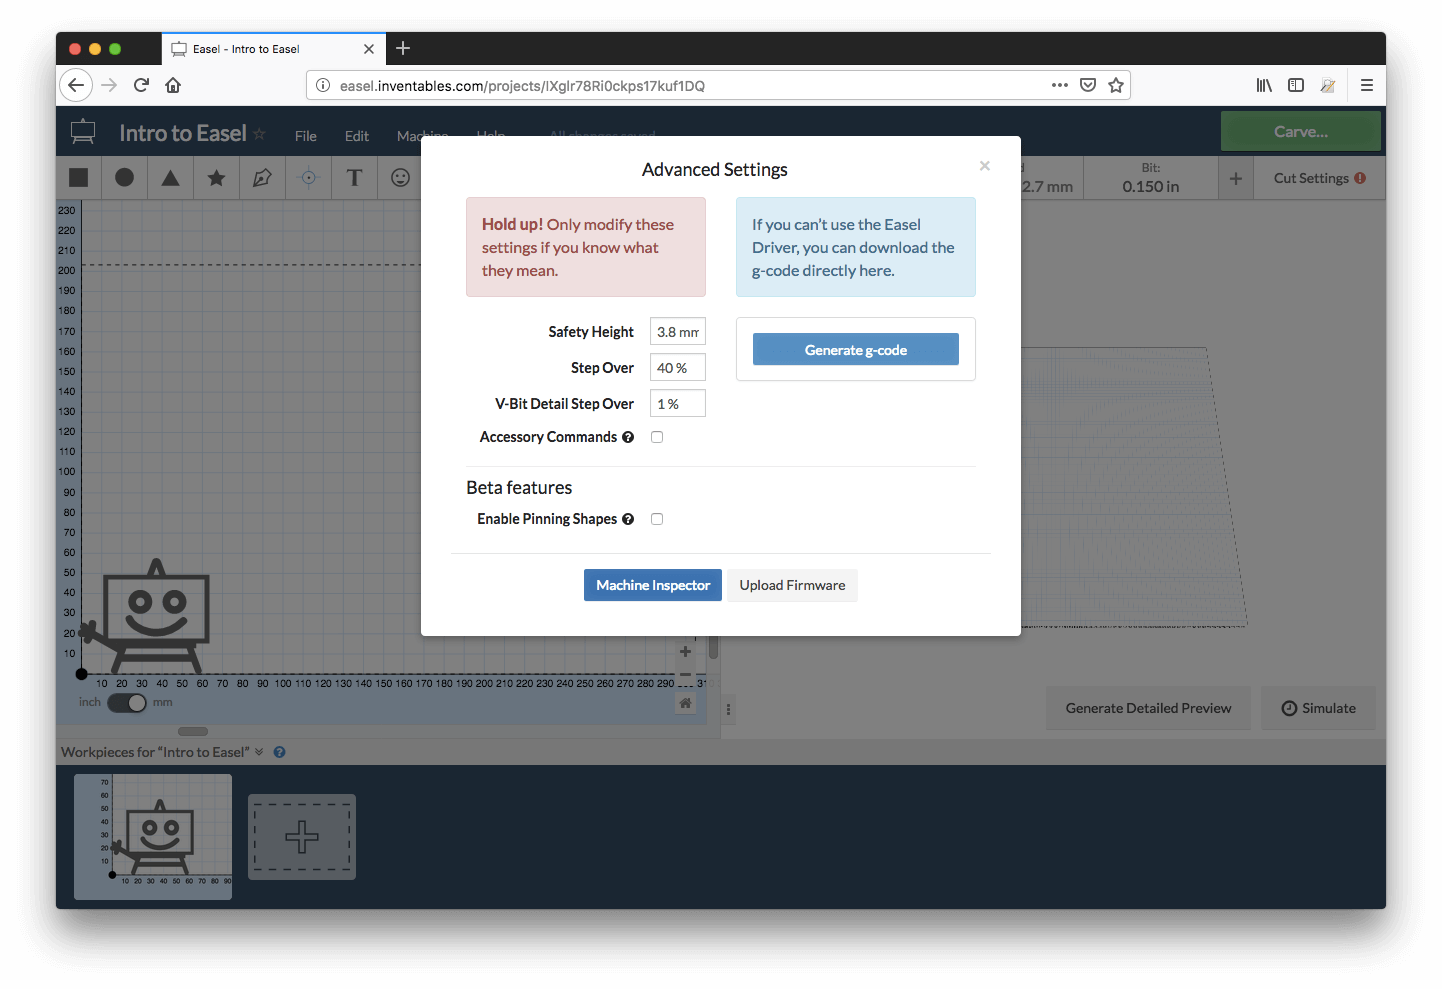
Also, if the motors would now run in the right direction, but the distances would not match (i.e. jogging 1 cm in the software does not correspond to 1 cm in reality), then you can change that in the grbl settings of the controller – found under parameters $100 of the X axis, $101 for the Y axis and $102 for the Z axis. For instance, if you use Easel, then you can change these values by going in the menu “Machine” -> “Advanced” -> “Machine inspector” and then in the text field you can type in $100 = …… (with the desired value) and followed by enter: