
No products in the cart.

Gantry – z-axis
Items you need for this step:
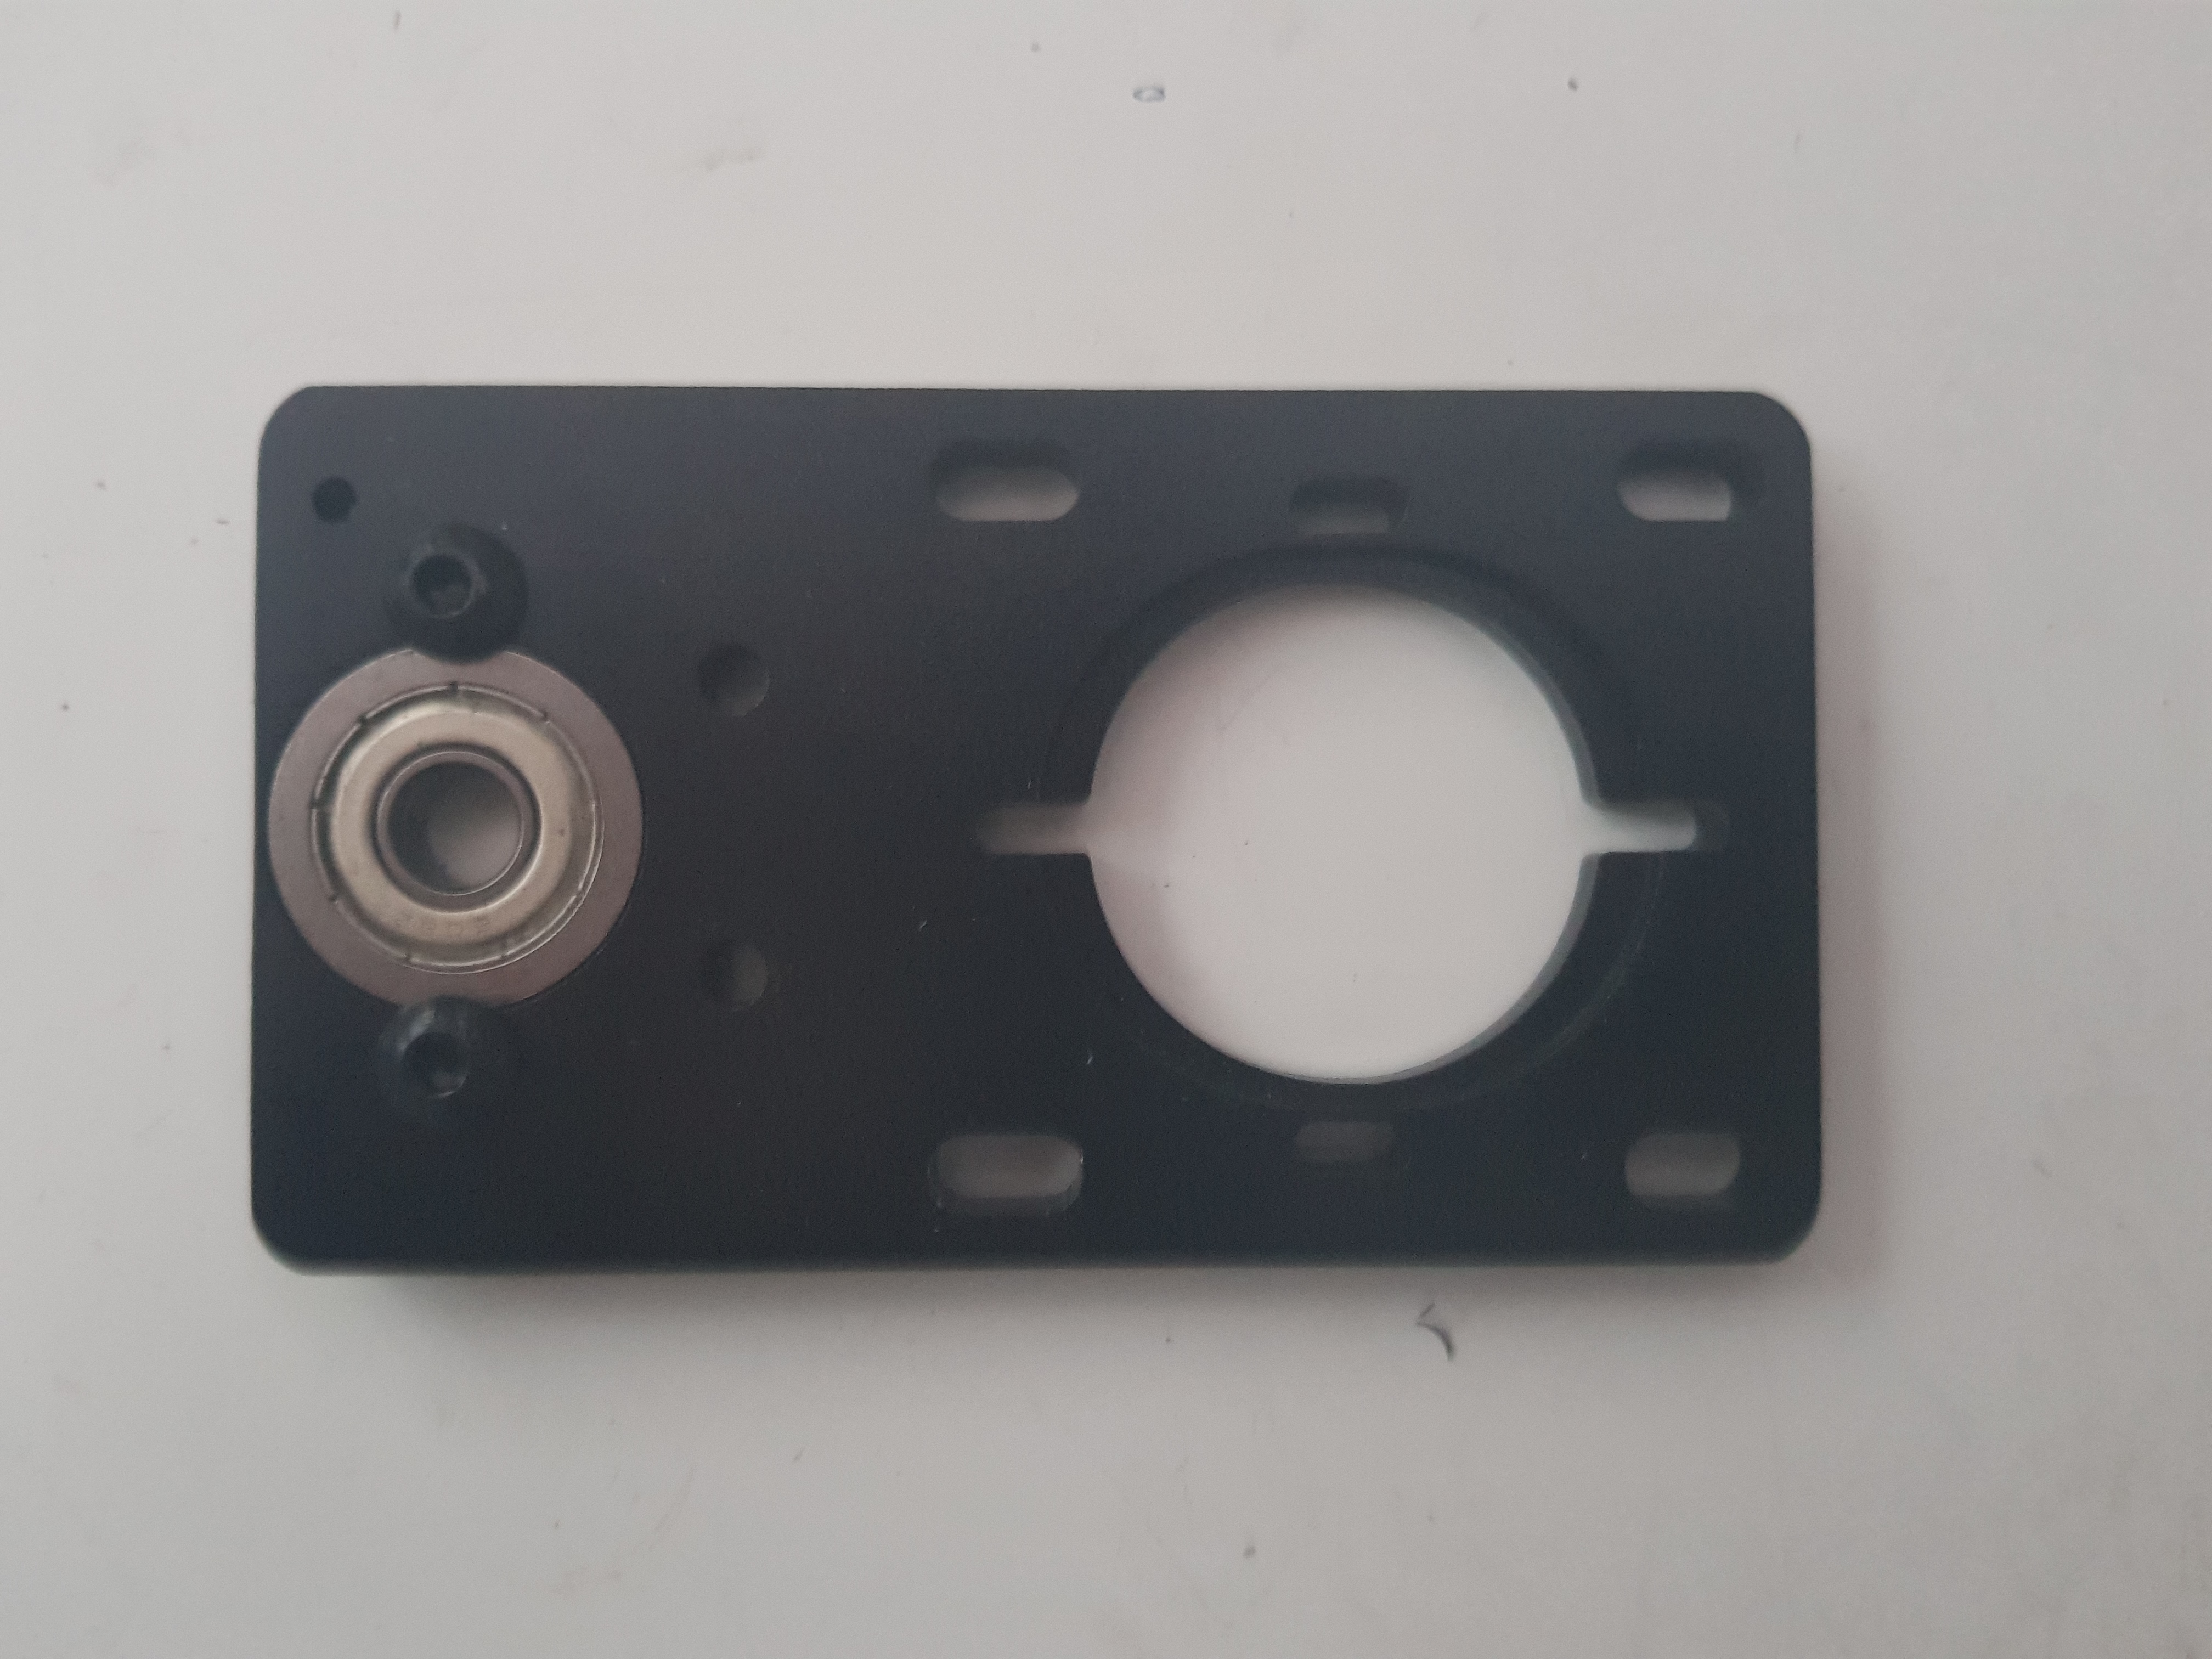
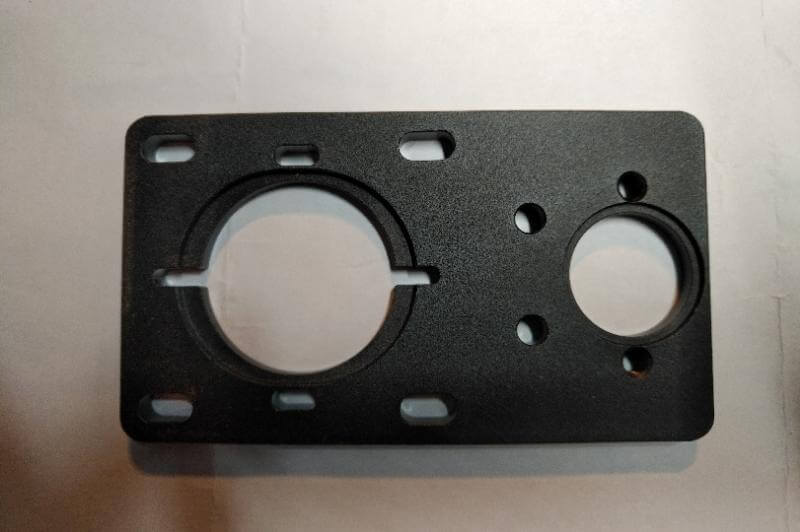 | 1 | z axis motor plate |
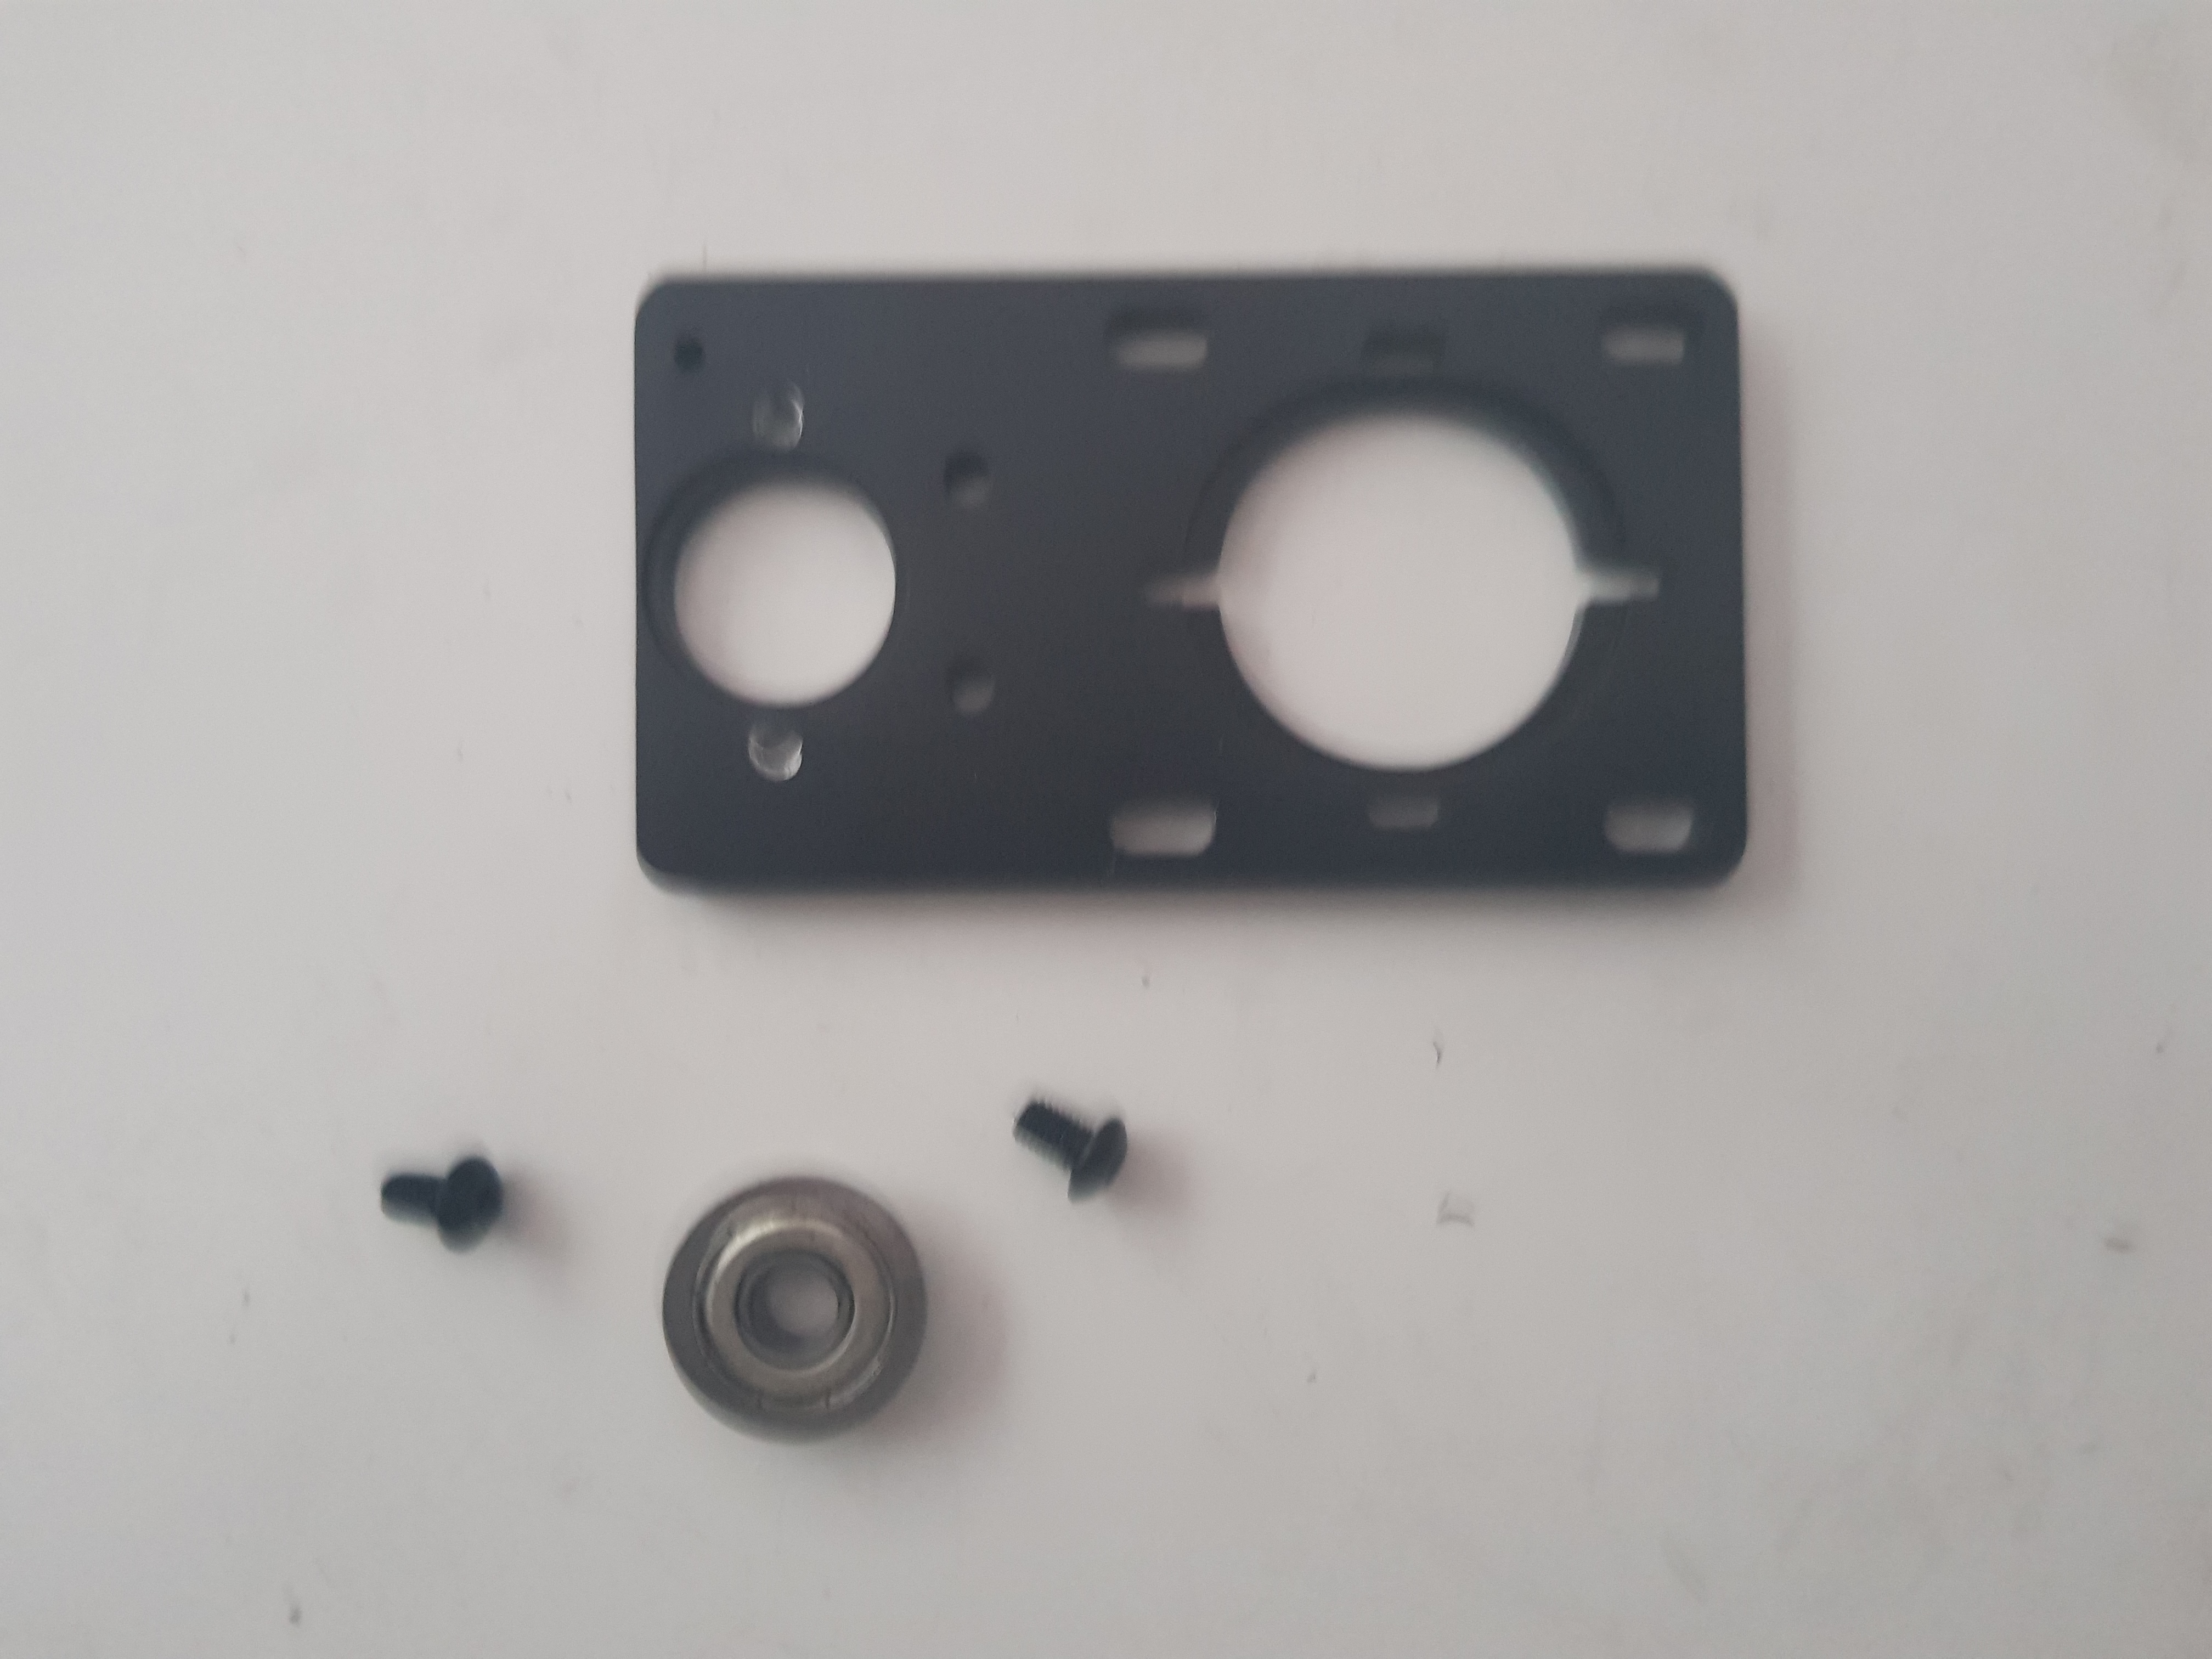 | 1 | flanged bearing |
 | 2 | button head cap screws M5 8mm |
| 2 | button head cap screws M5 14mm (or 16mm) |
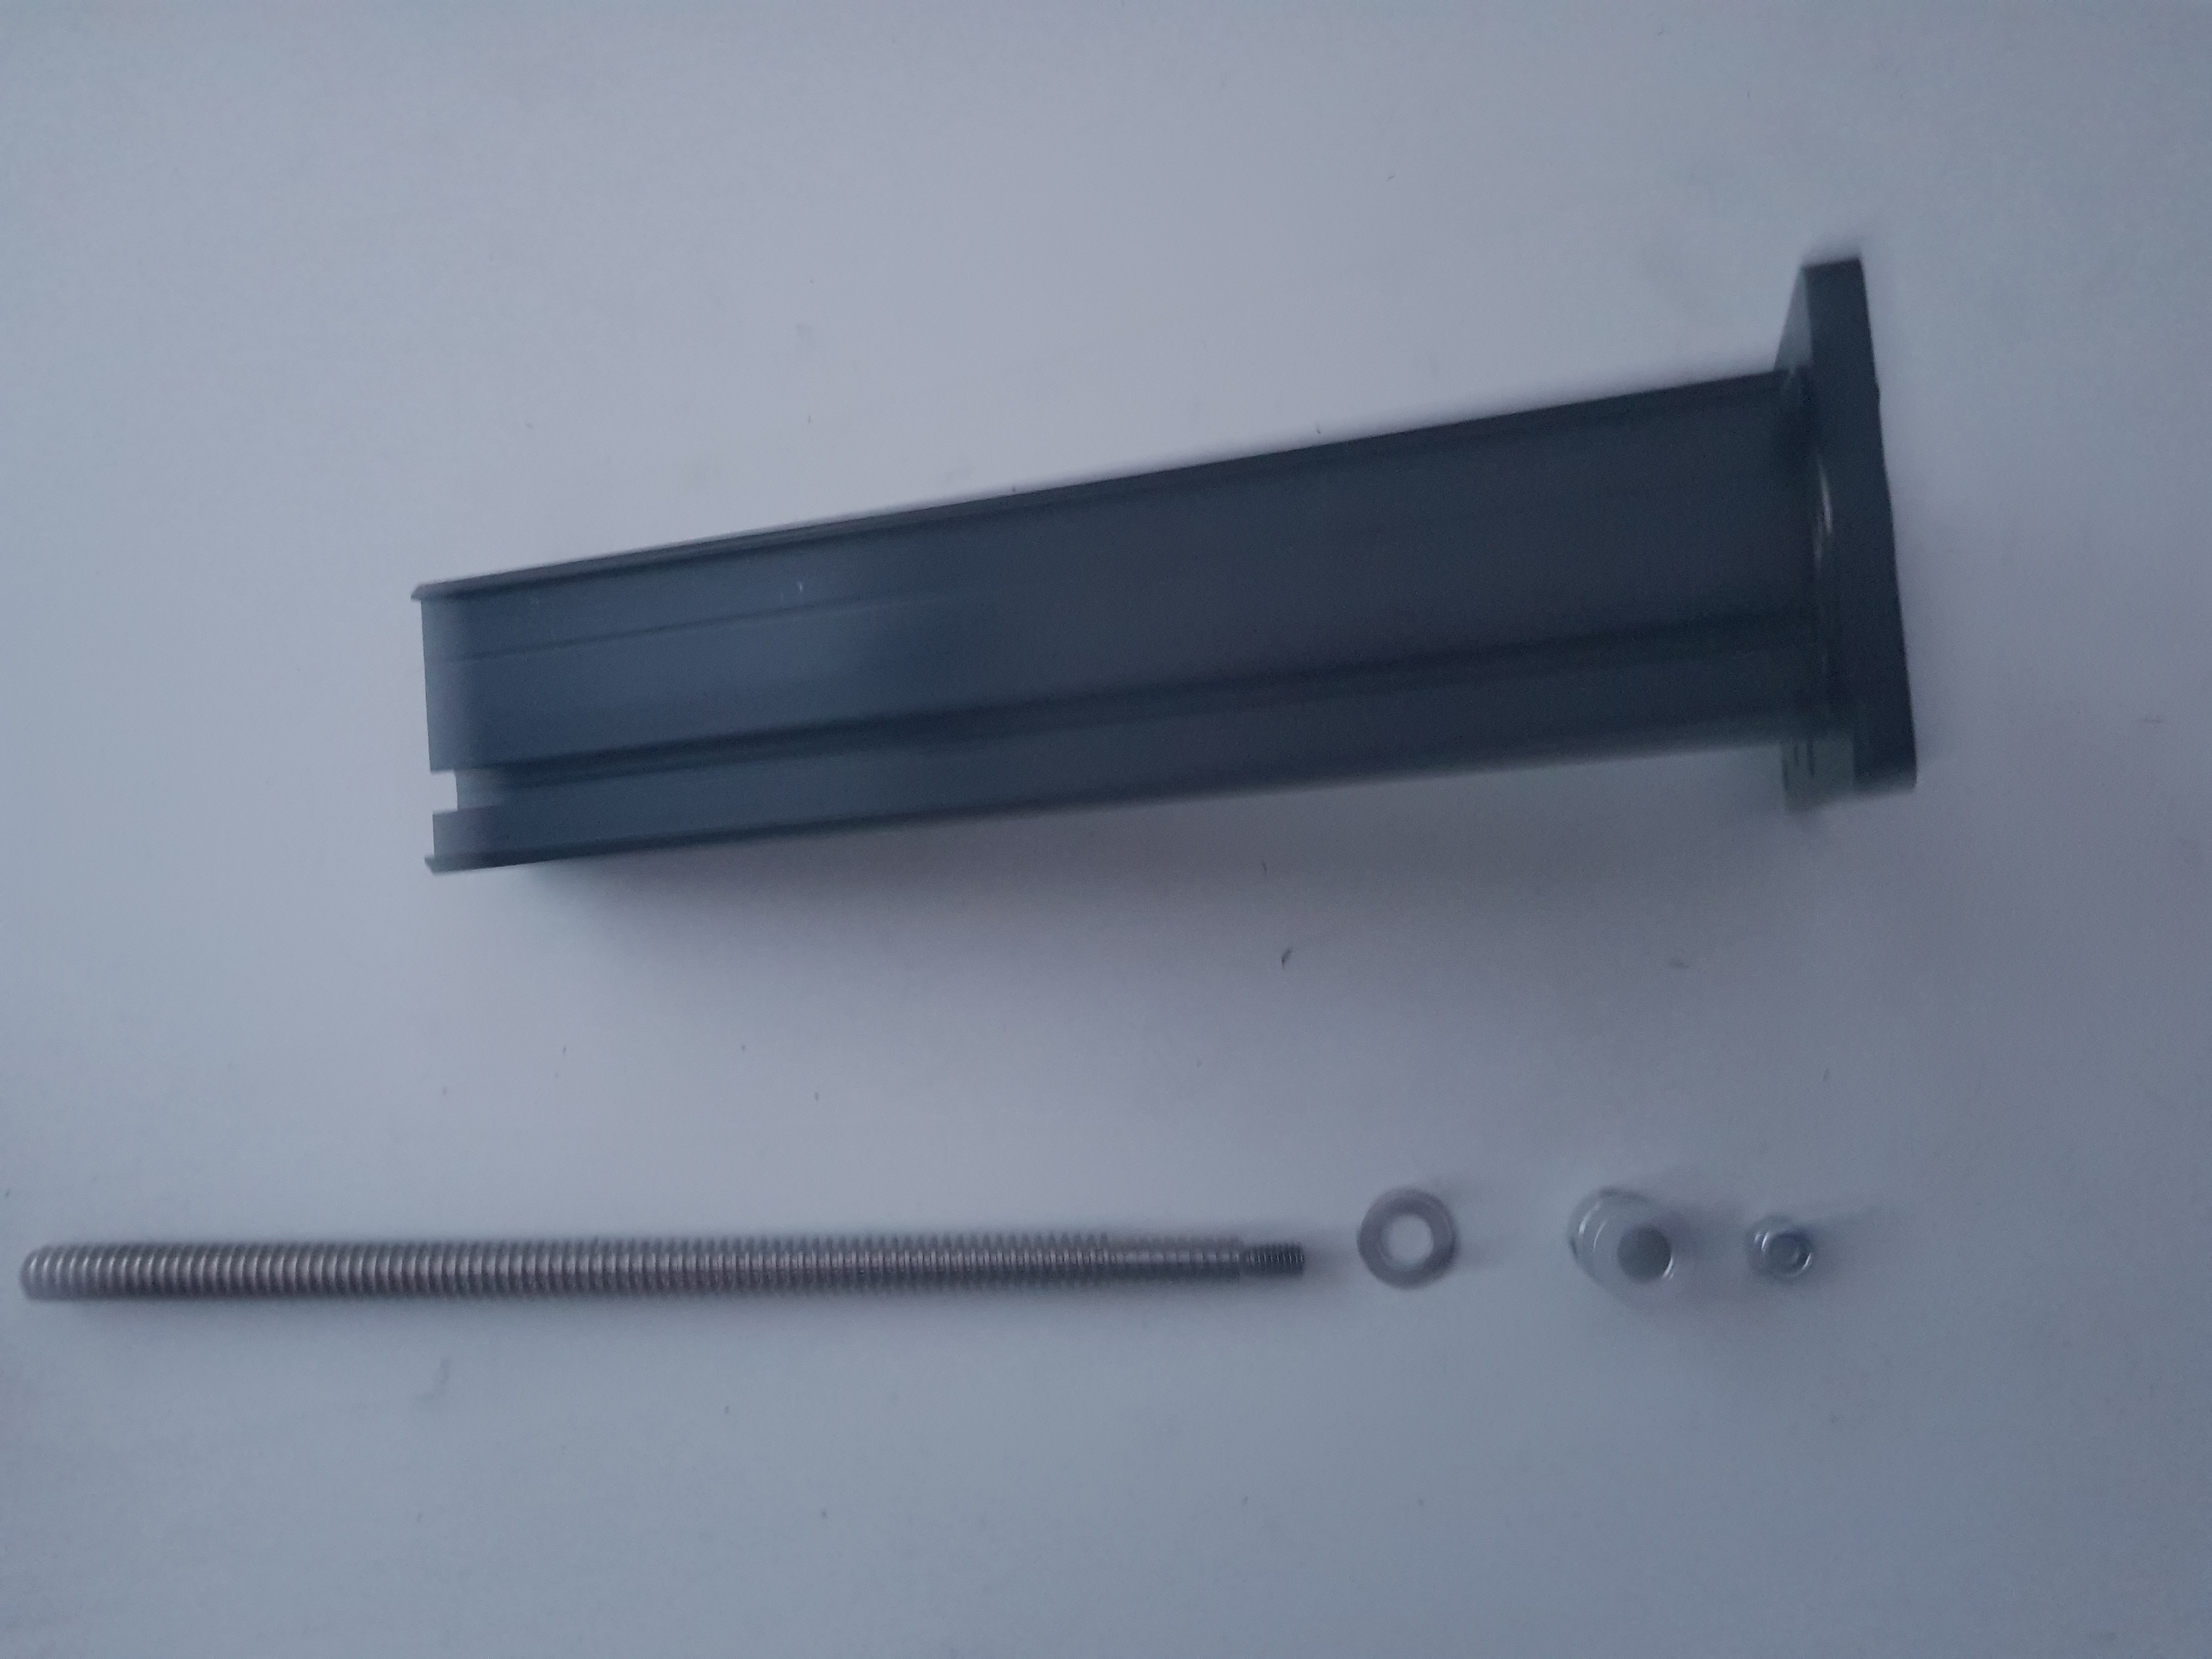
 | 1 | z axis rail: 20cm makerslide rail (black) |
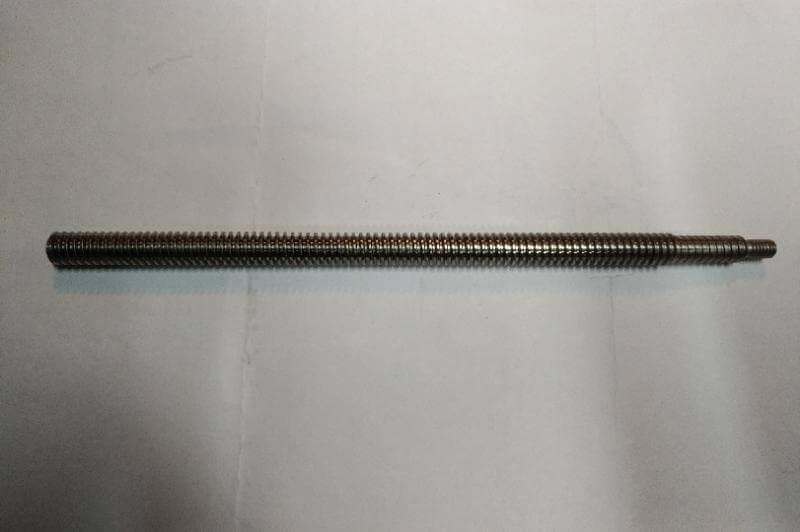 | 1 | ACME leadscrew |
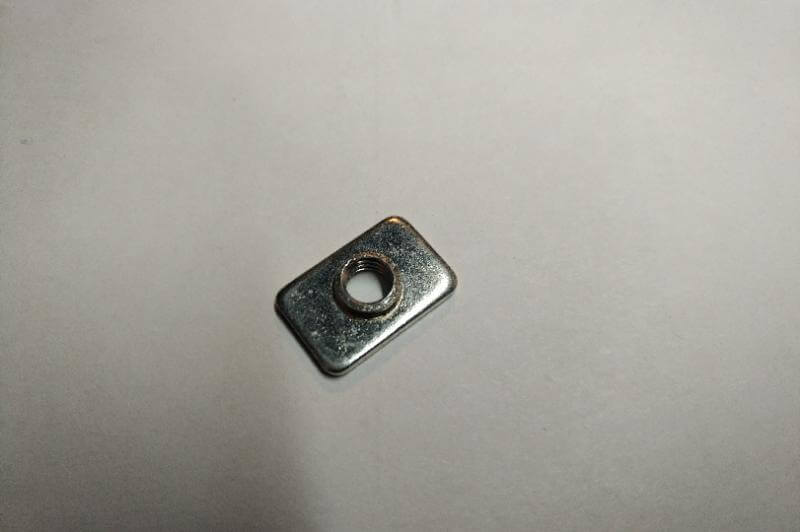
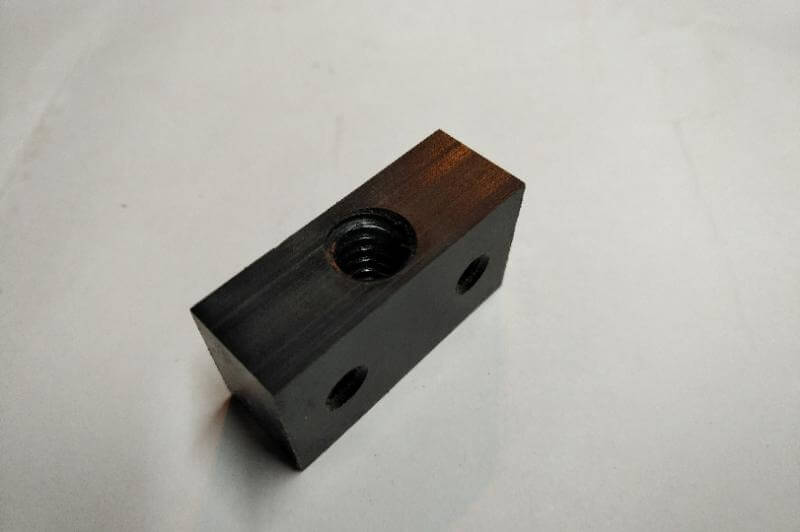 | 1 | delrin nut |
 | 1 | flat washer M8 |
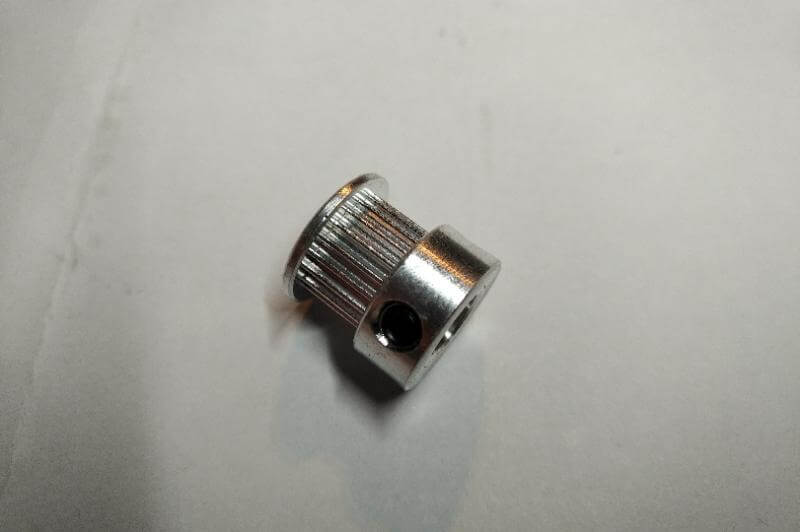 | 1 | GT2 pulley 8mm |
 | 1 | nylon insert lock nut M6 |
 | 4 | t-slot pre-assembly |
| 4 | button head cap screws M5 10mm |
same as x carve instructions
Attach the flanged bearing with M5 8mm button head screws to the z axis motor plate:
And then turn it upside down and use M5 14mm (or 16mm) button head screws to attach it to the 20cm makerslide – so now you will put in the screws from the other side of the plate:

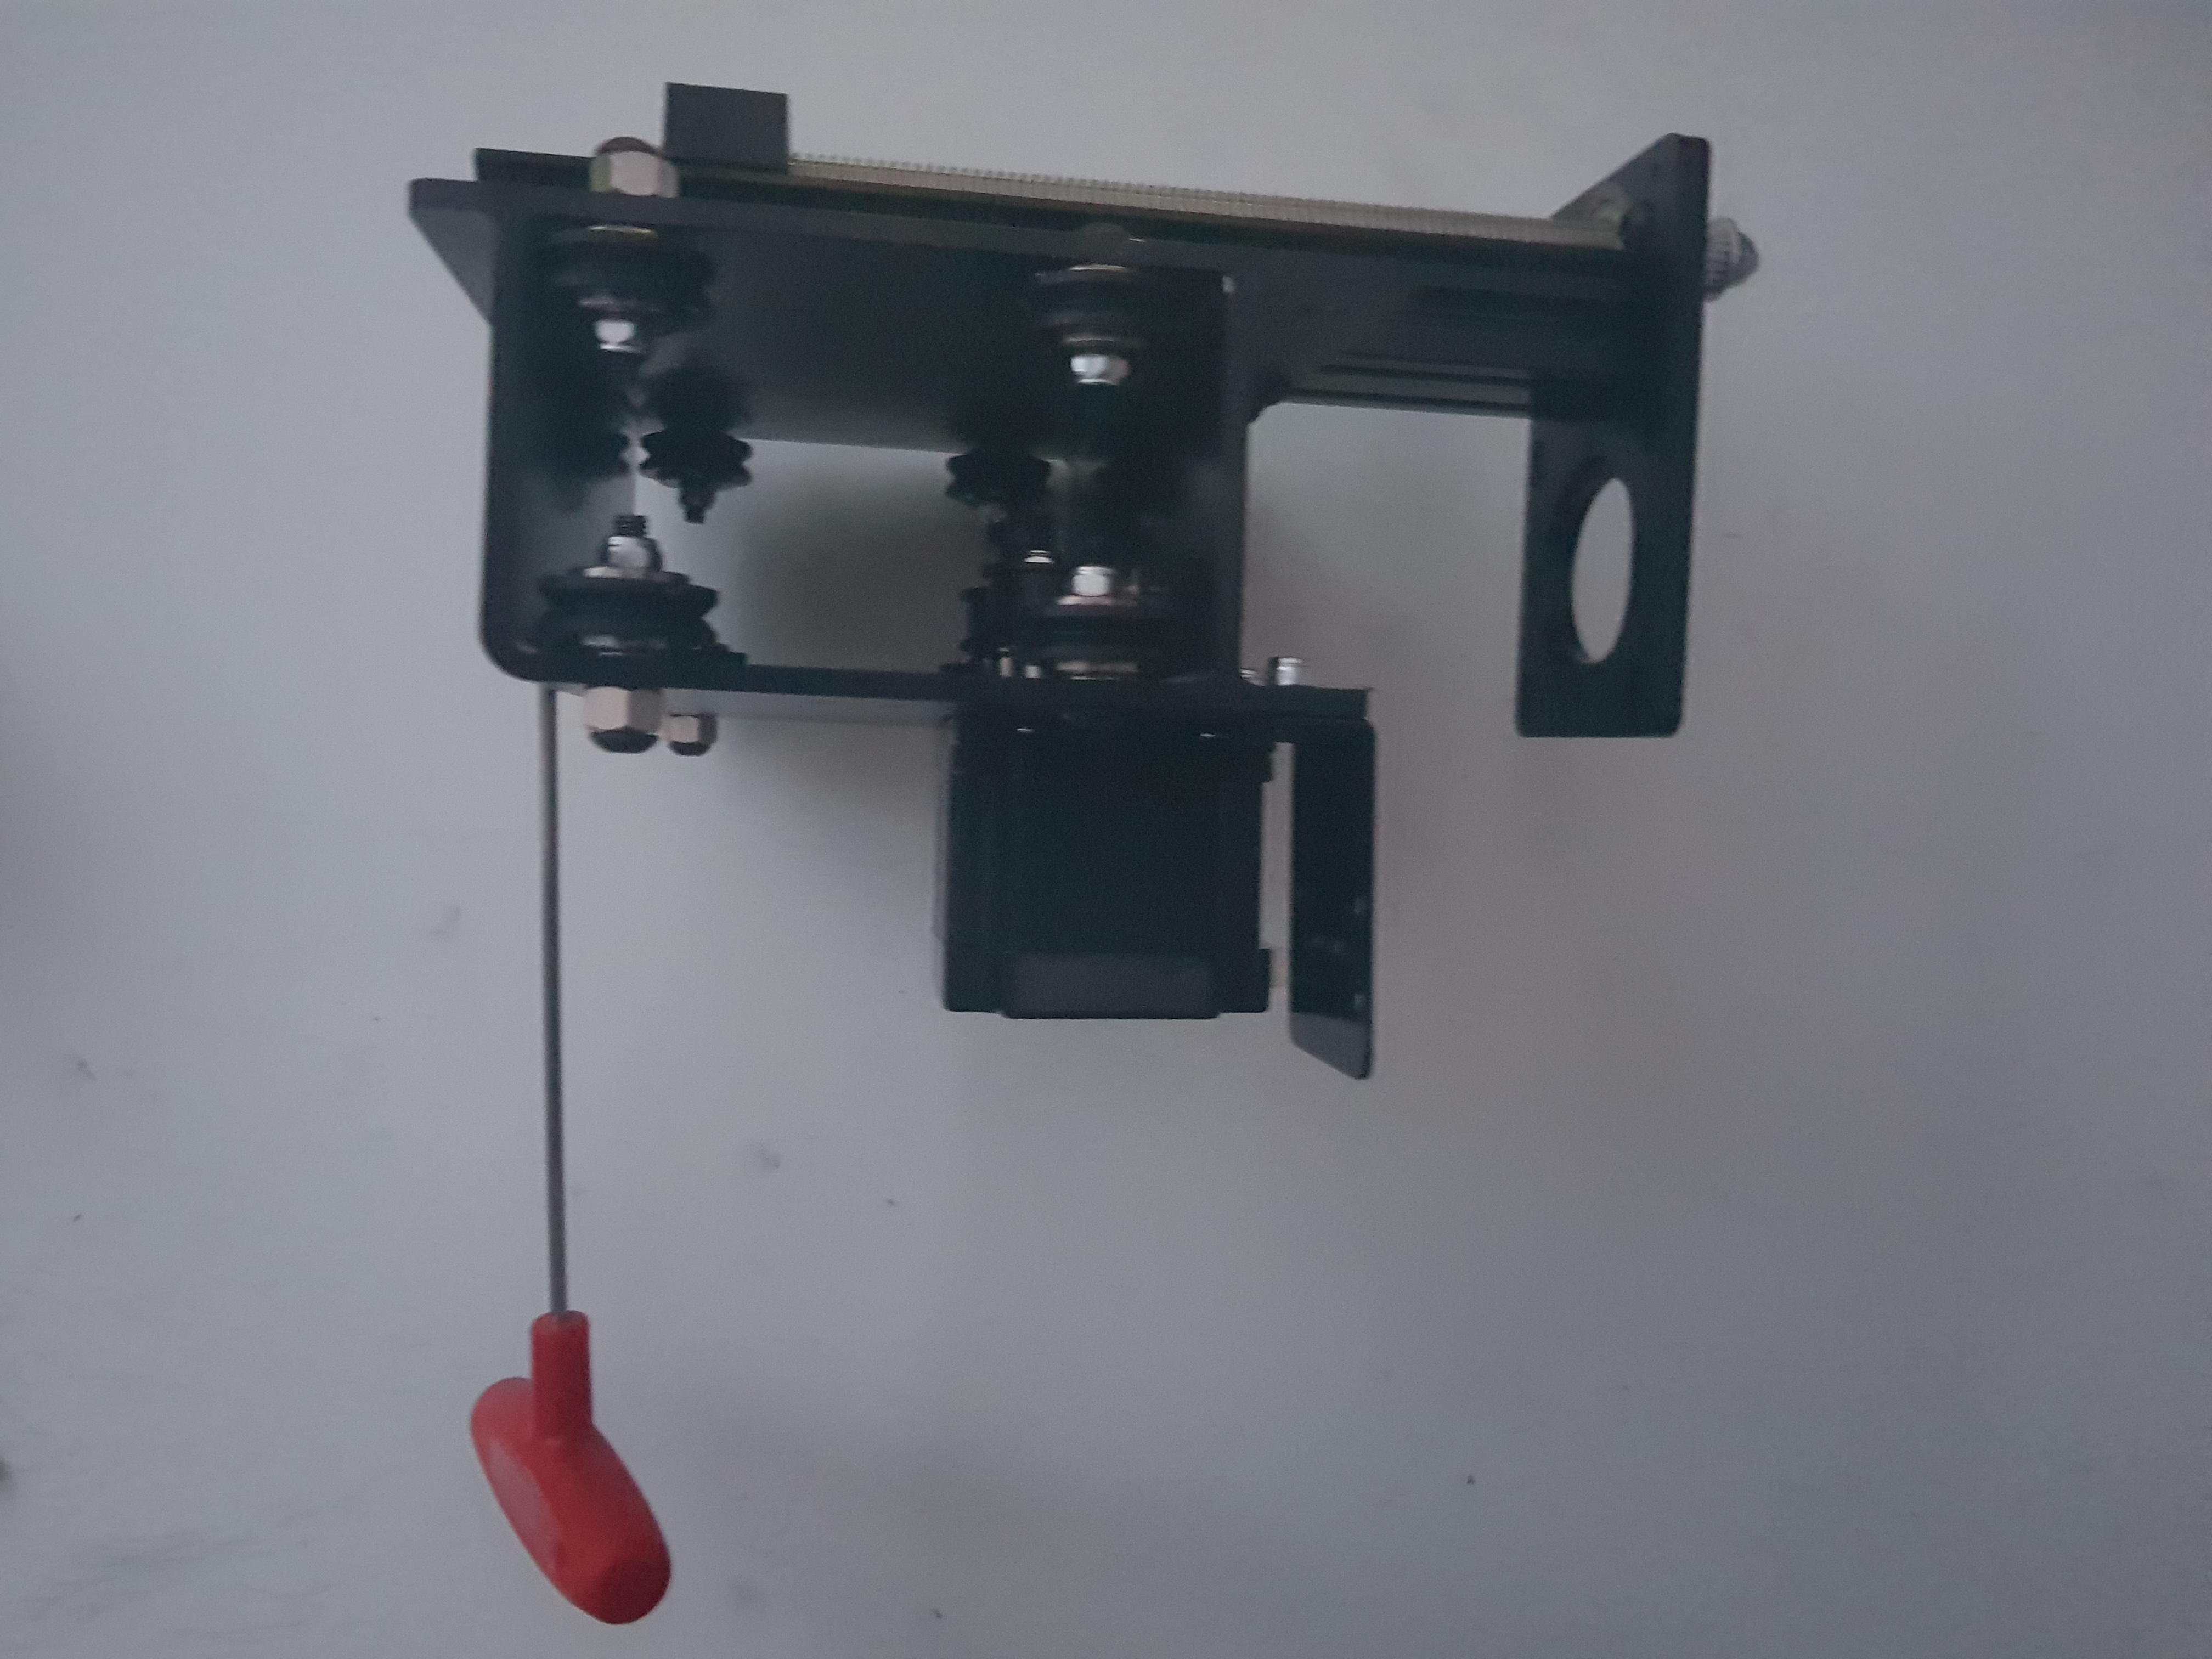
For attaching the ACME leadscrew, we will put it through the bearing, and then put an M8 washer on top of it and then the pulley and then the M6 nylon lock nut – and then fixing the pulley and M6 lock nut:
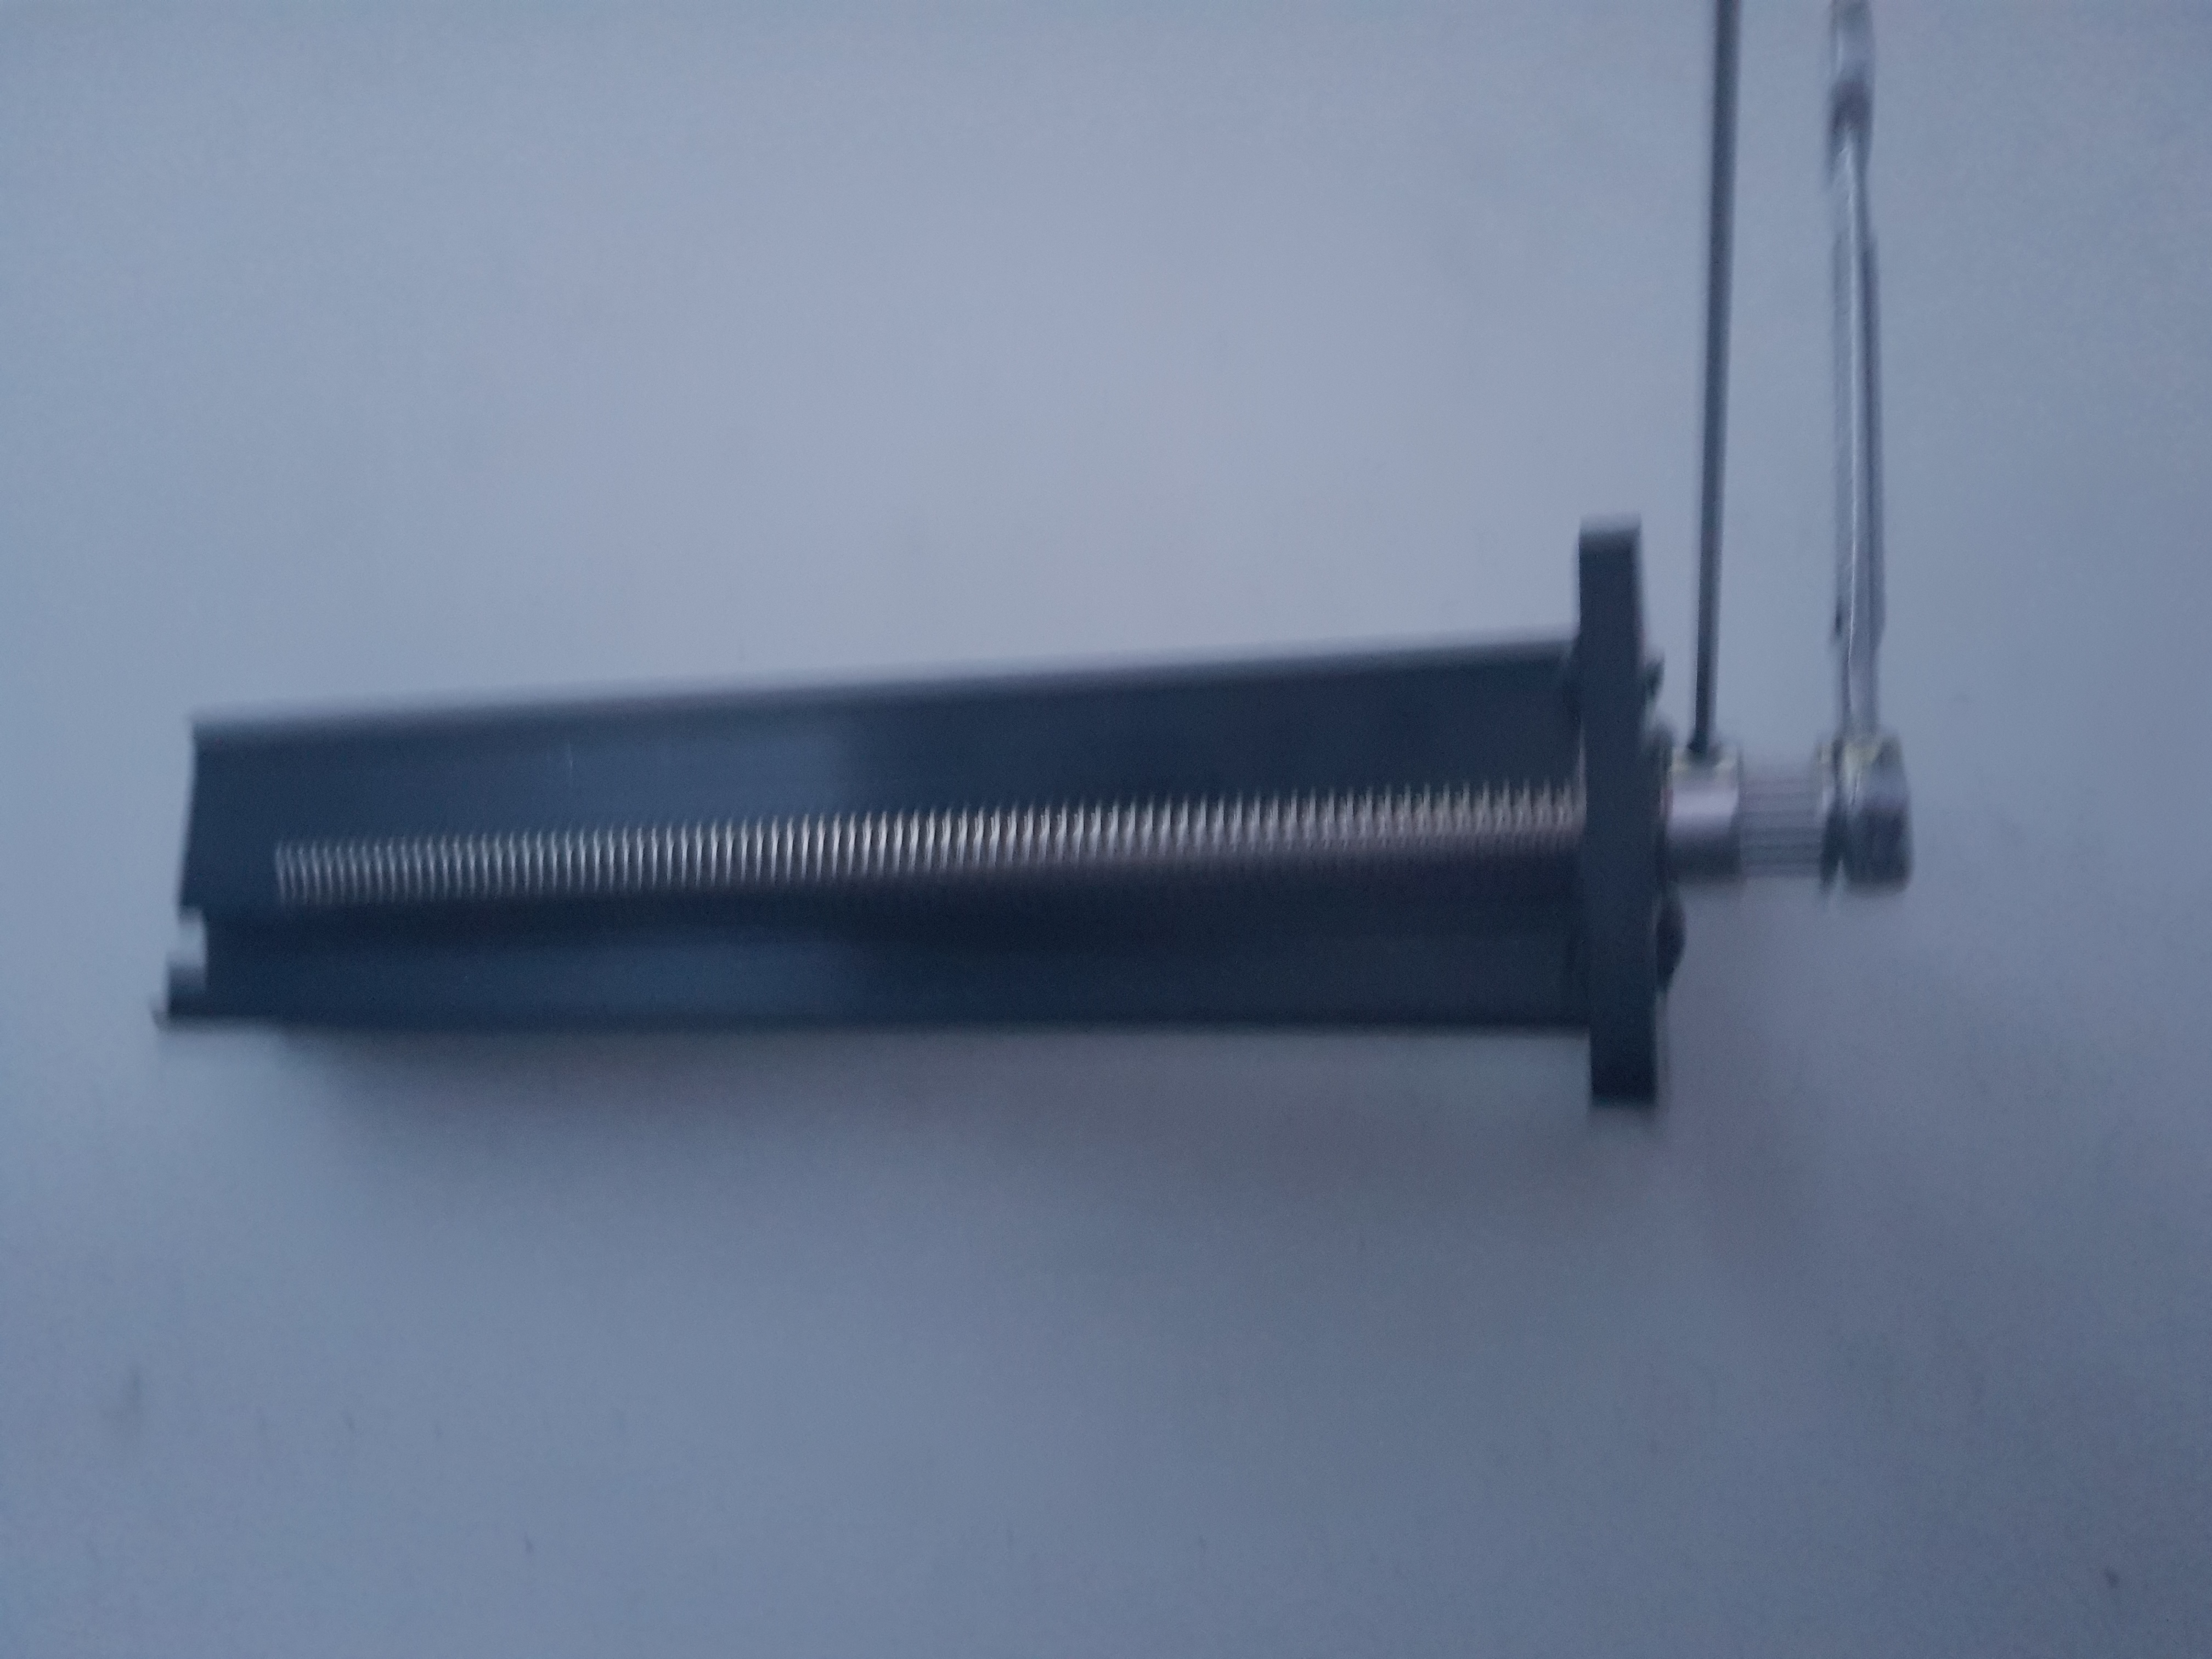
And add the ACME delrin block:
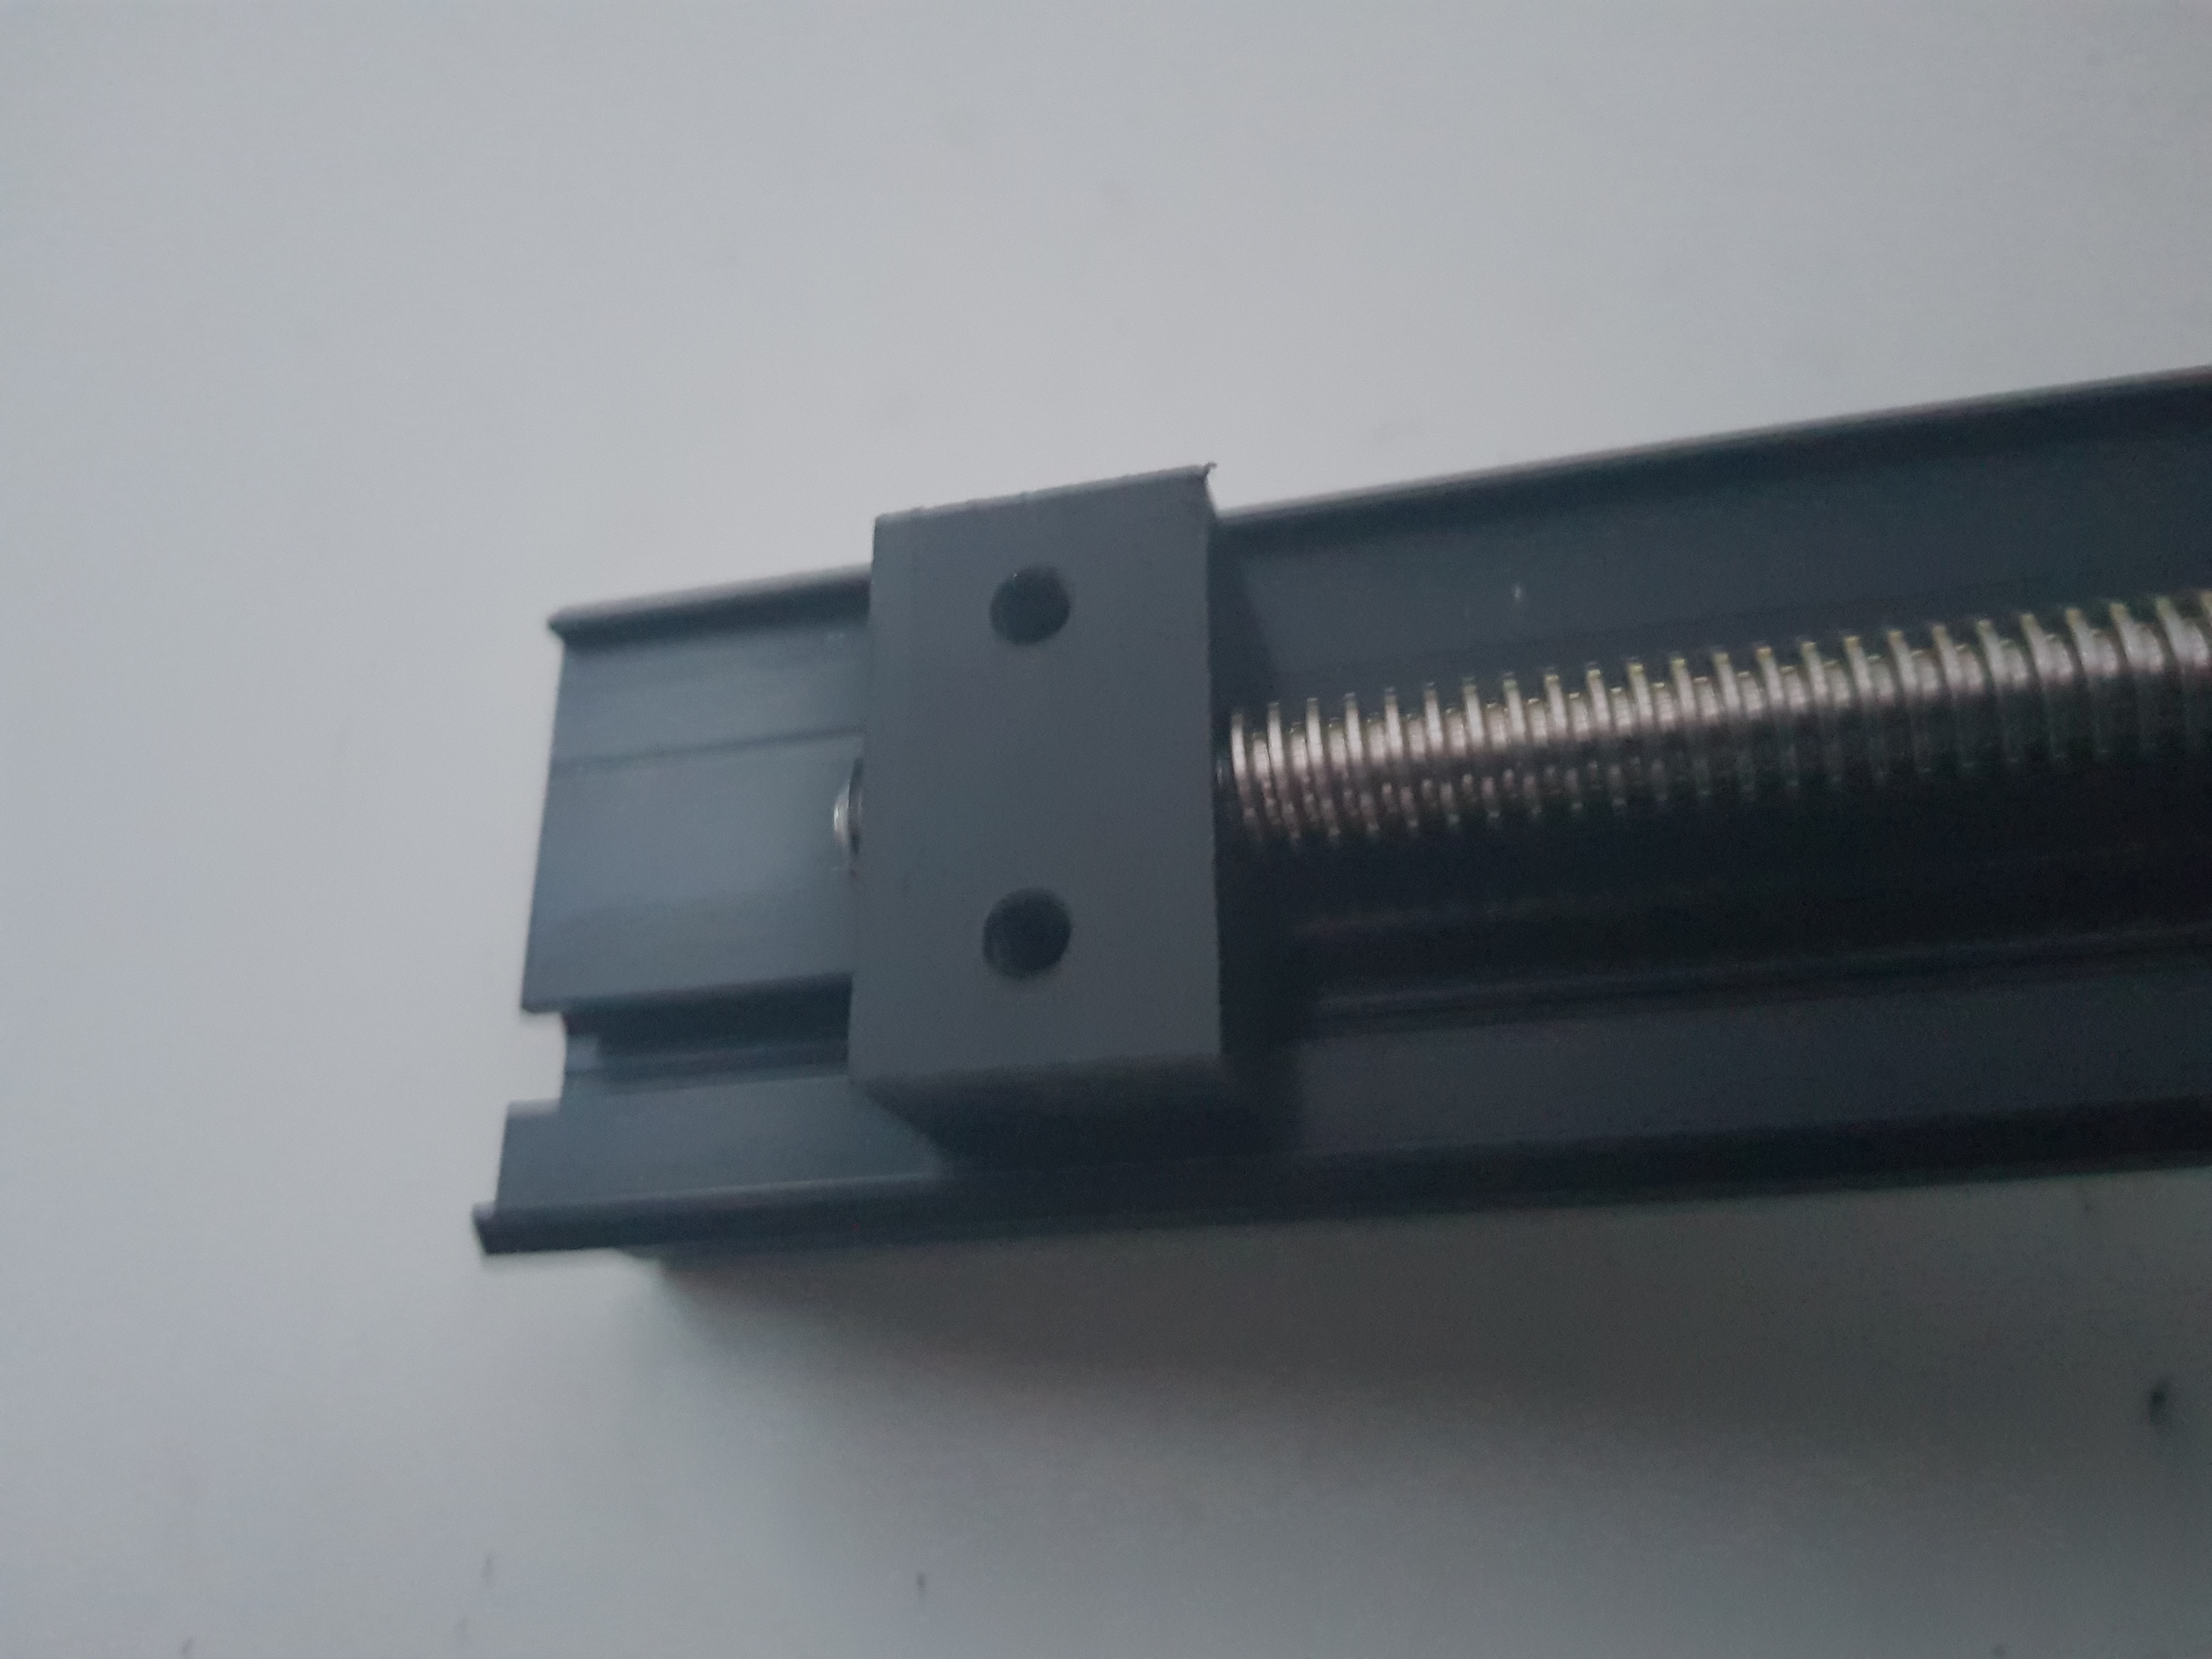
Then use M5 10mm button head screws to attach t-slots to attach the makerslide to the x carriage base in the following manner:
First attach the t-slots with the M5 10mm button head screws – but leave it loose (do not tighten yet):
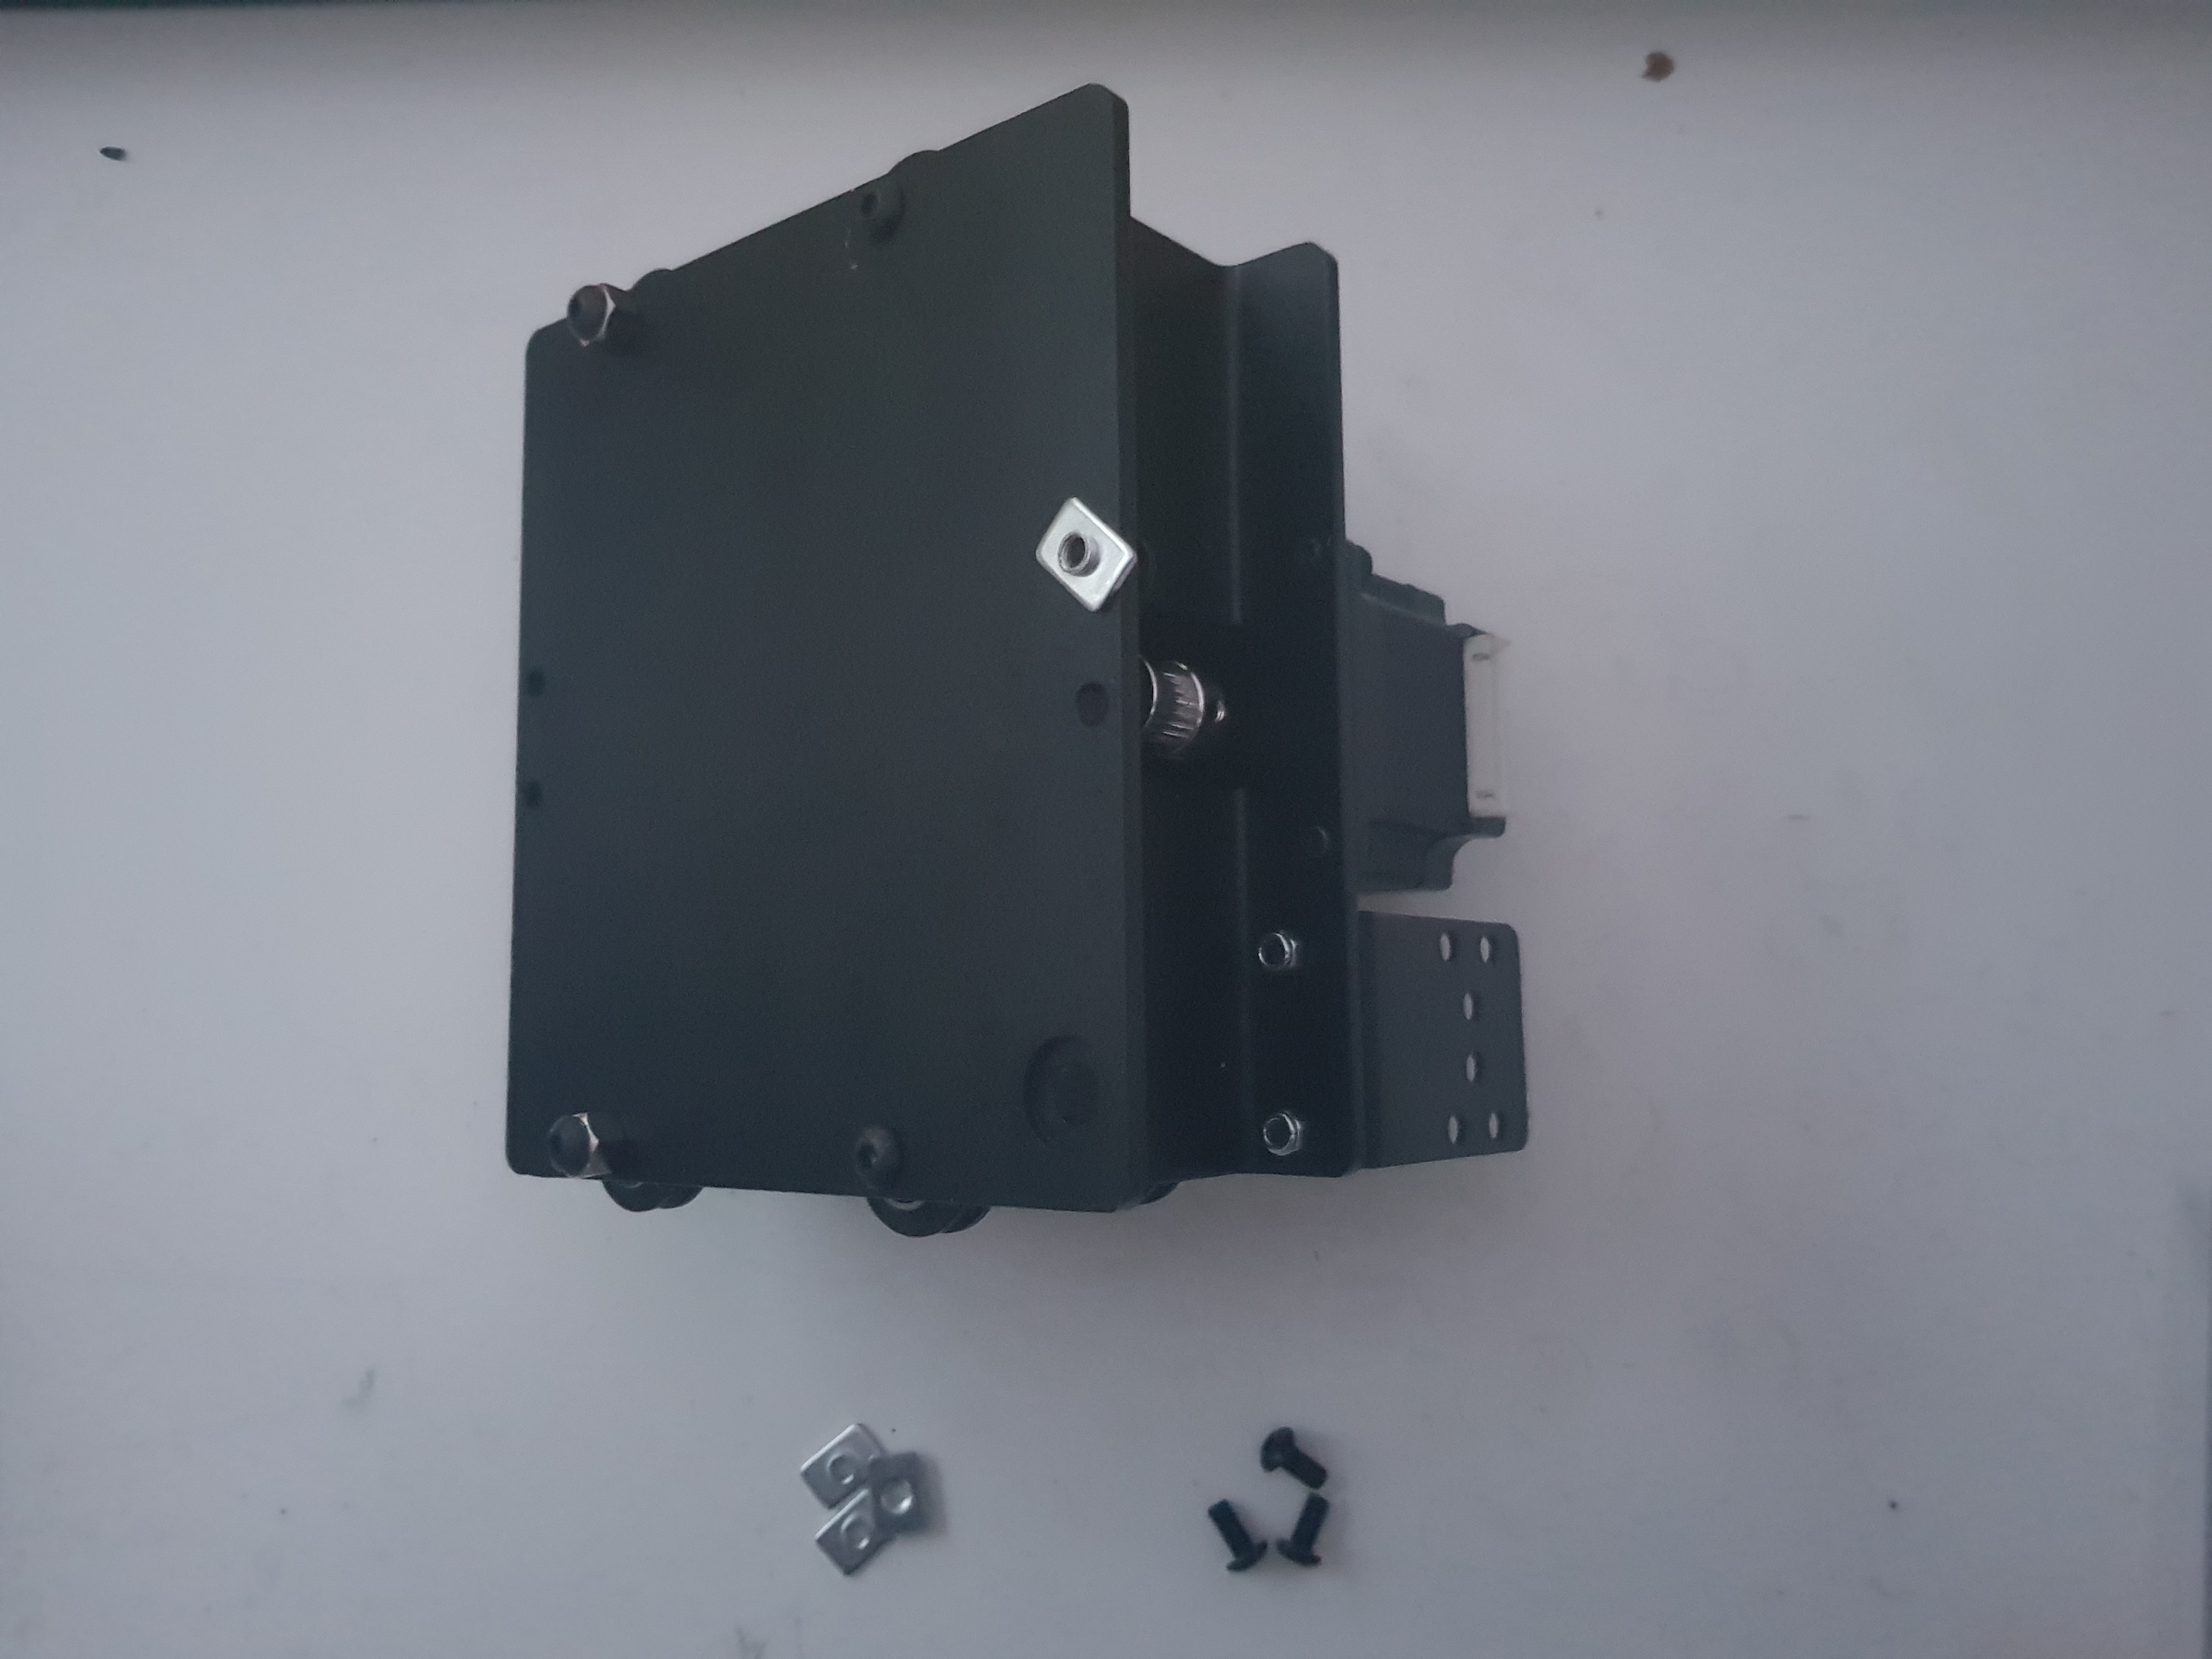
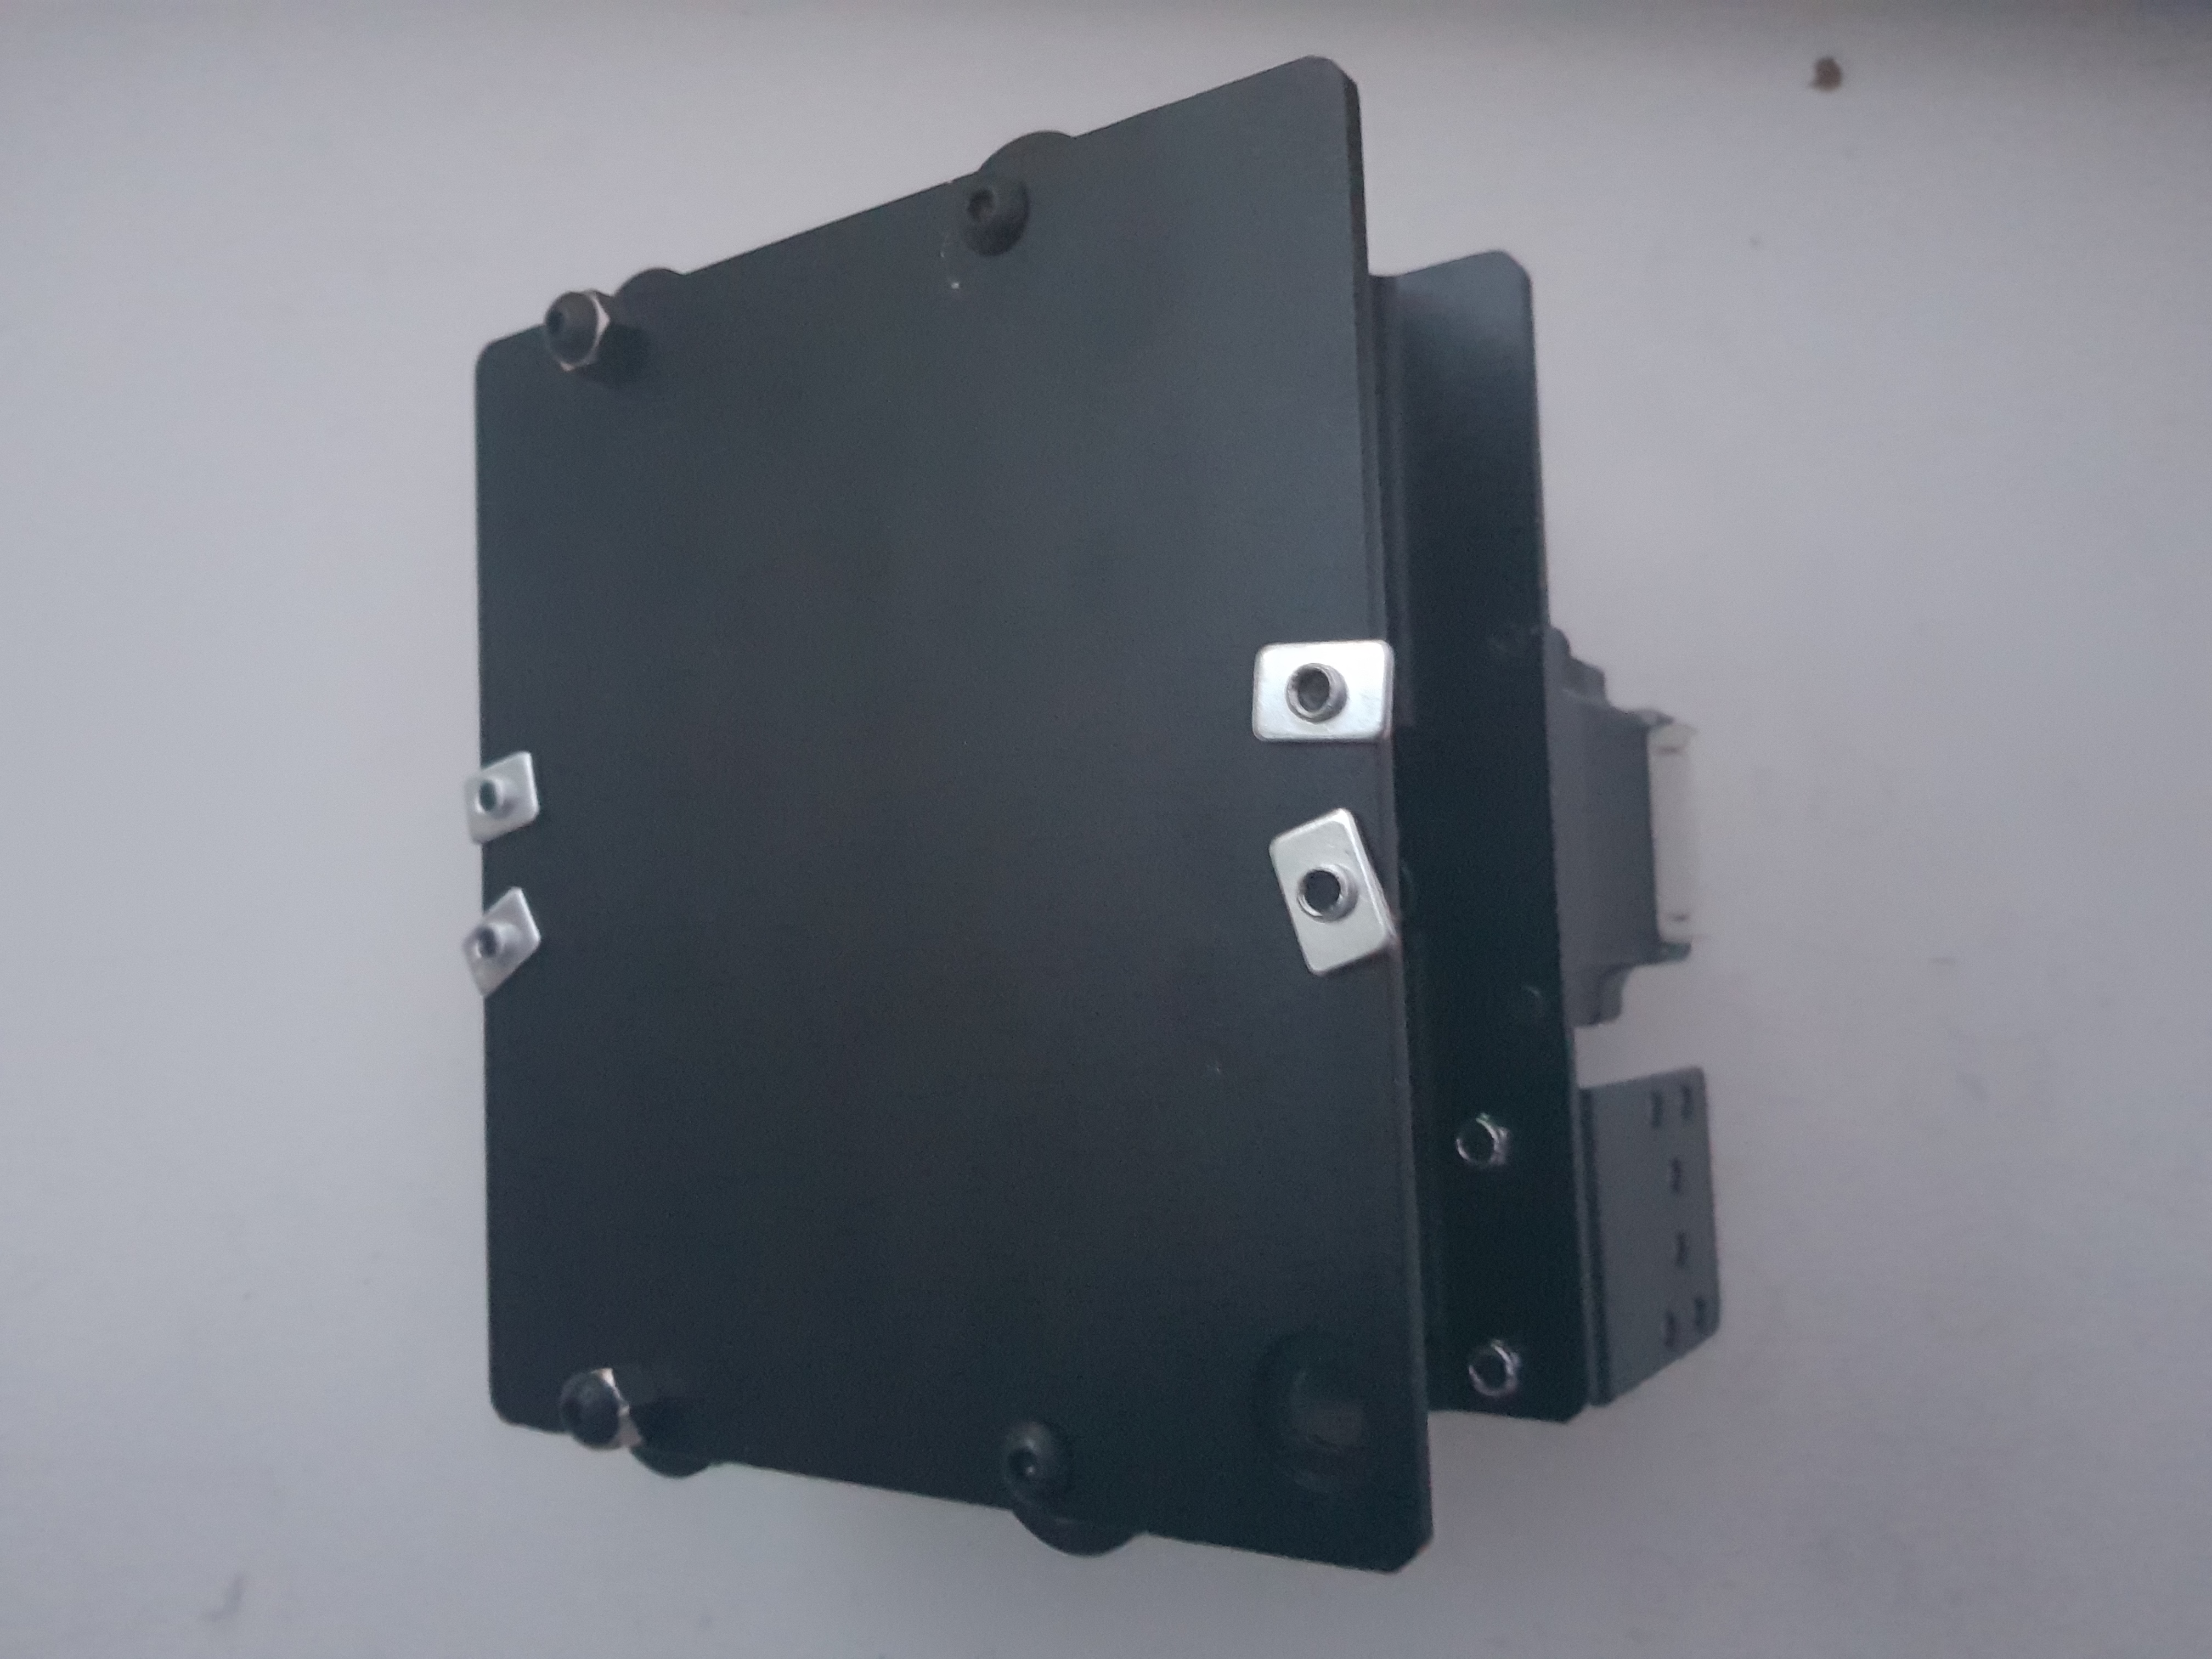
Then slide the makerslide on it:
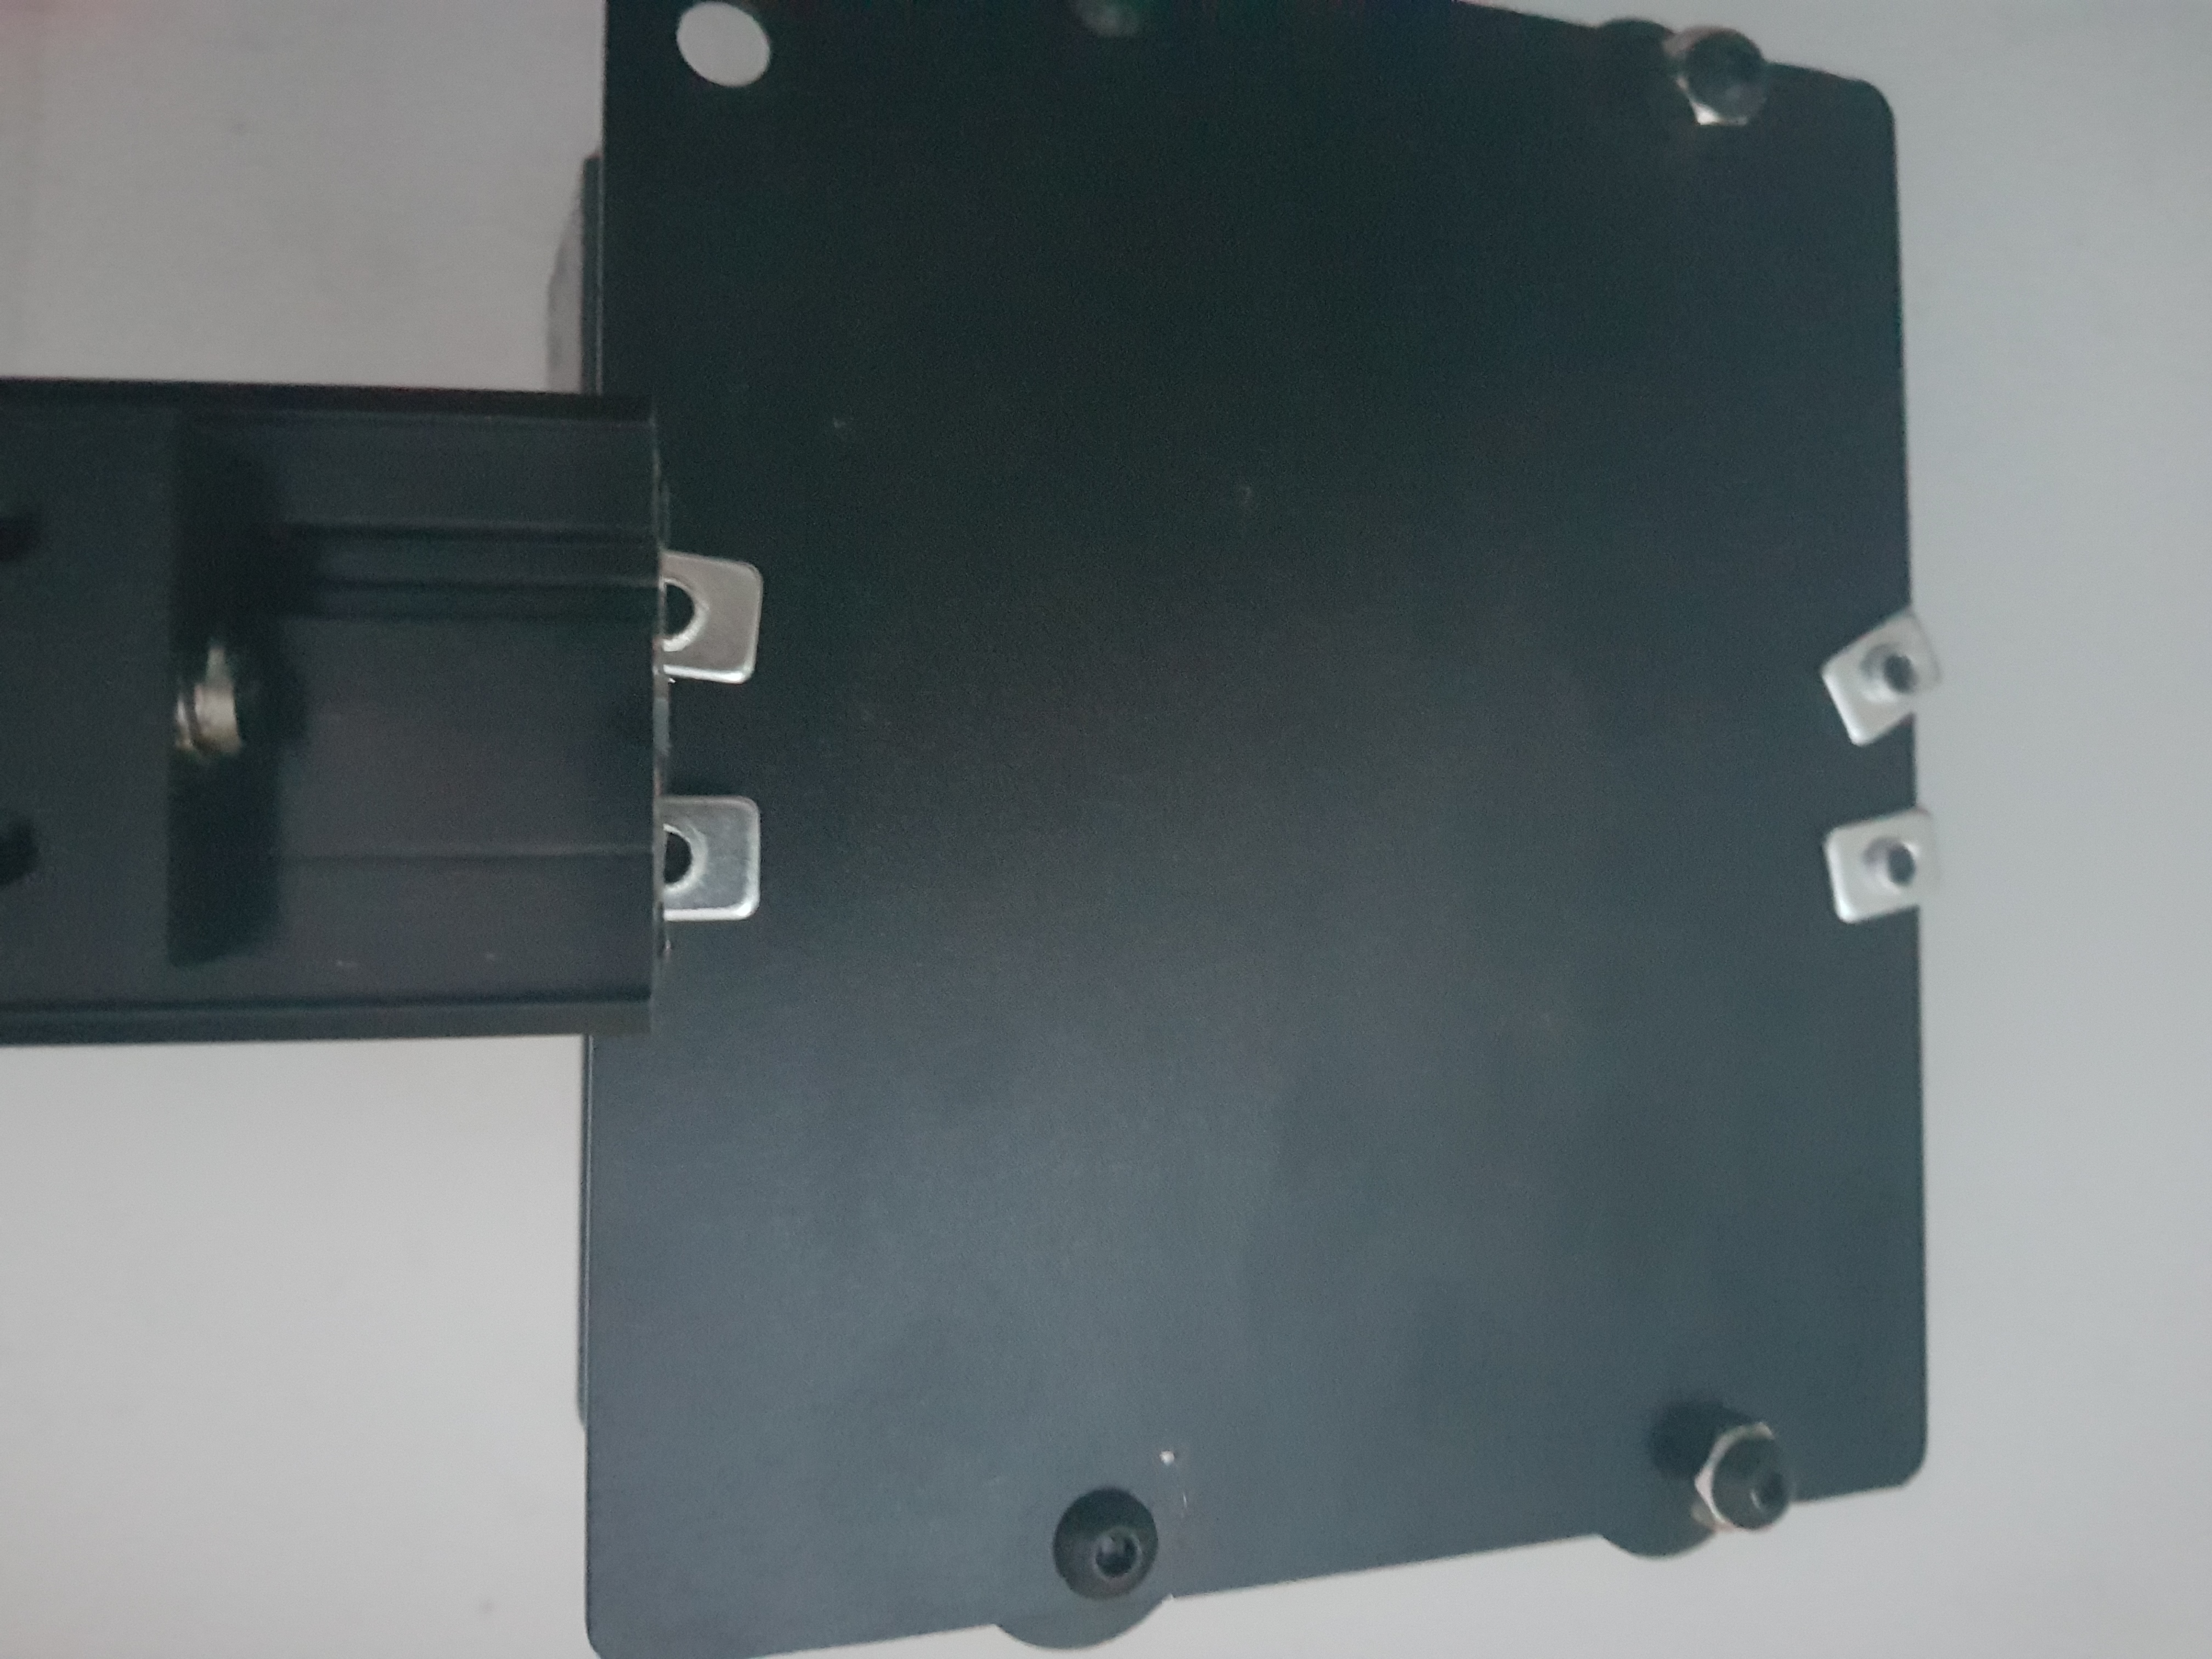
And now you can tighten it:
If you bought the optional limit switches, then this is also a good time to attach the Z axis limit switch to the z axis motor plate (the switch for the Z xis). Pictures of this step will follow later, meanwhile use the video or the instructions on this website can be used for this: http://x-carve-instructions.inventables.com/500mm/step2c/10homeswitch/