No products in the cart.

Work area
Items you need for this step:
 | 1 | 19mm / 3/4″ thick MDF 940x998mm (for 1000mm model) 690x748mm (for 750mm model) 440x498mm (for 500mm model) |
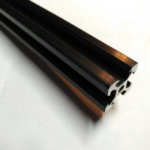 | 3-5 | 2020 v slot rails: 2x1000mm + 3x958mm (for 1000mm model) 2x750mm + 3x708mm (for 750mm model) 2x500mm + 1x458mm (for 500mm model) |
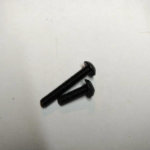 | 4-14 | M5x20mm button head screw (wasteboard kit) |
 | 4-14 + 2-12 | pre-assembly M5 t-nut (wasteboard kit)
pre-assembly M5 t-nut (rail kit) |
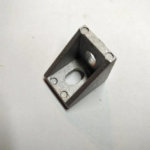 | 2-6 | extrusion bracket (rail kit) |
| 2-12 | M5x8mm button head screw (rail kit) |
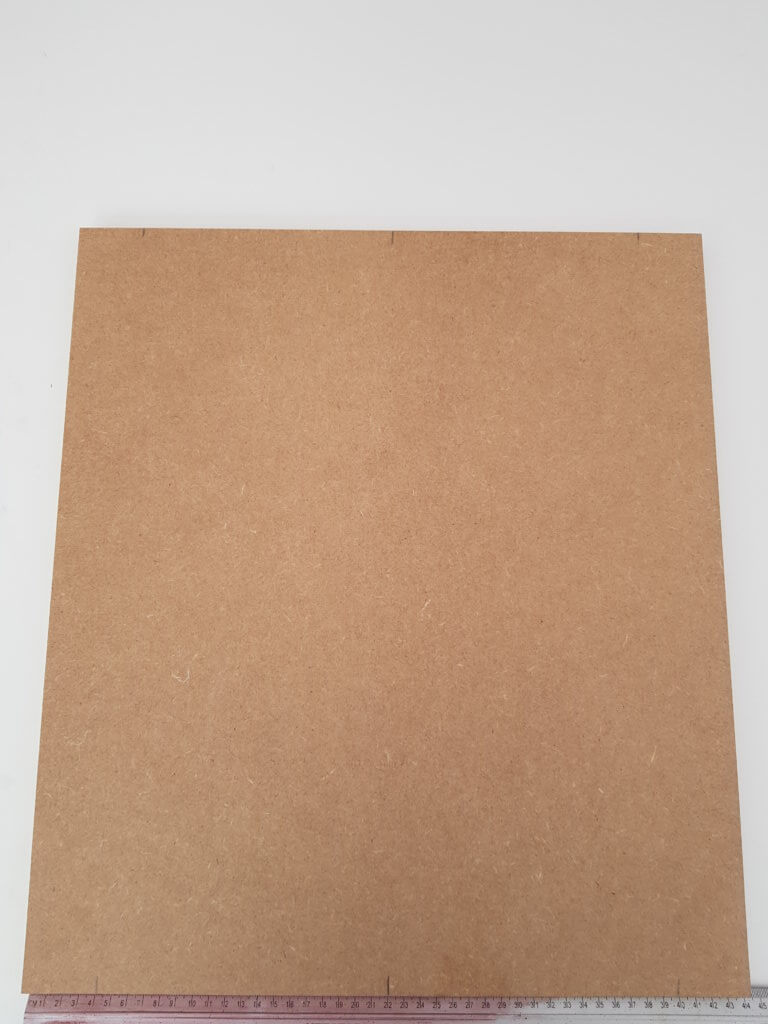
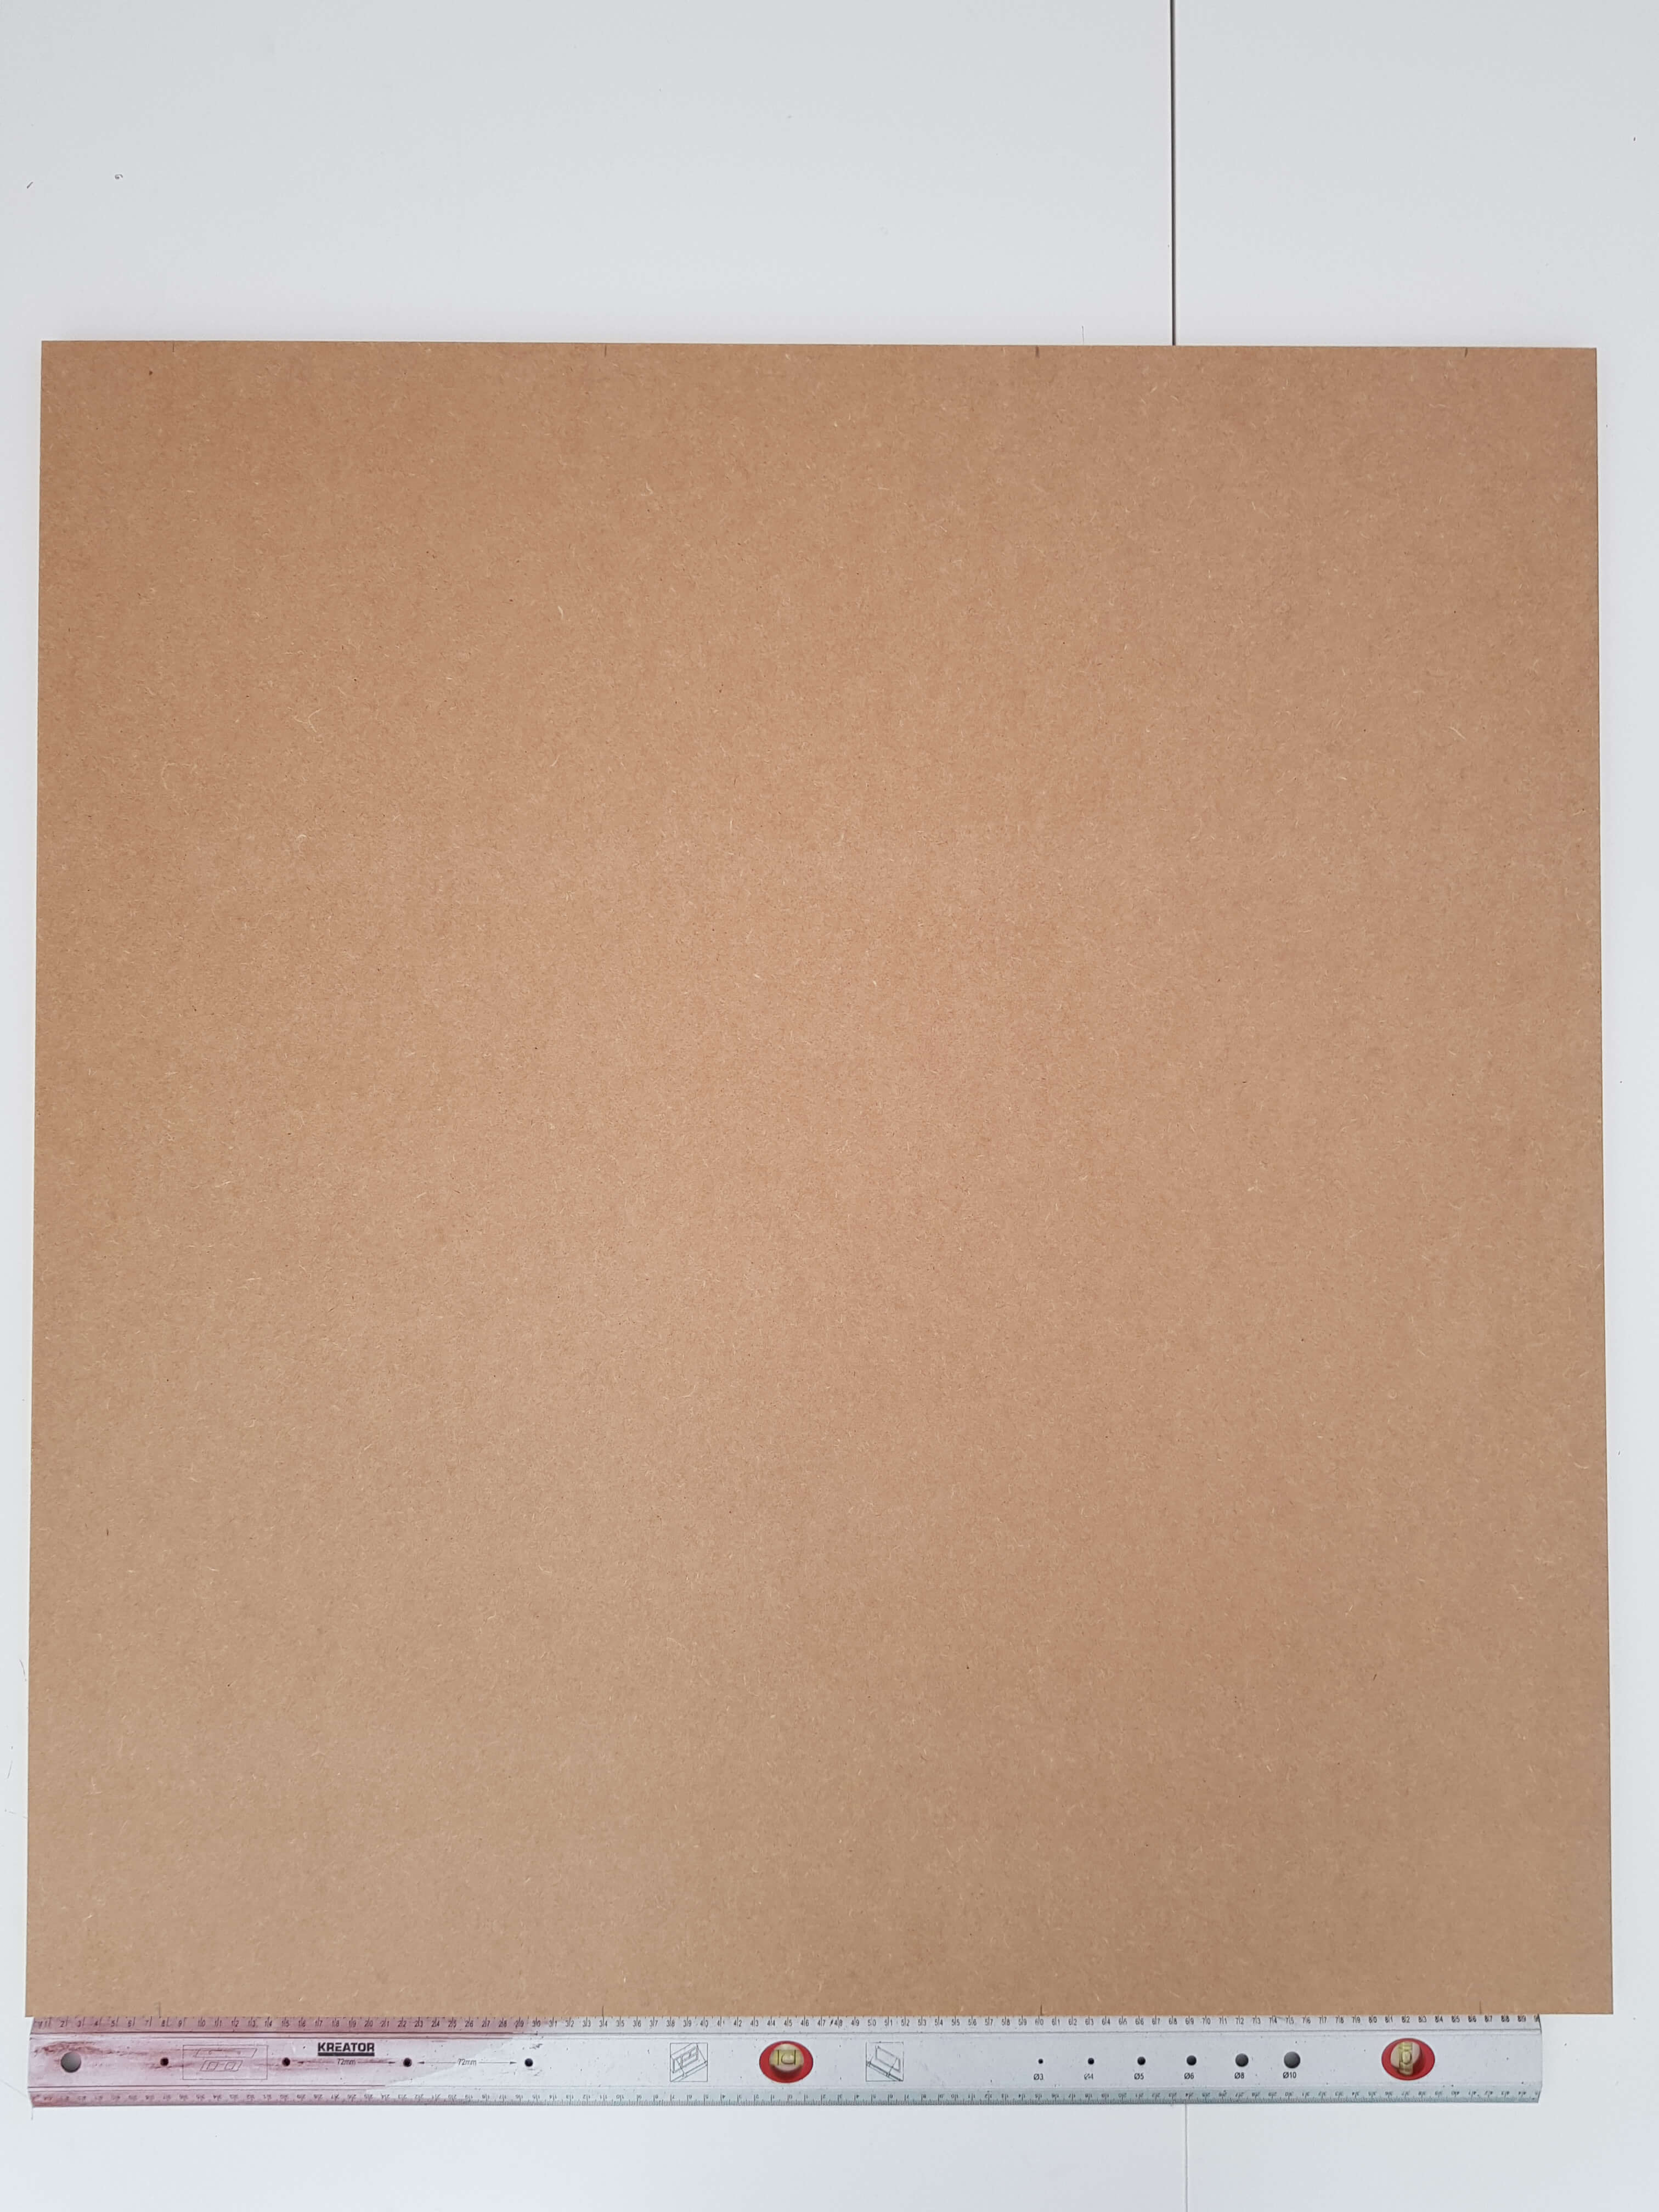
First, get yourself an MDF wasteboard of 18 or 19mm thick from your local DIY store – and have it cut to size to the following dimensions:
Select your machine size for this step:
Some DIY stores that sell MDF per country and in most cases they also offer cut to size services:
Now, the holes for the rails can be drilled, as in the engineering drawings in the links (these links are just for reference, the steps below will walk you step by step through the process):
Select your machine size for this step:
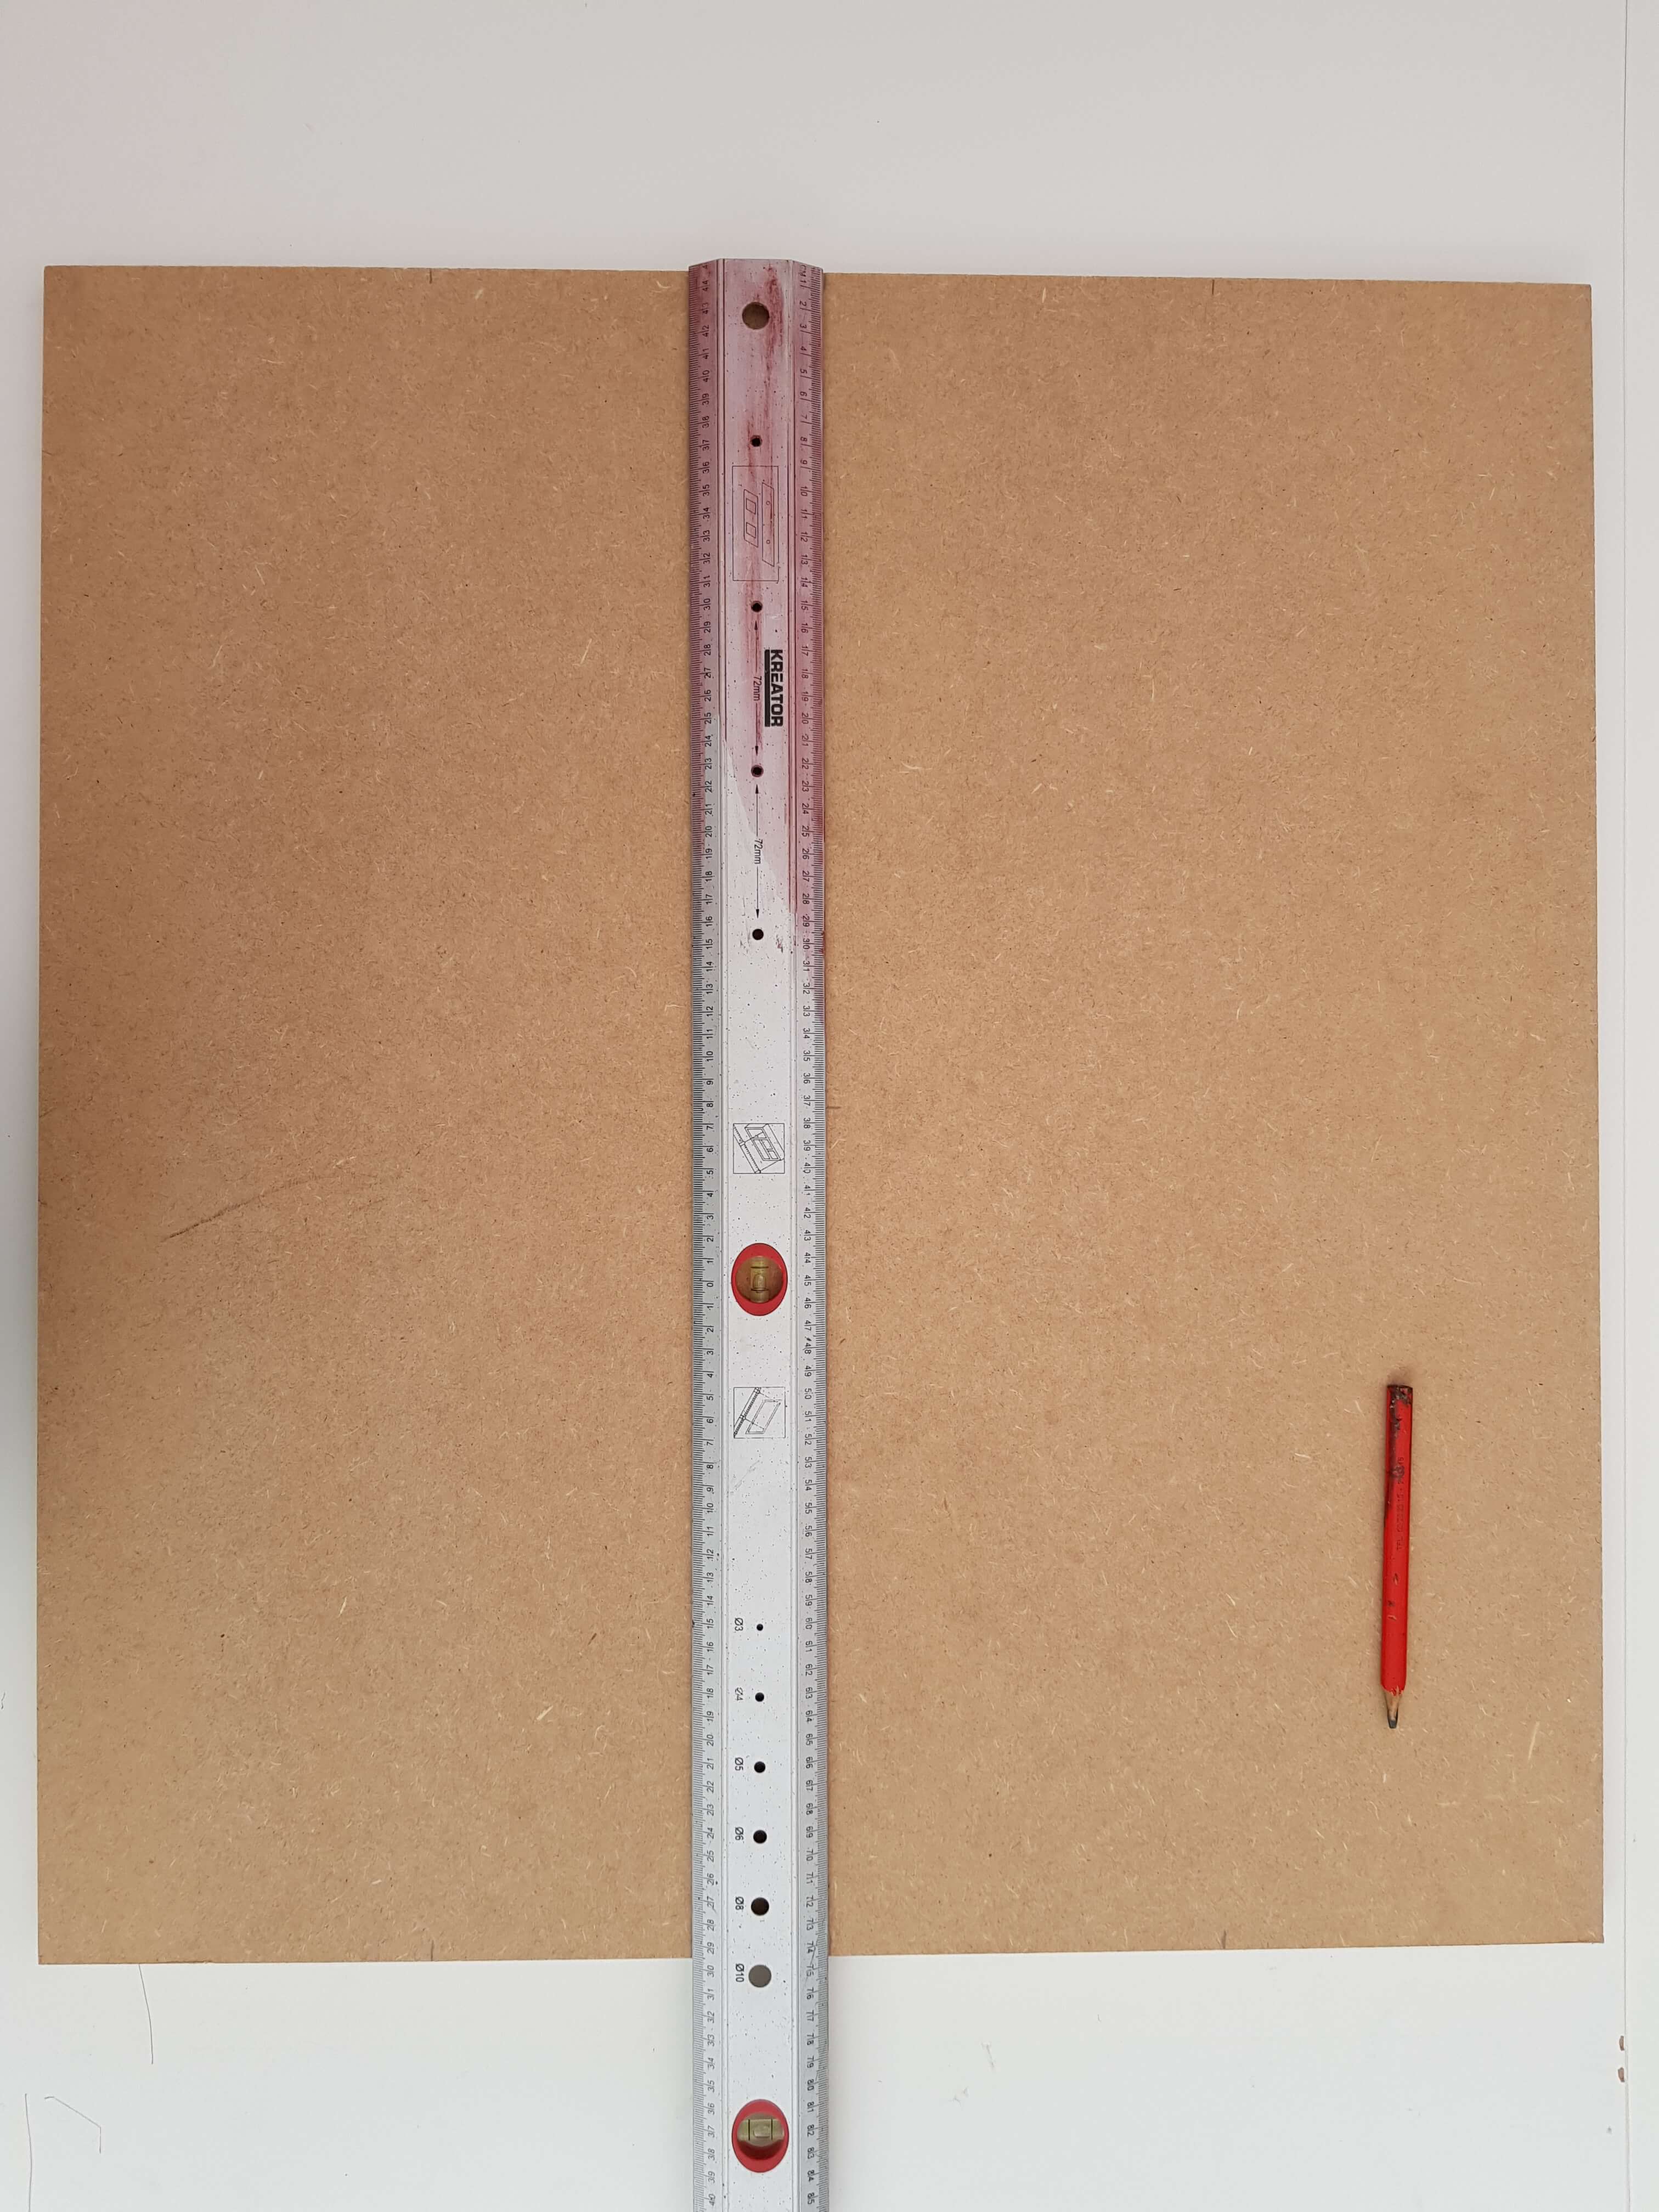
To do that, mark the points where you will drill the holes to attach the frame rails (don’t worry about the holes for the threaded inserts now, the machine can make it’s own holes for that in the last step of the instructions):
Select your machine size for this step:
500mm
- At the 440mm side (both ends): mark the distances of 45, 220 and 395mm
750mm
- At the 690mm side (both ends): mark the distances of 170, 345 and 520mm
- At the 748mm side (both ends): mark the distances of 374mm
- At a line that connects the previous two markings on 374mm, mark the middle (345mm)

1000mm
1000mm wasteboard:
- At the 940mm side (both ends): mark the distances of 80, 340, 600 and 860mm
- At the 998mm side (both ends): mark the distances of 299 and 699mm
- At a line that connects the 299mm markings, mark the middle (470mm)
- At a line that connects the 699mm markings, mark the middle (470mm)
Then, mark all the markings at the edge, at 1cm from the edge:
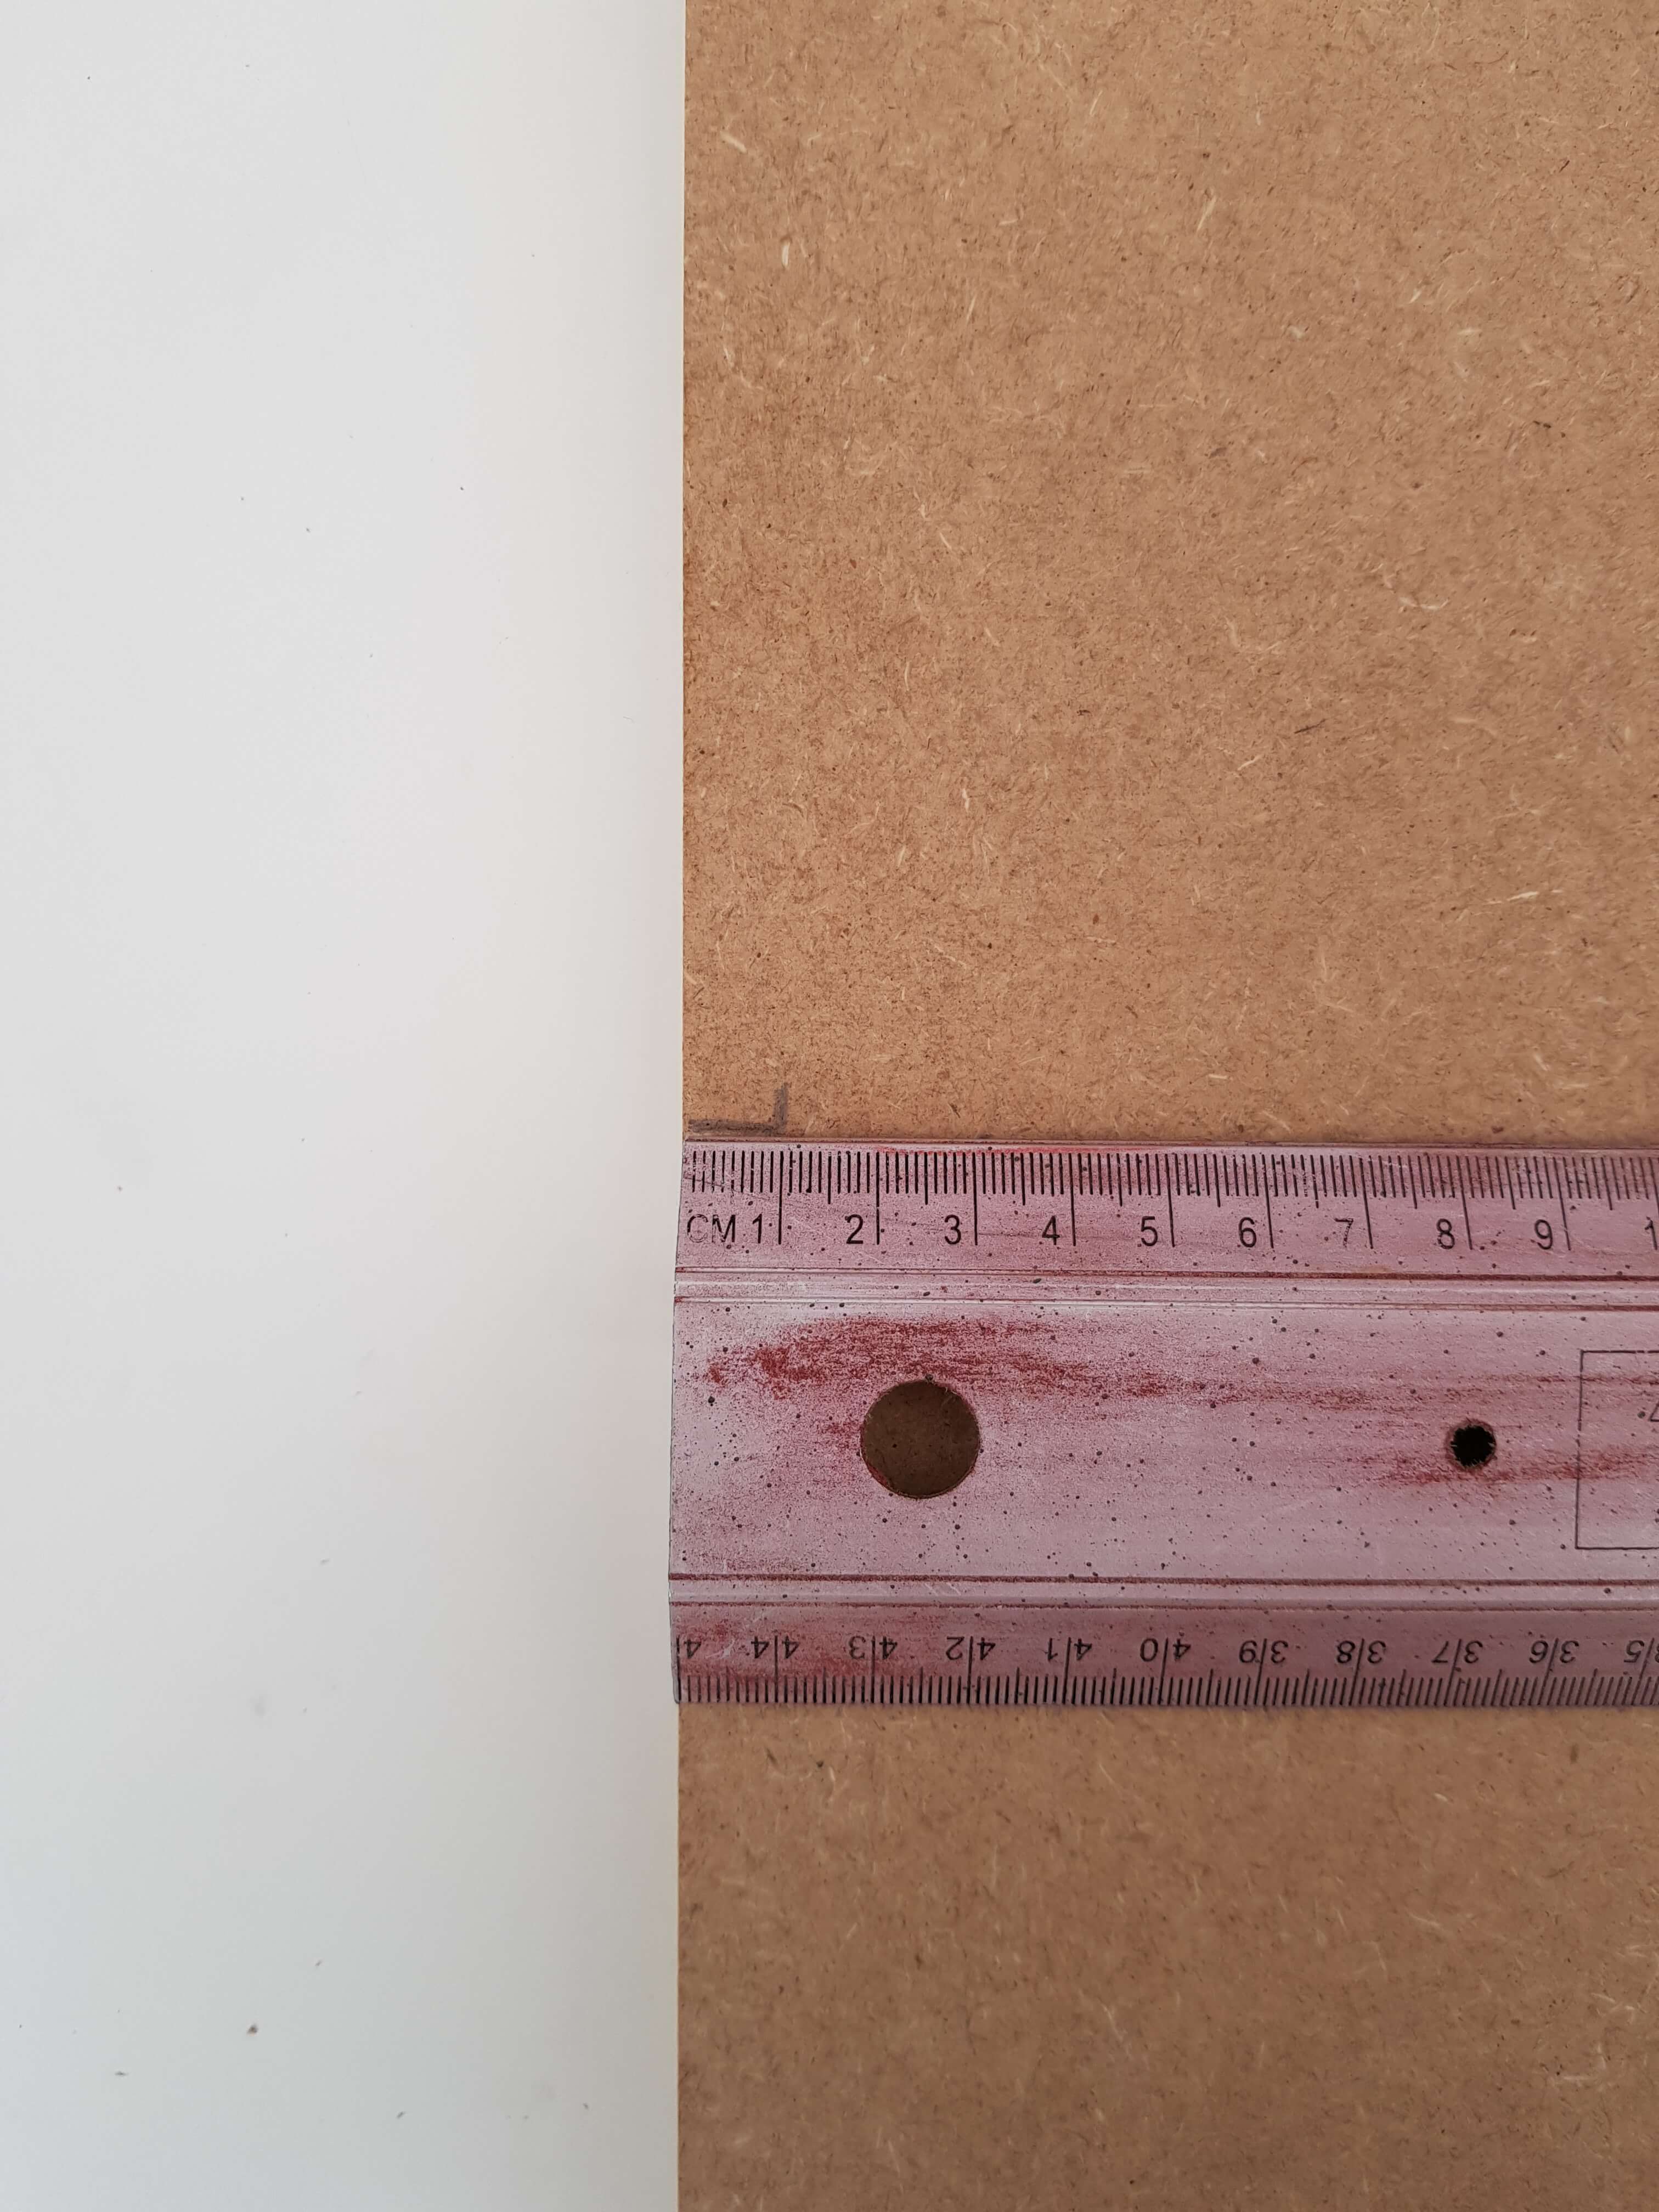
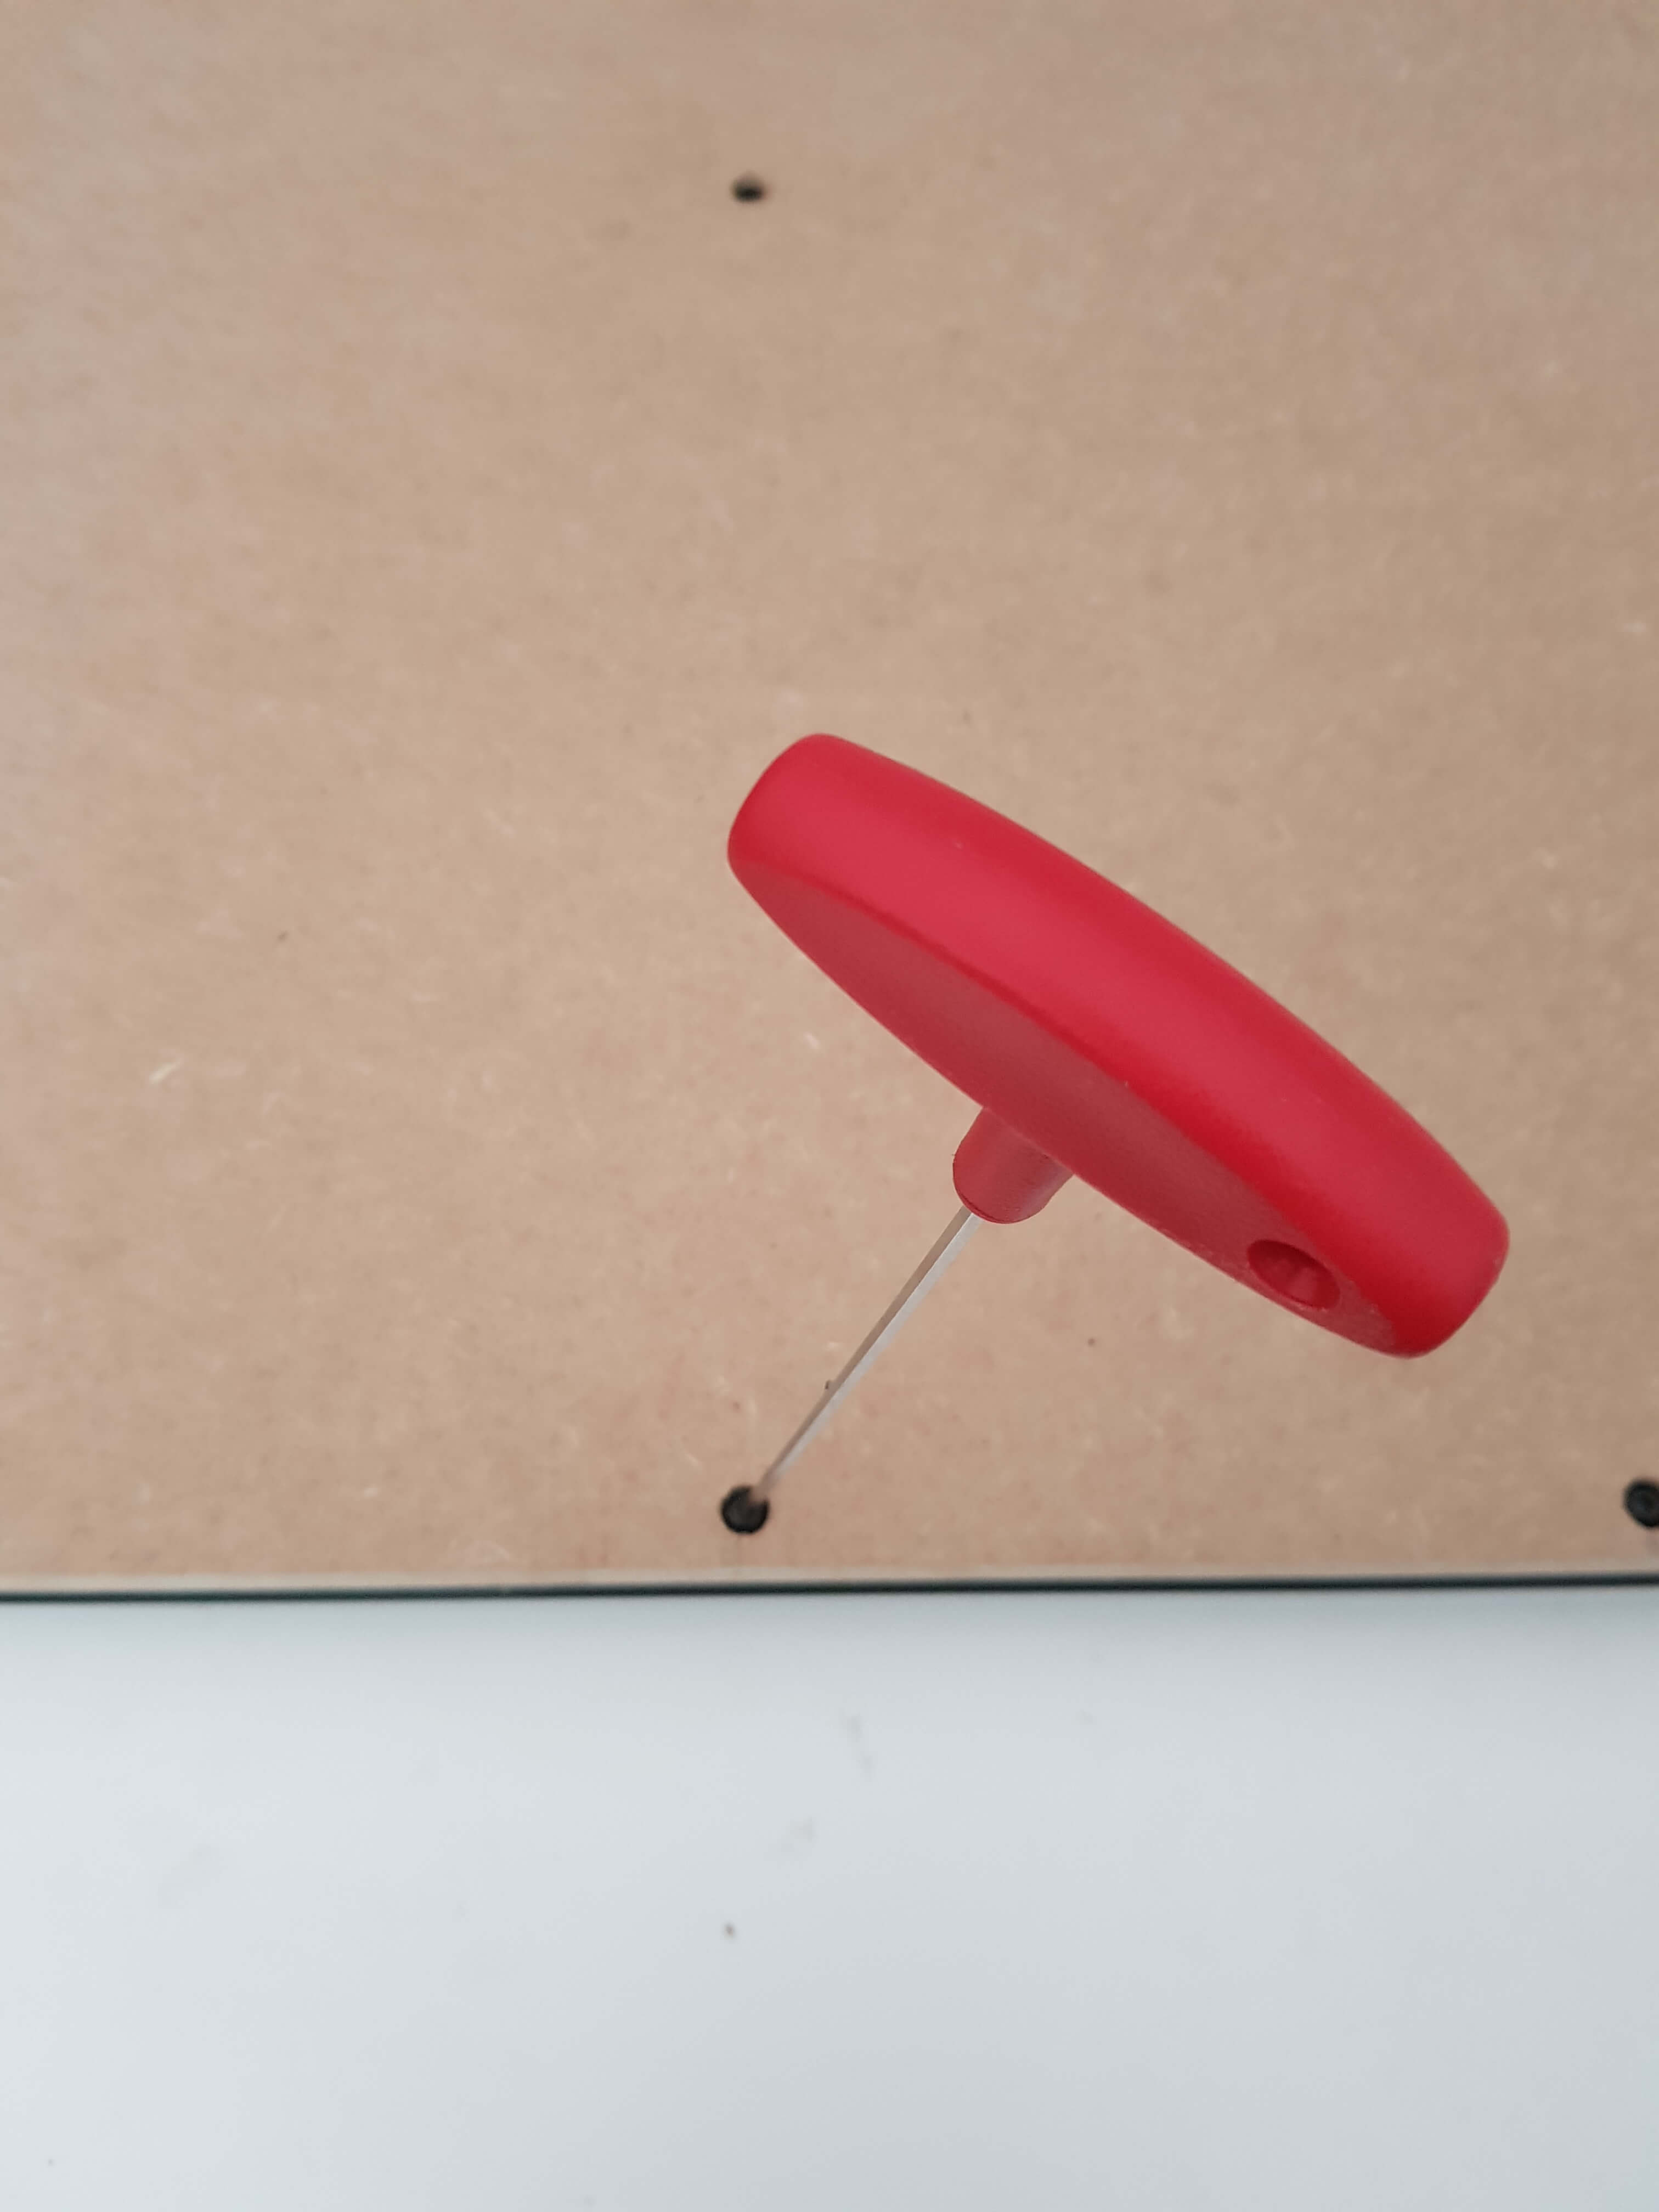
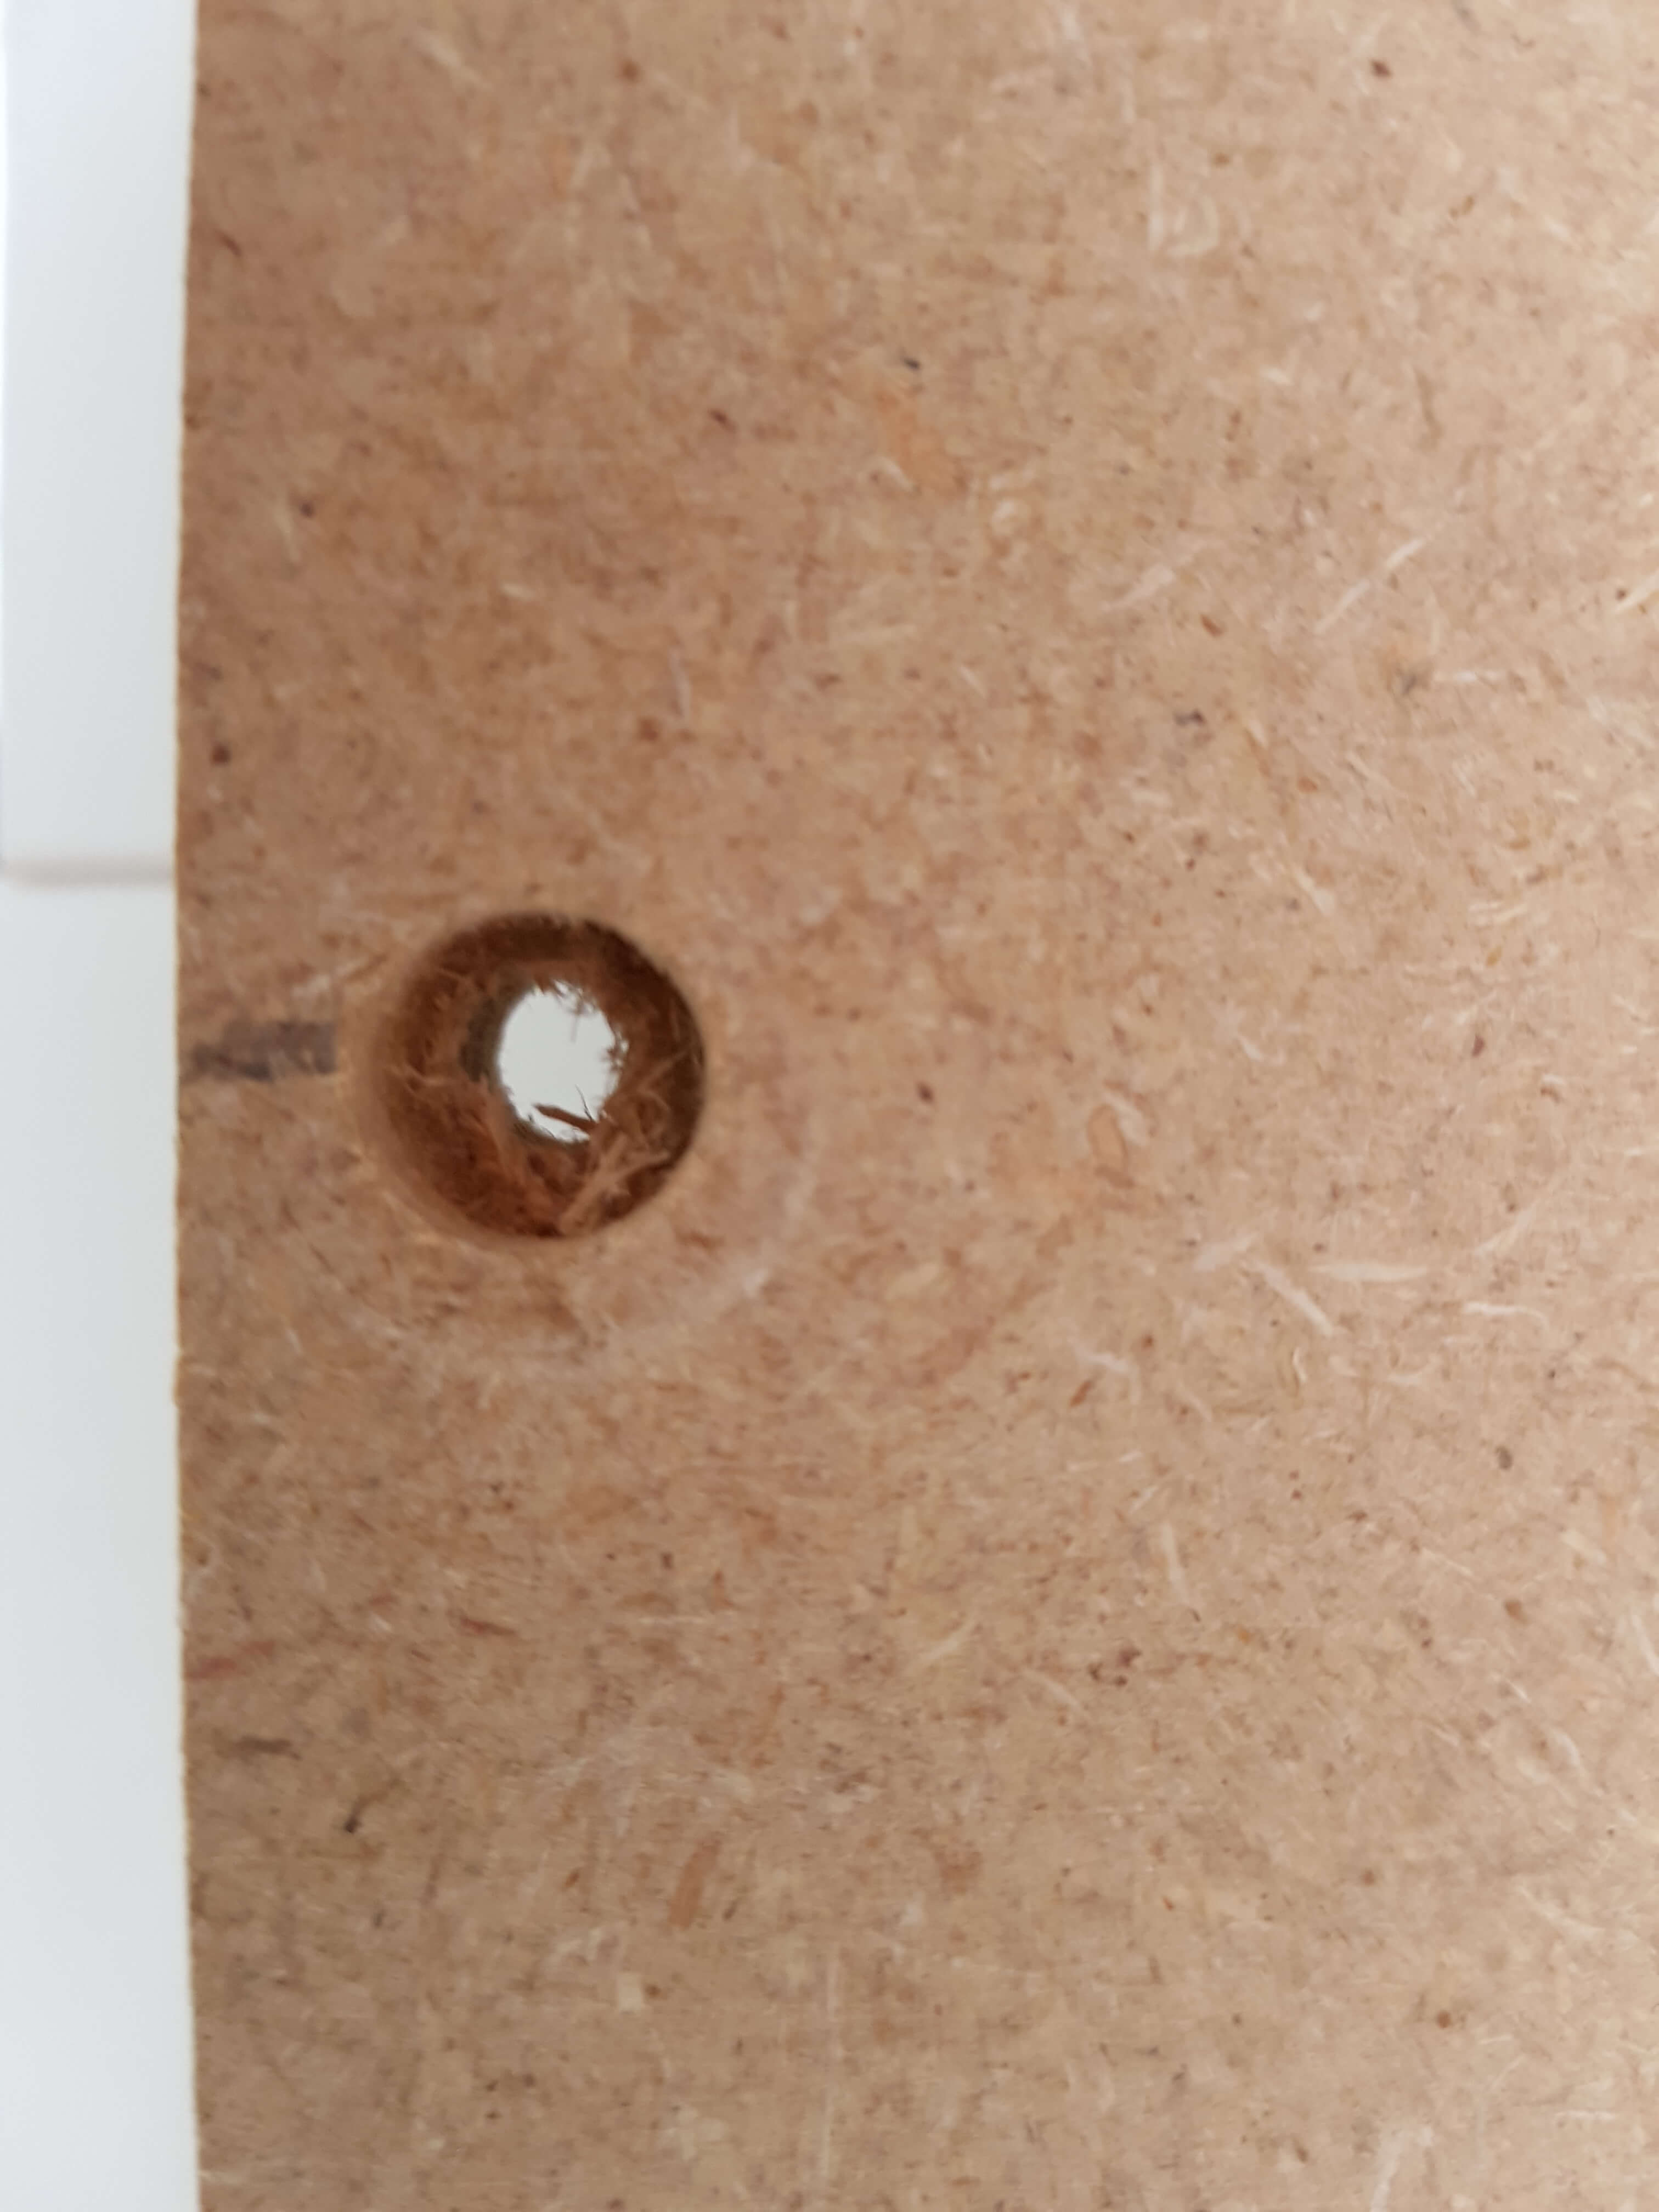
Then, drill the points with a 10mm drill or a 12mm drill to a depth of 5mm. There are tools to screw on a wood drill, so you can drill precisely 5mm deep:
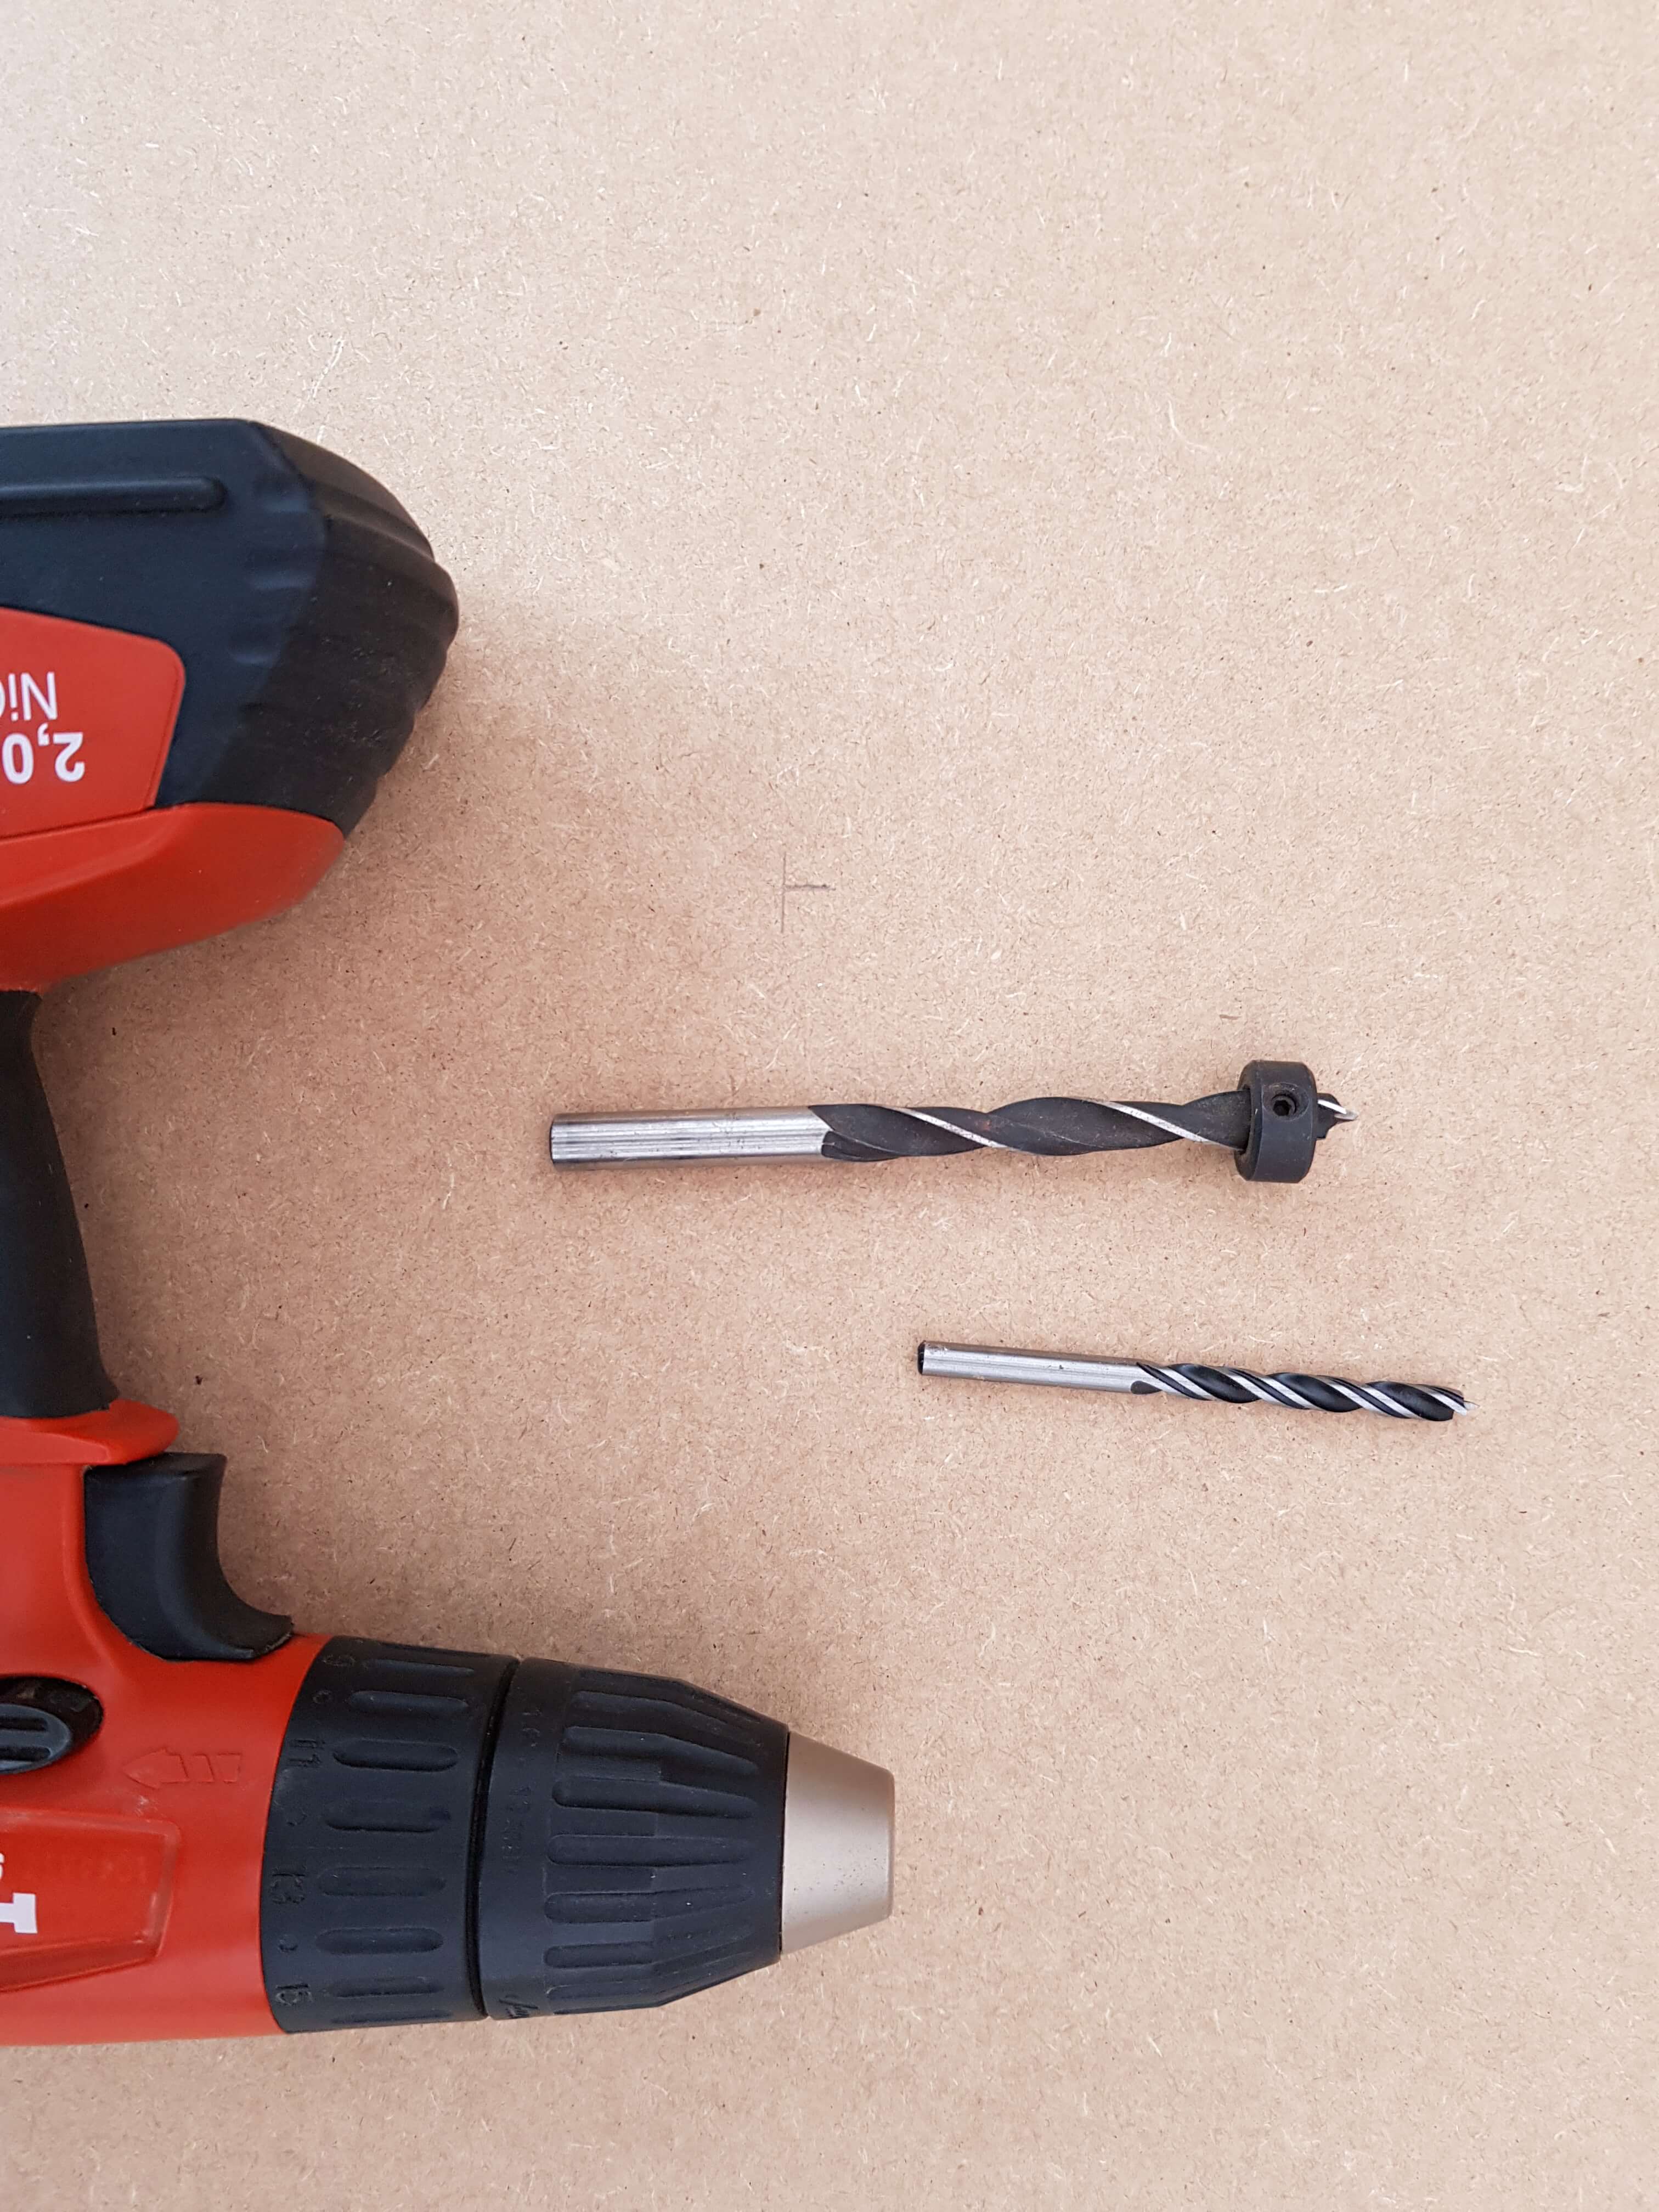
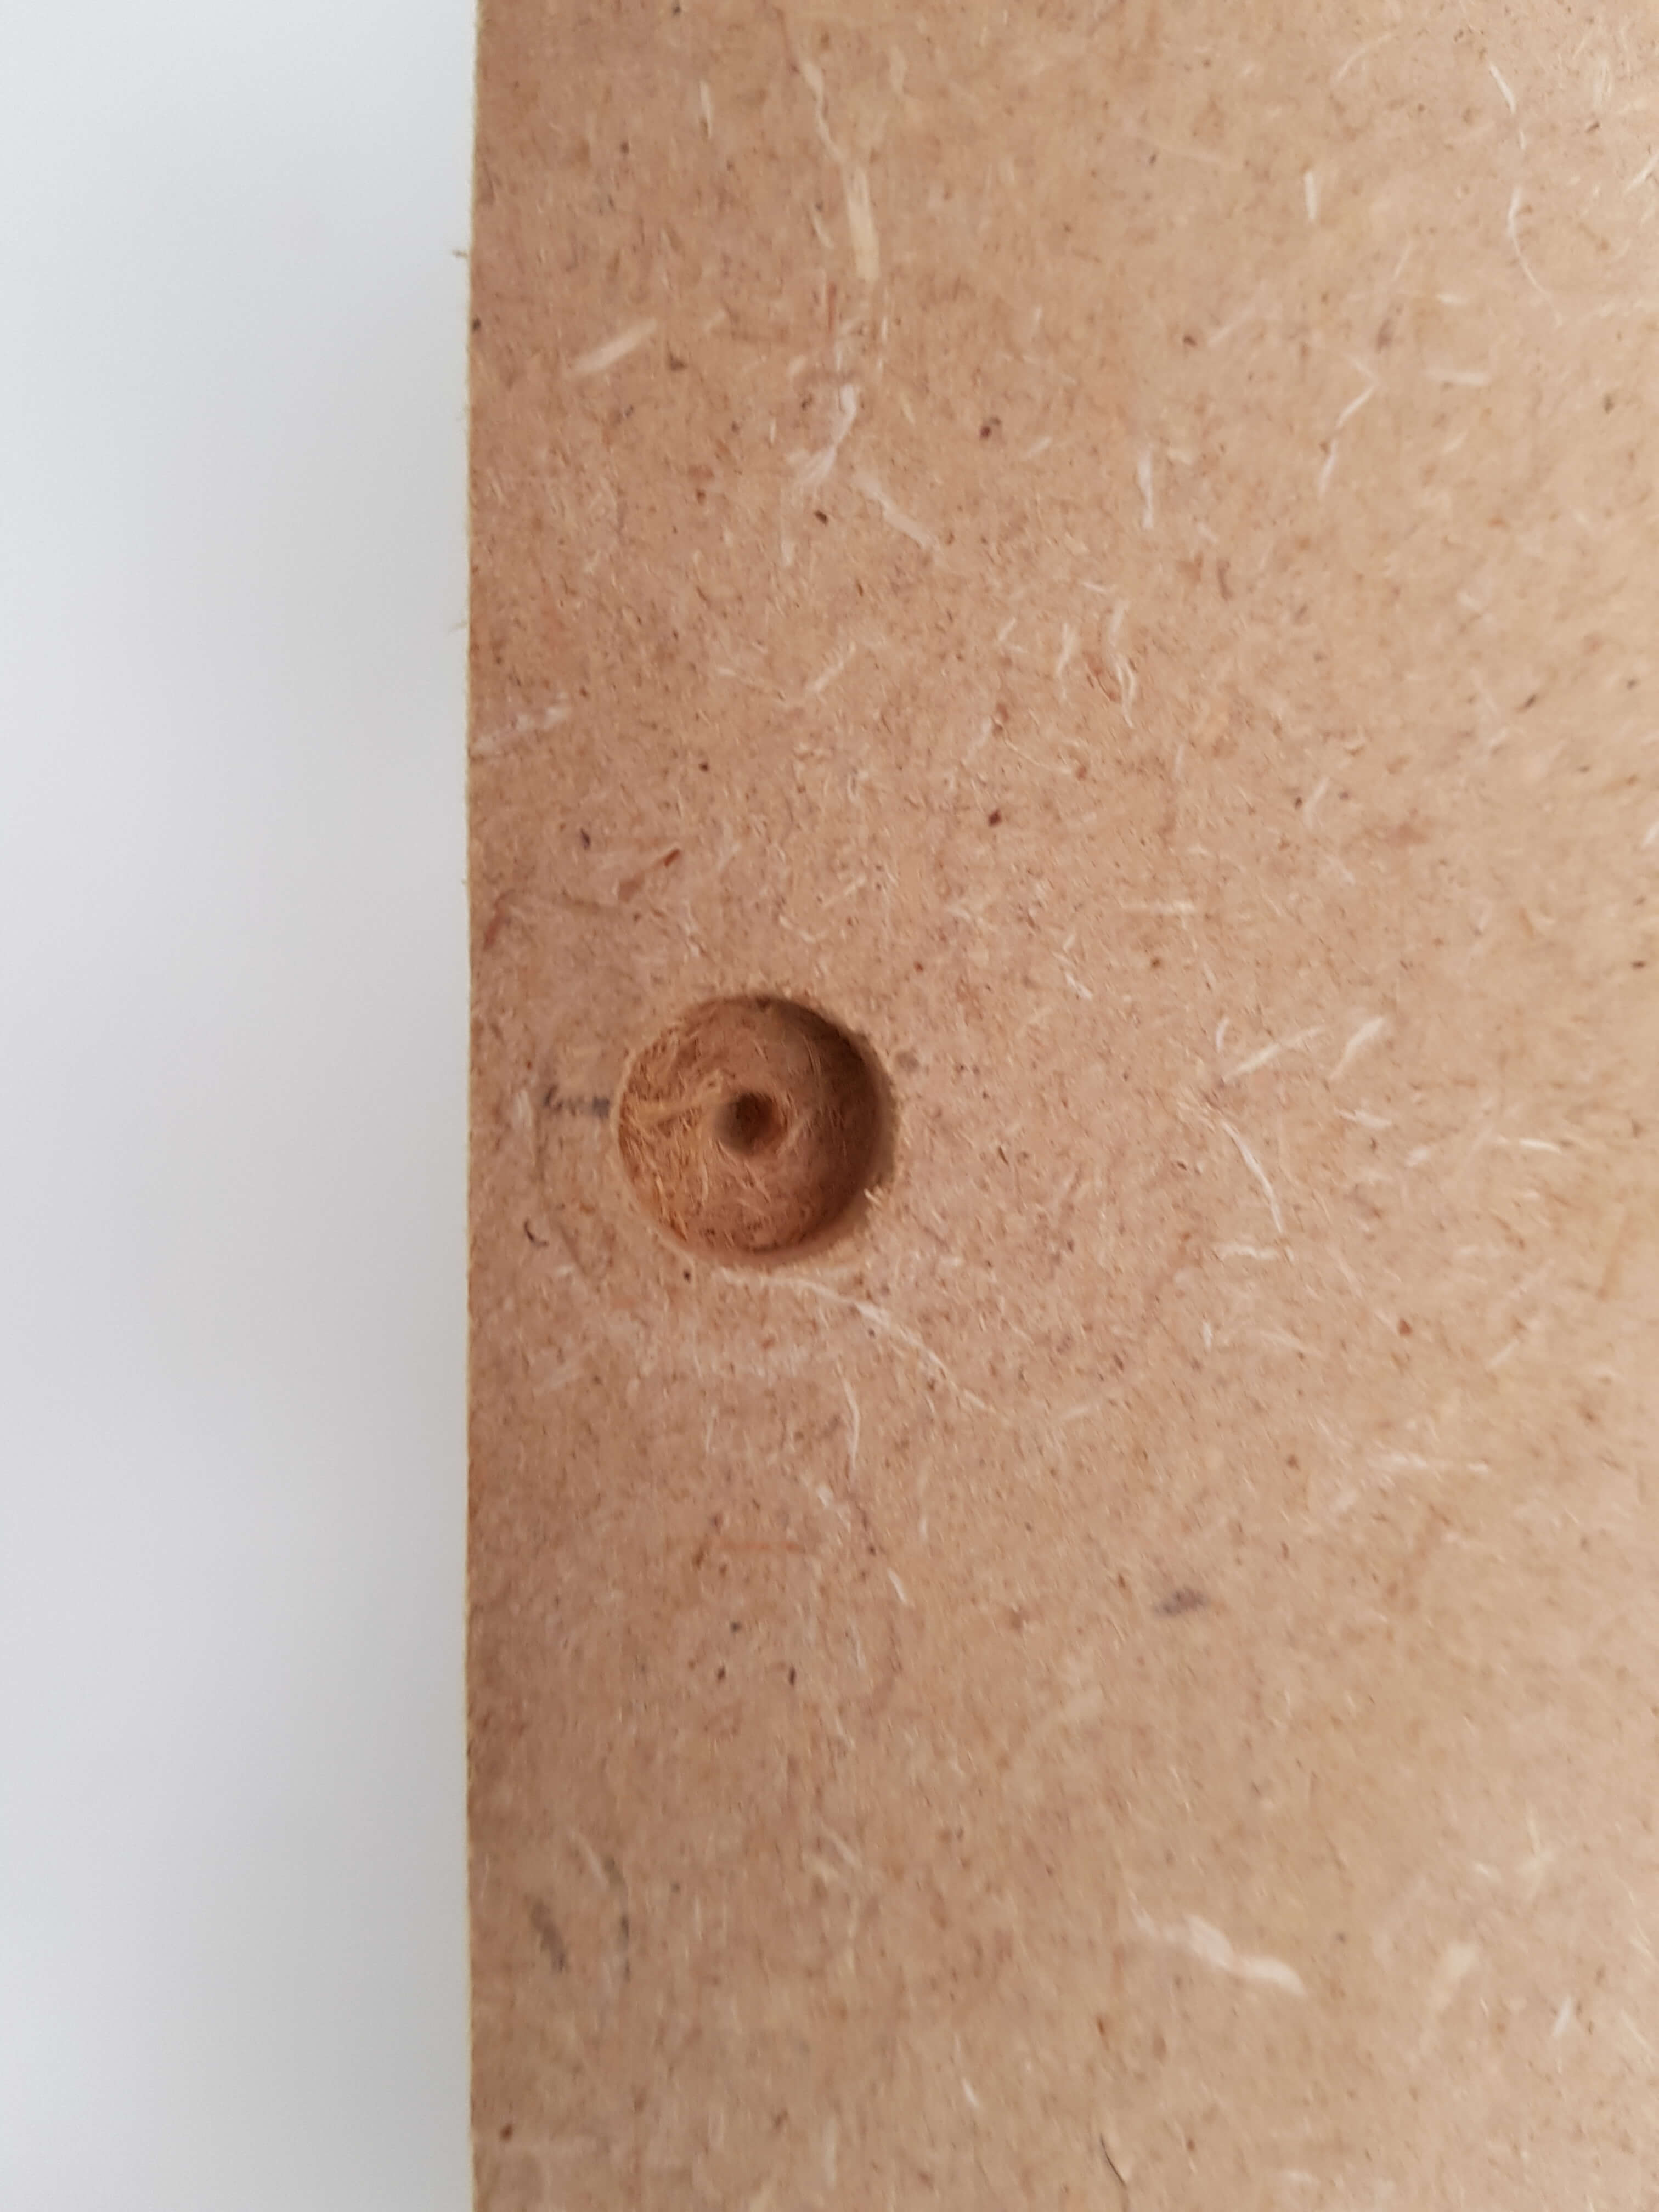
Then use the dot that is left from the 10mm or 12mm drill, to drill further (through the MDF now) with a 6mm drill.
other screw lengths, compared to x carve instructions
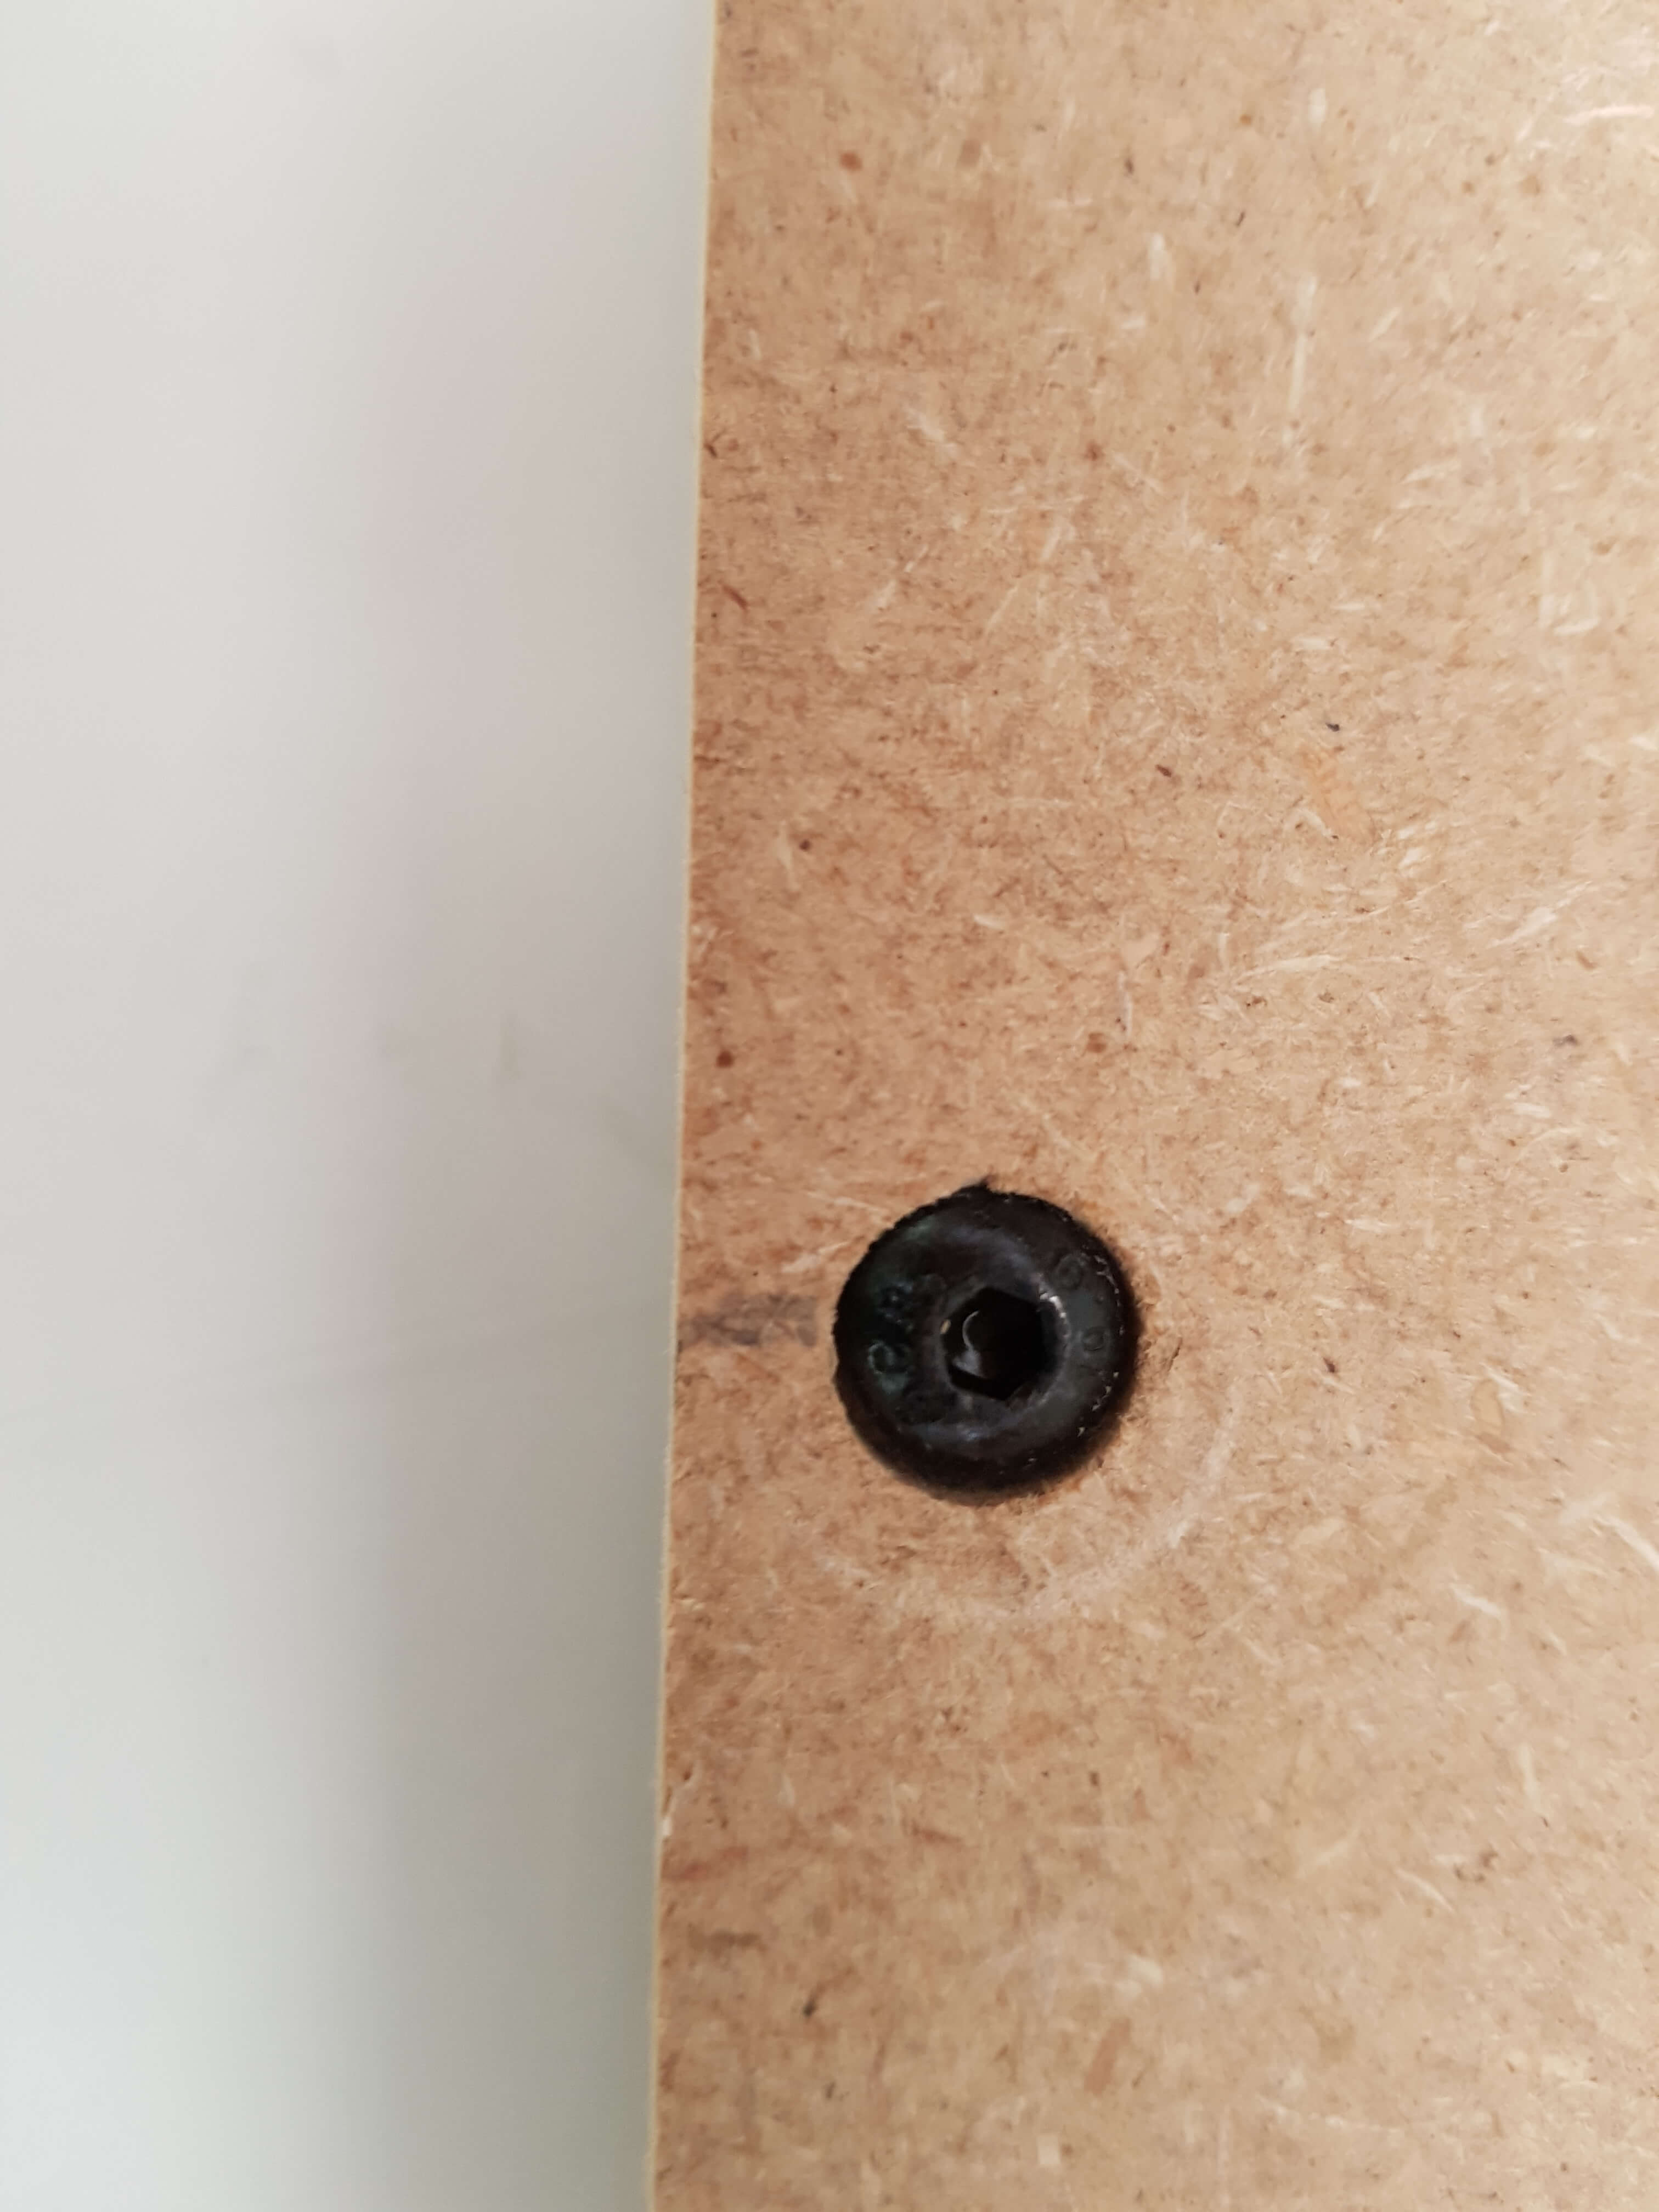
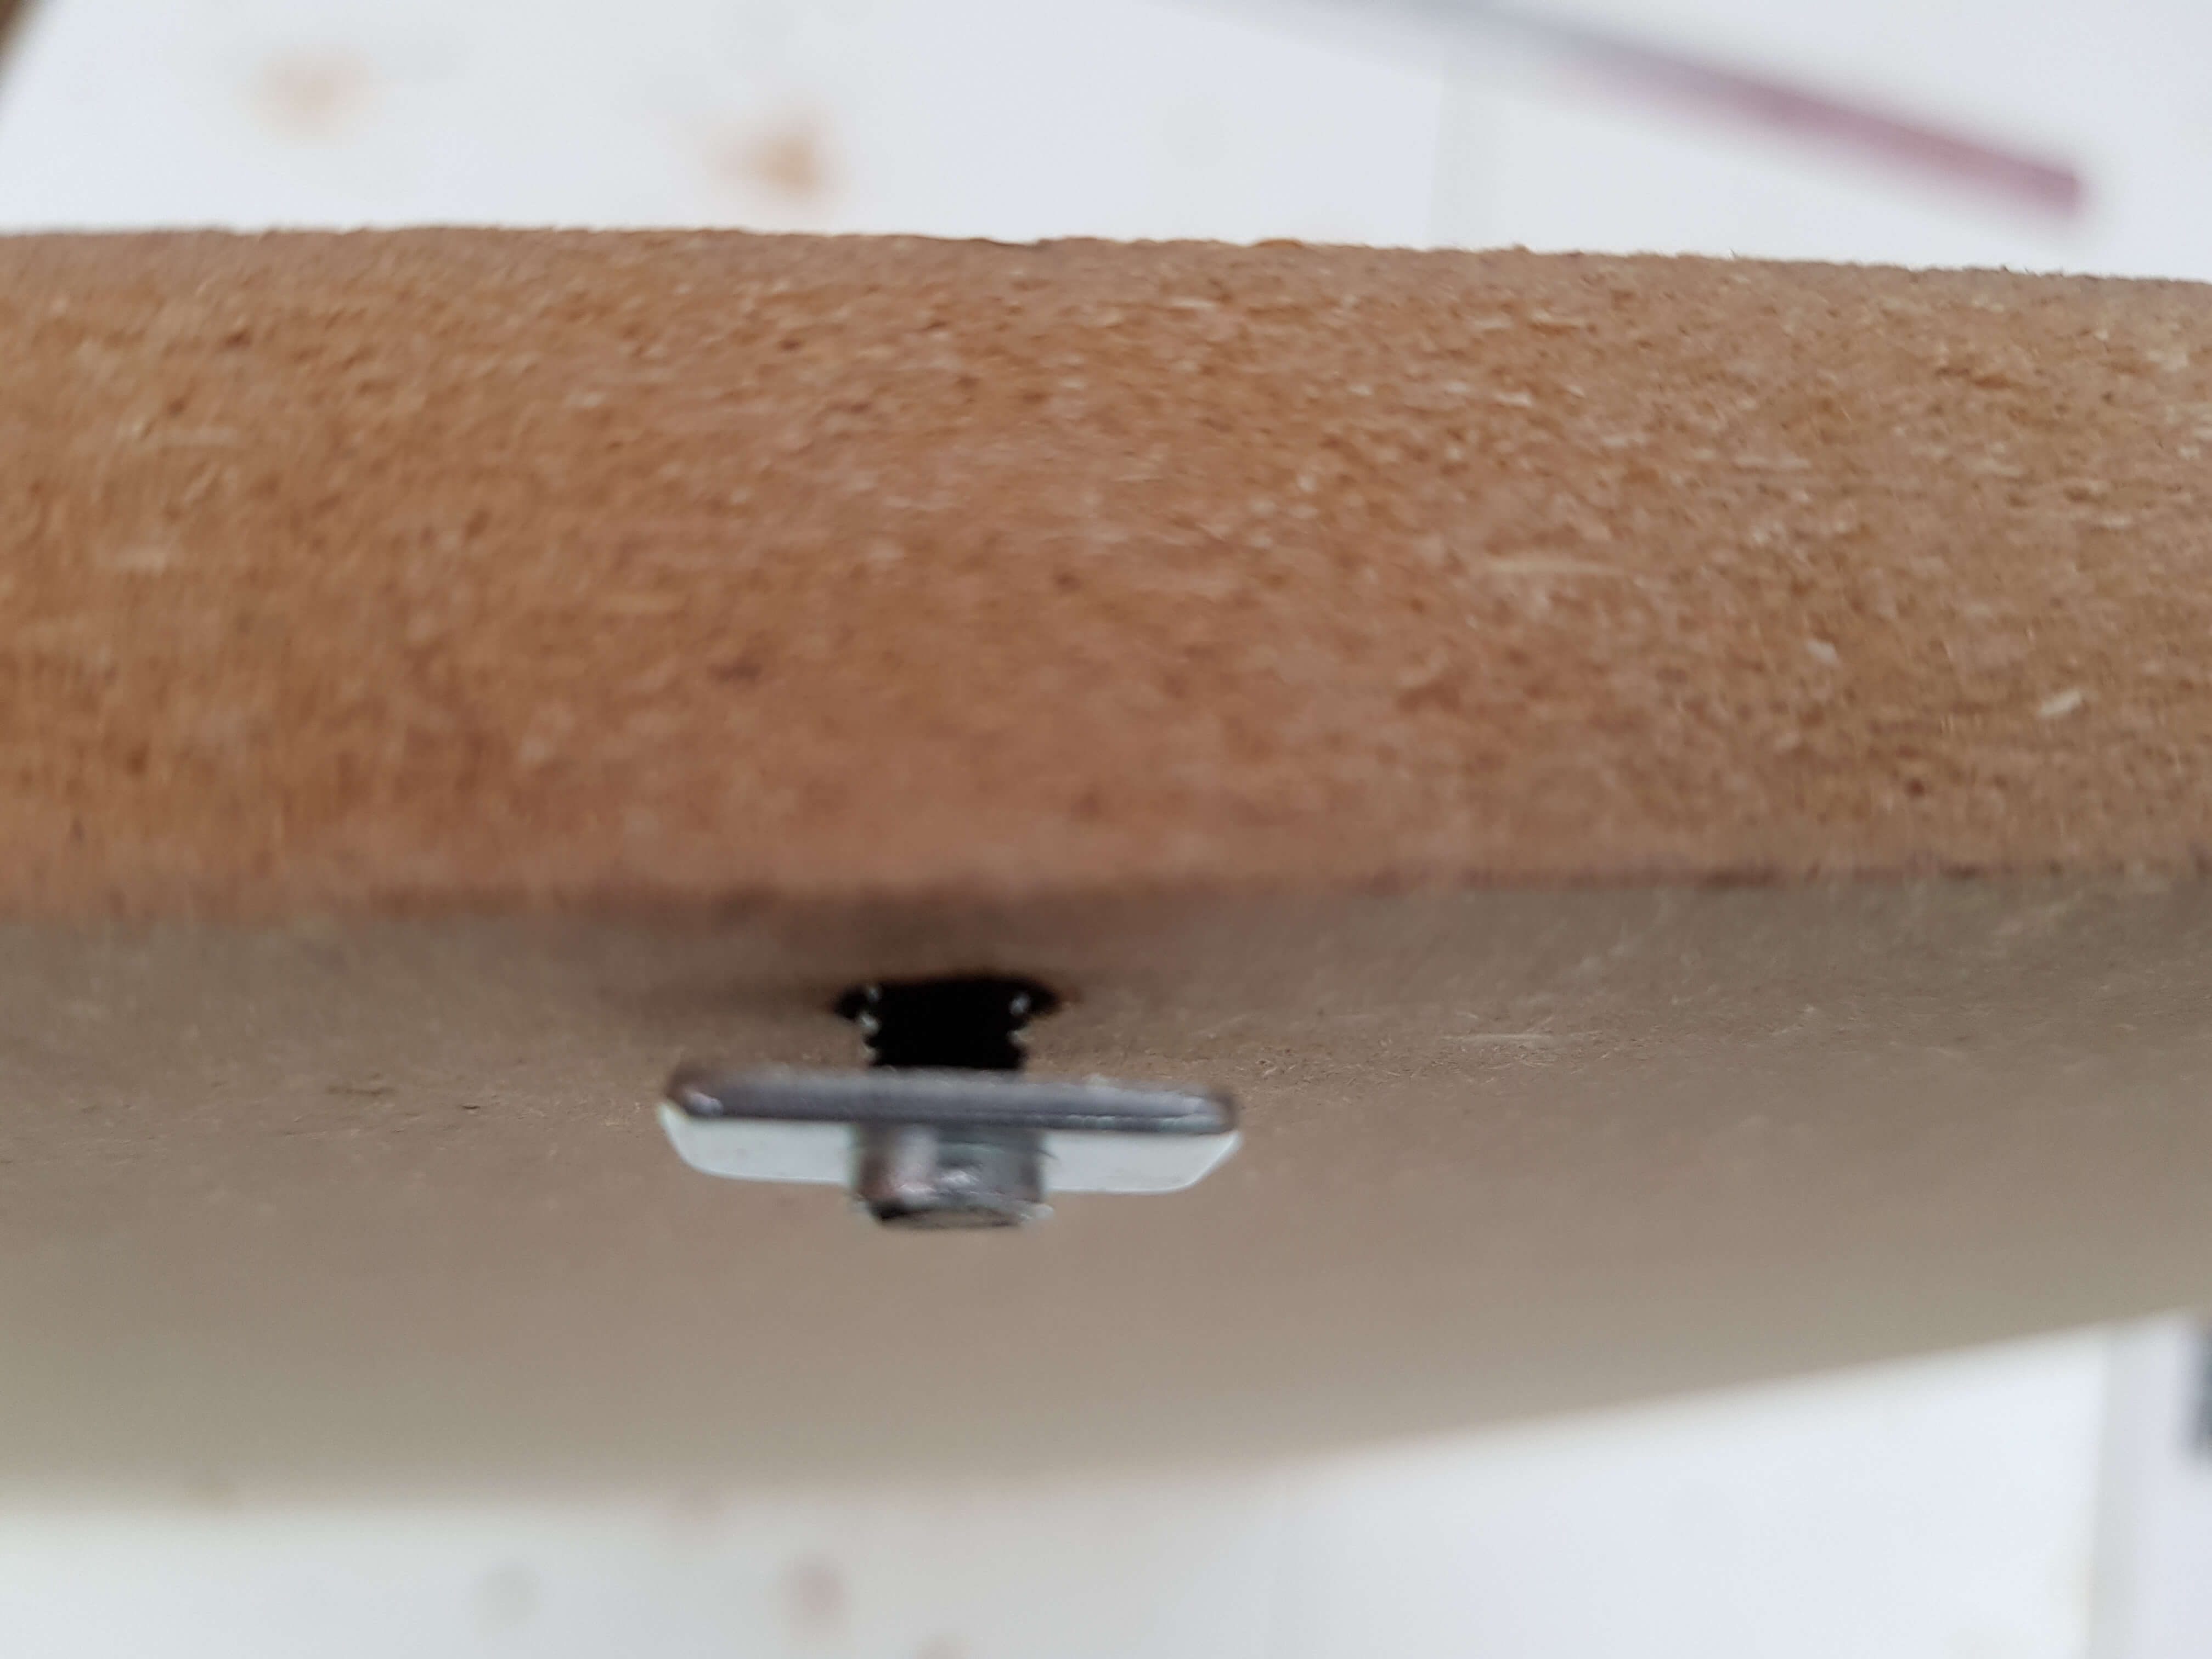
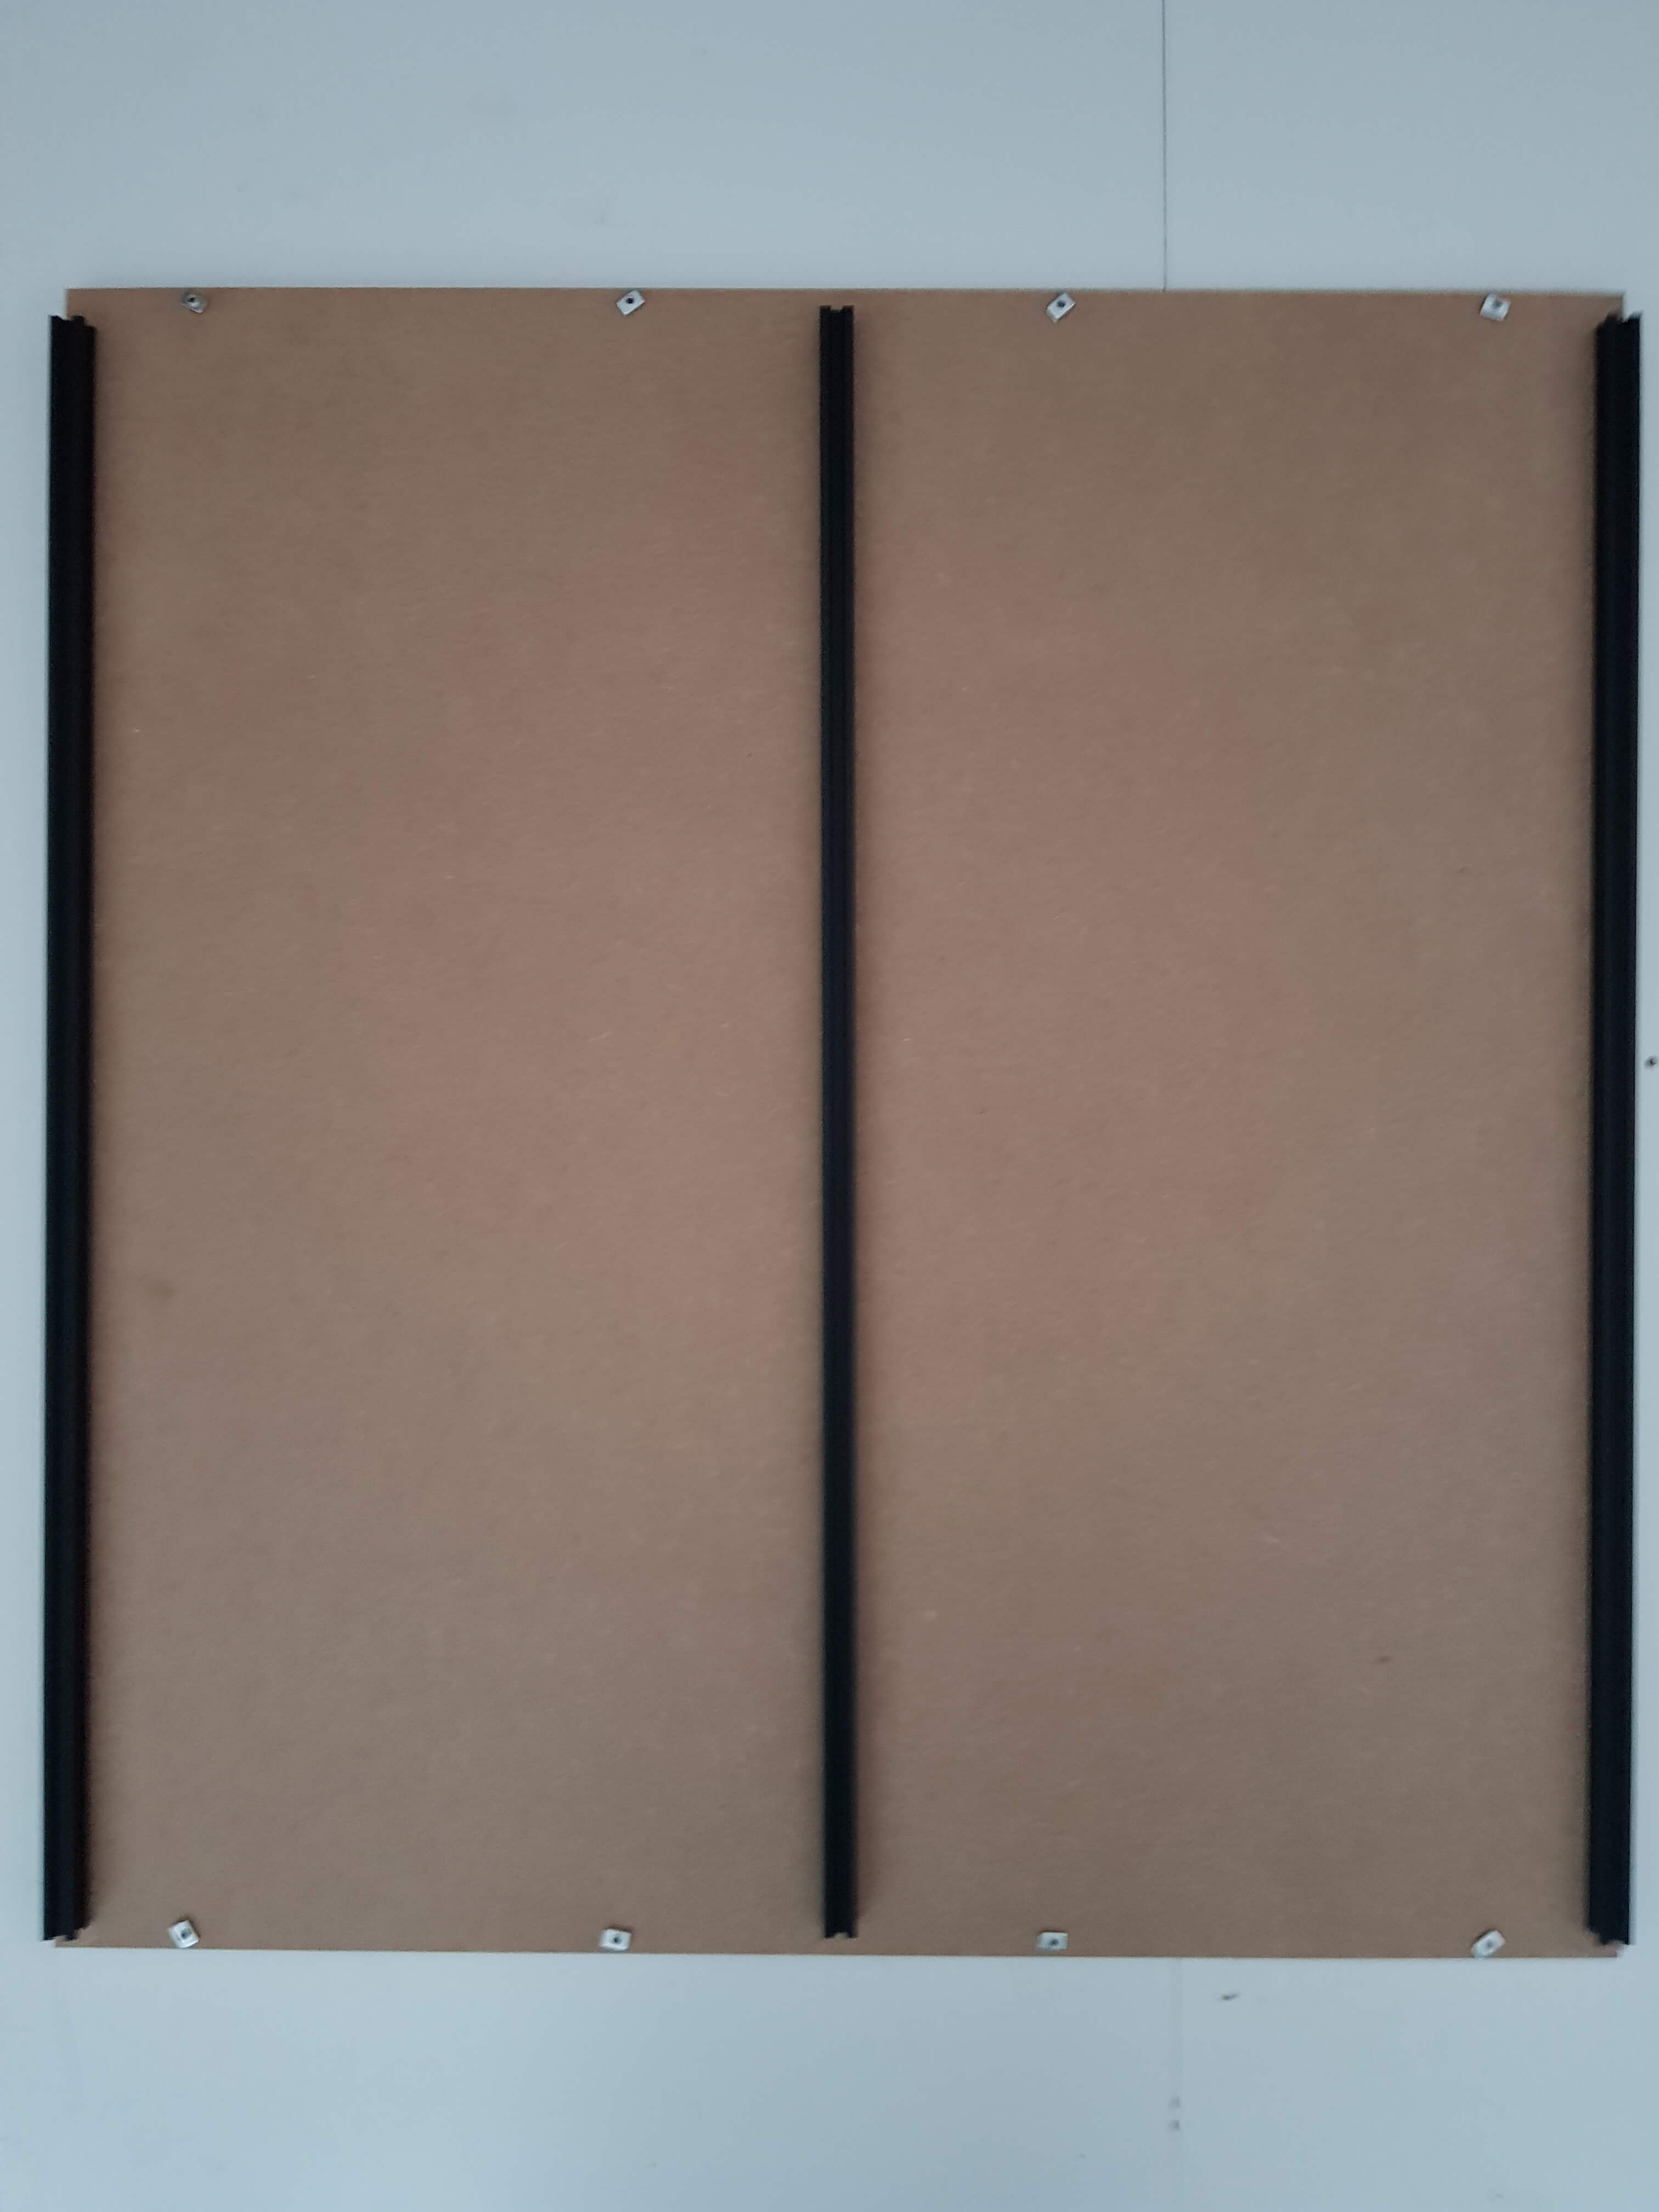
Then, put a M5 x 20mm button head screw in each of these holes (the button is in the 5mm inwards bit) and put a T slot at the other end:
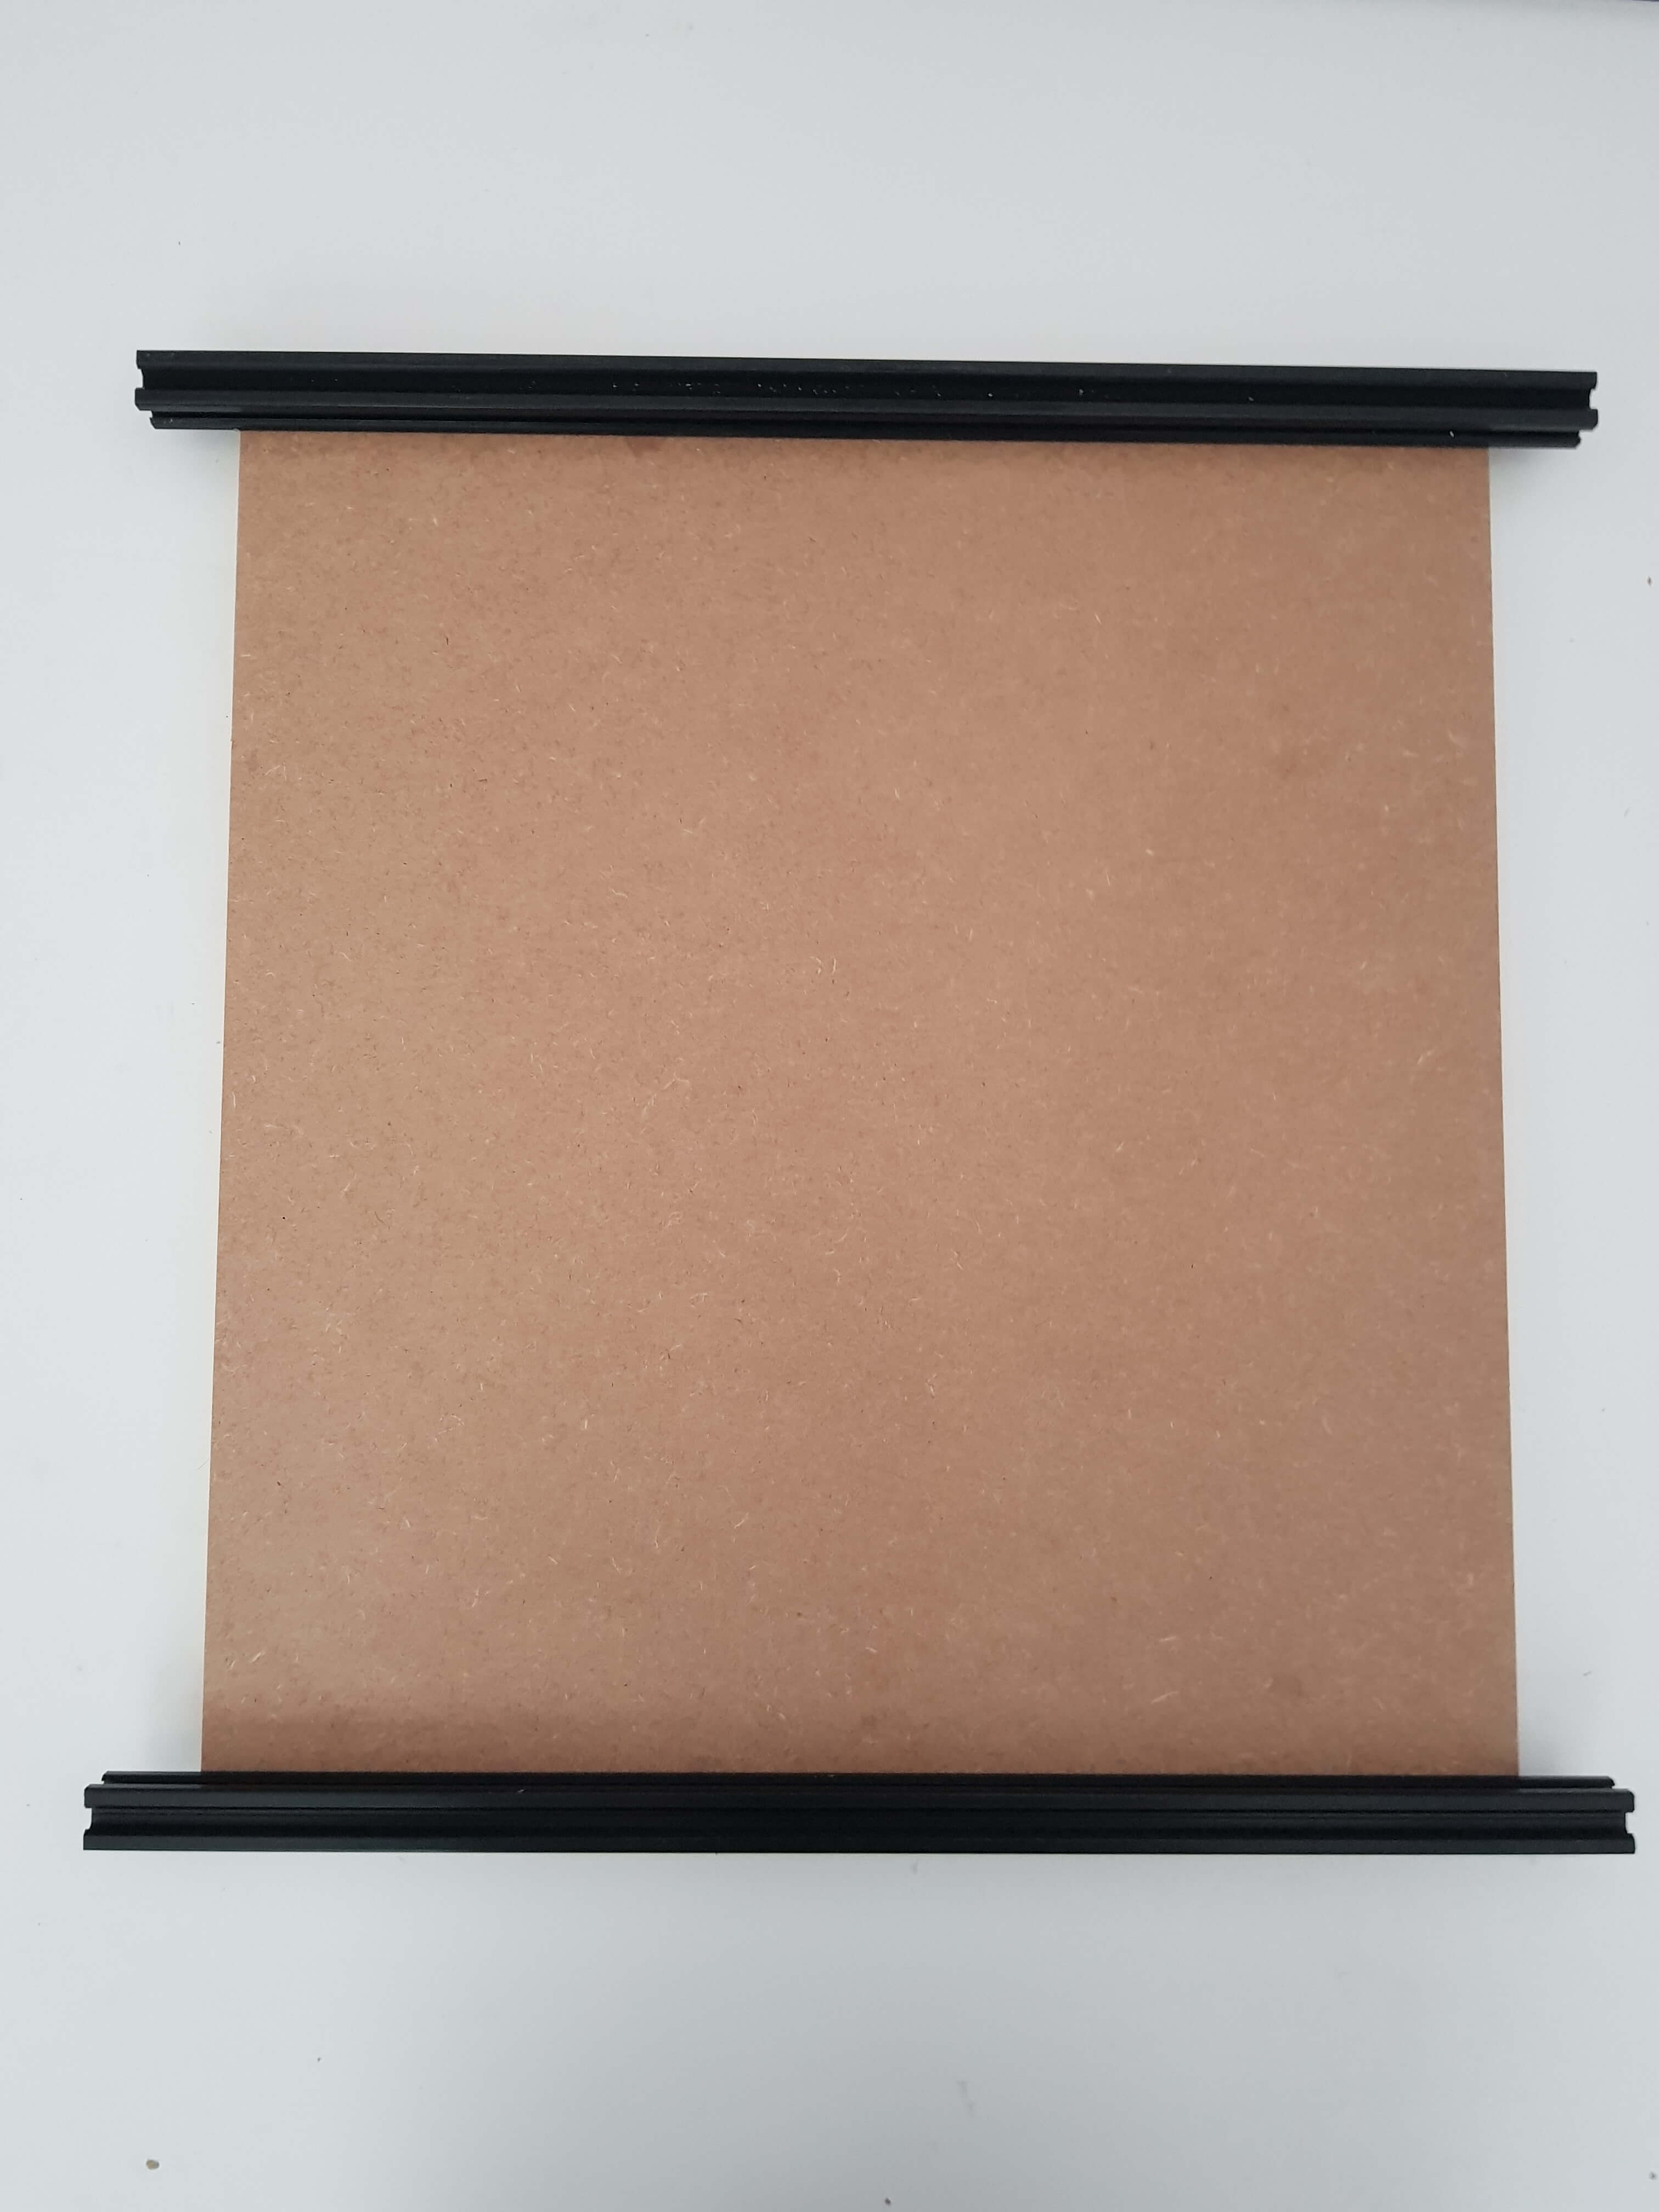
And slide the 2020 rails like in the picture:
Select your machine size for this step:
500mm
The two longest rails (they will stick out 3cm at each end):
750mm
The three shortest rails:

1000mm
The three shortest rails:
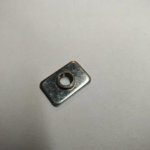
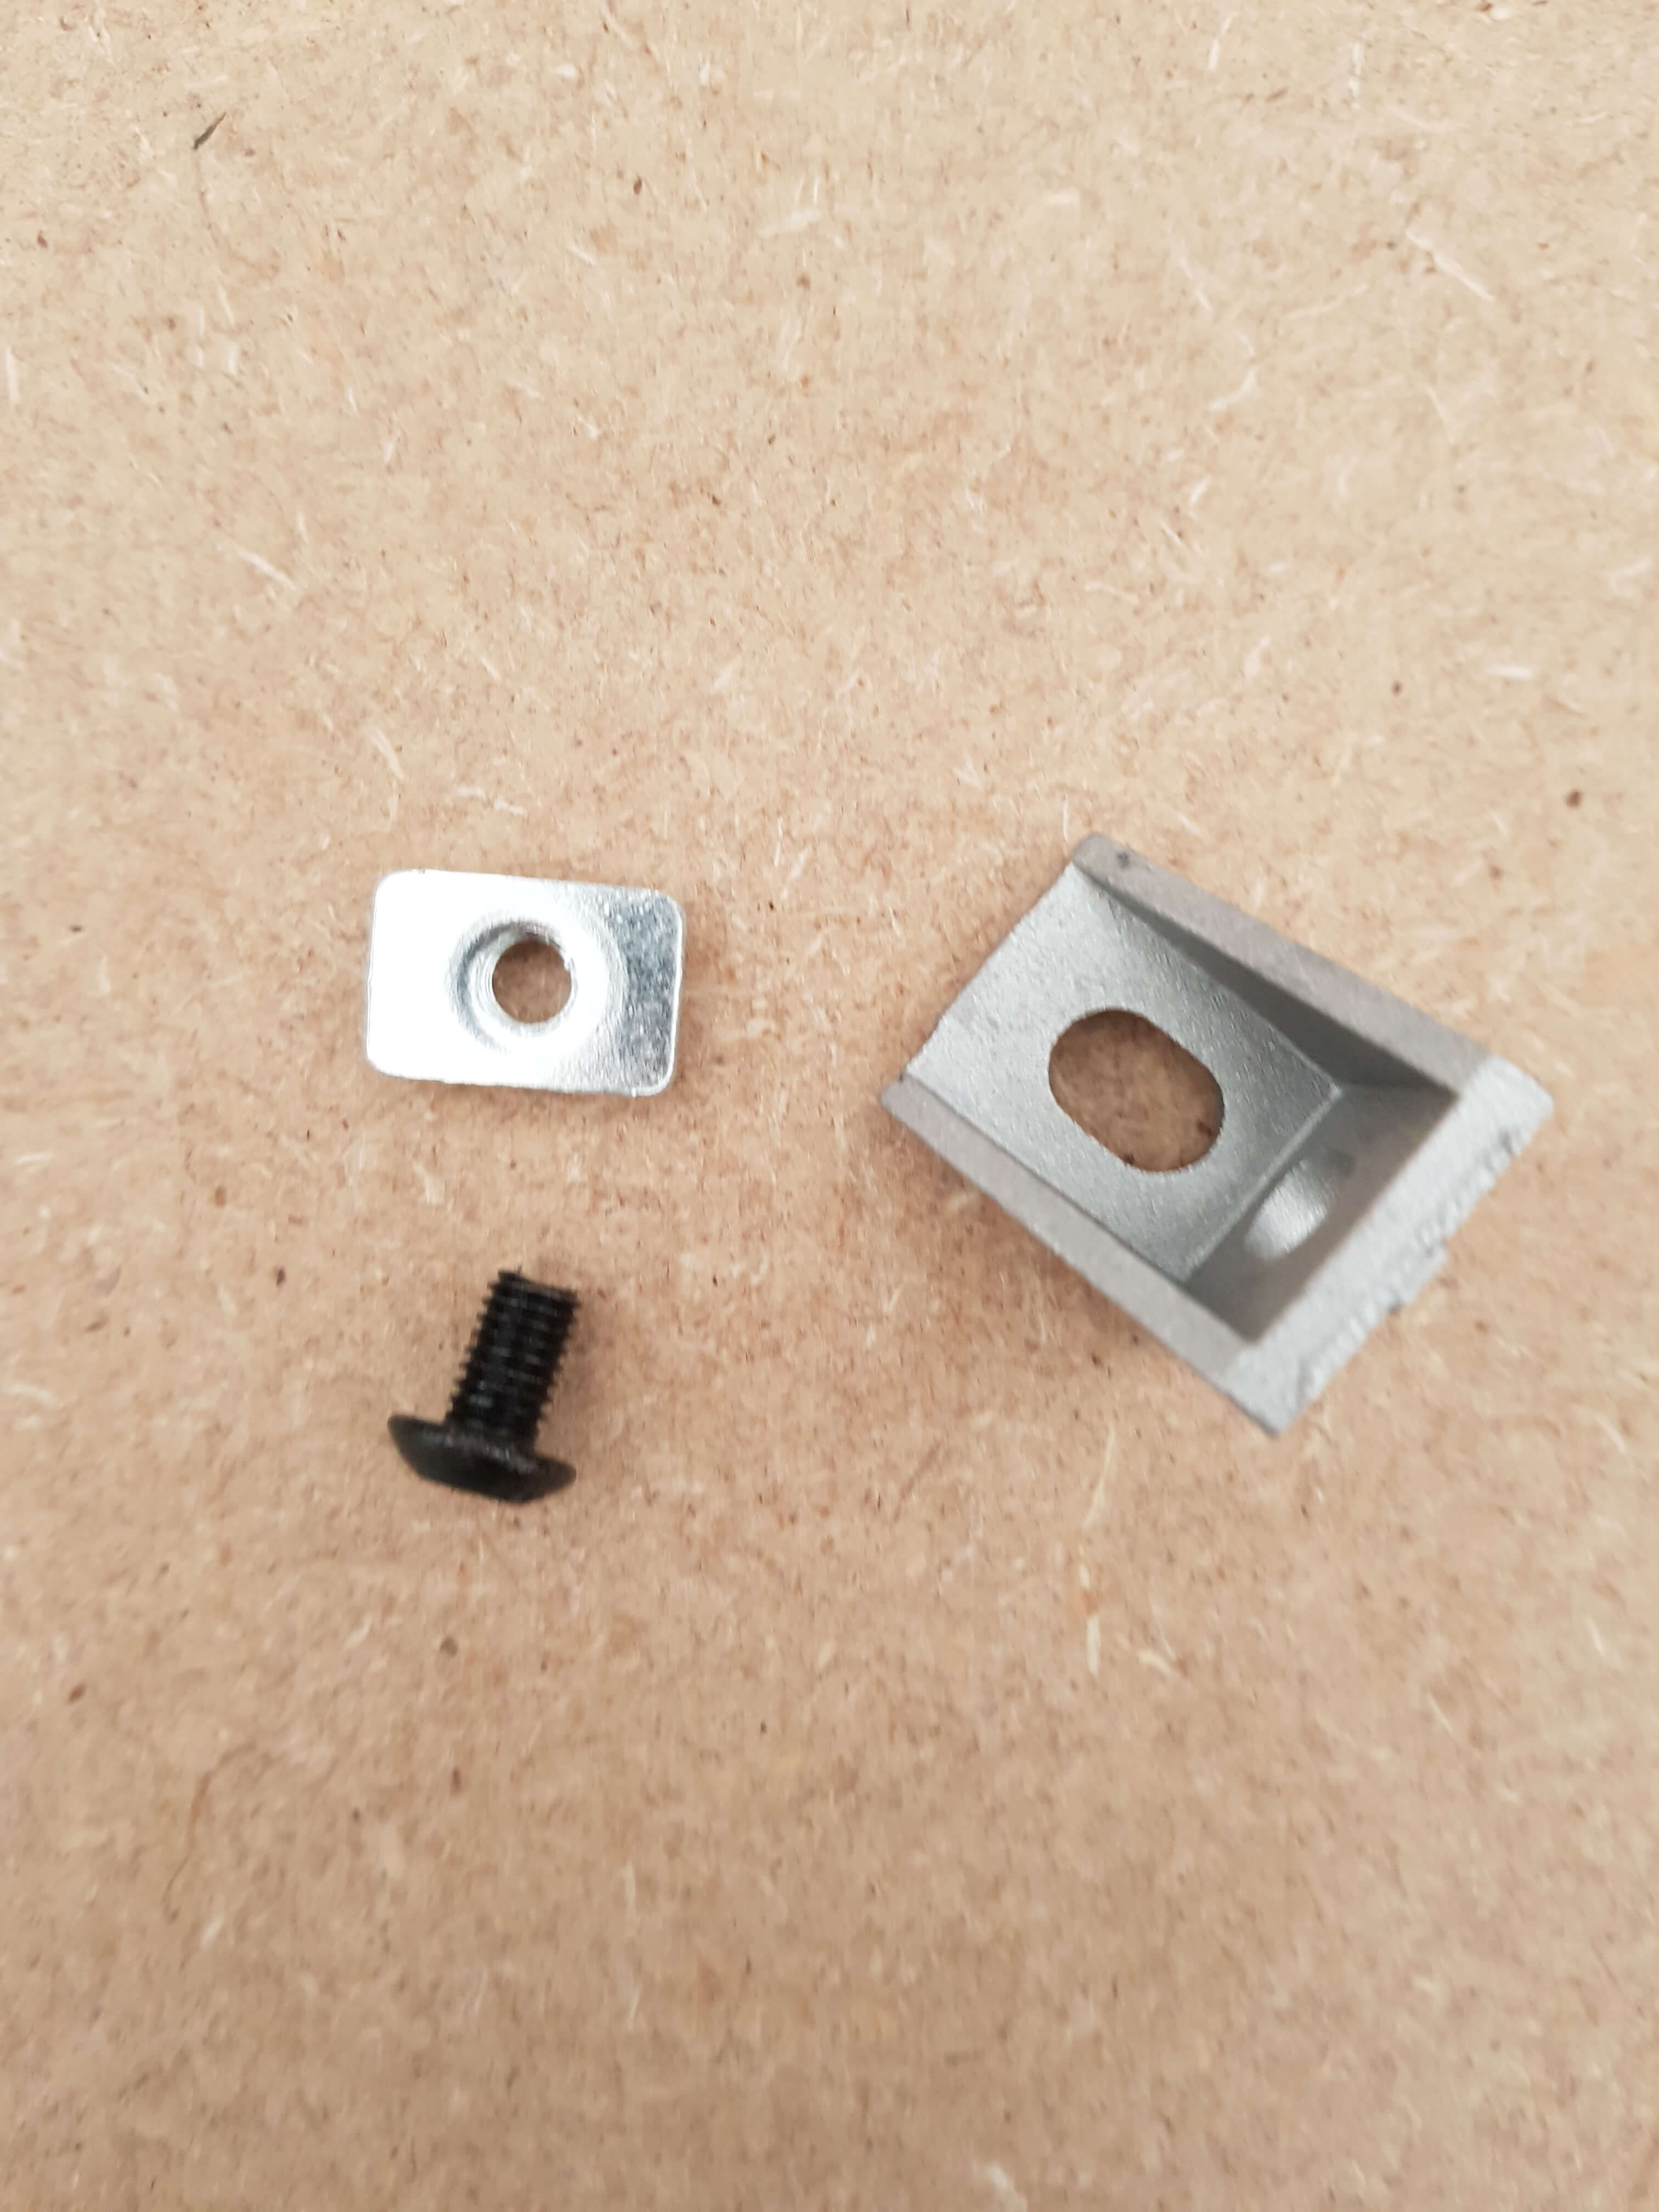
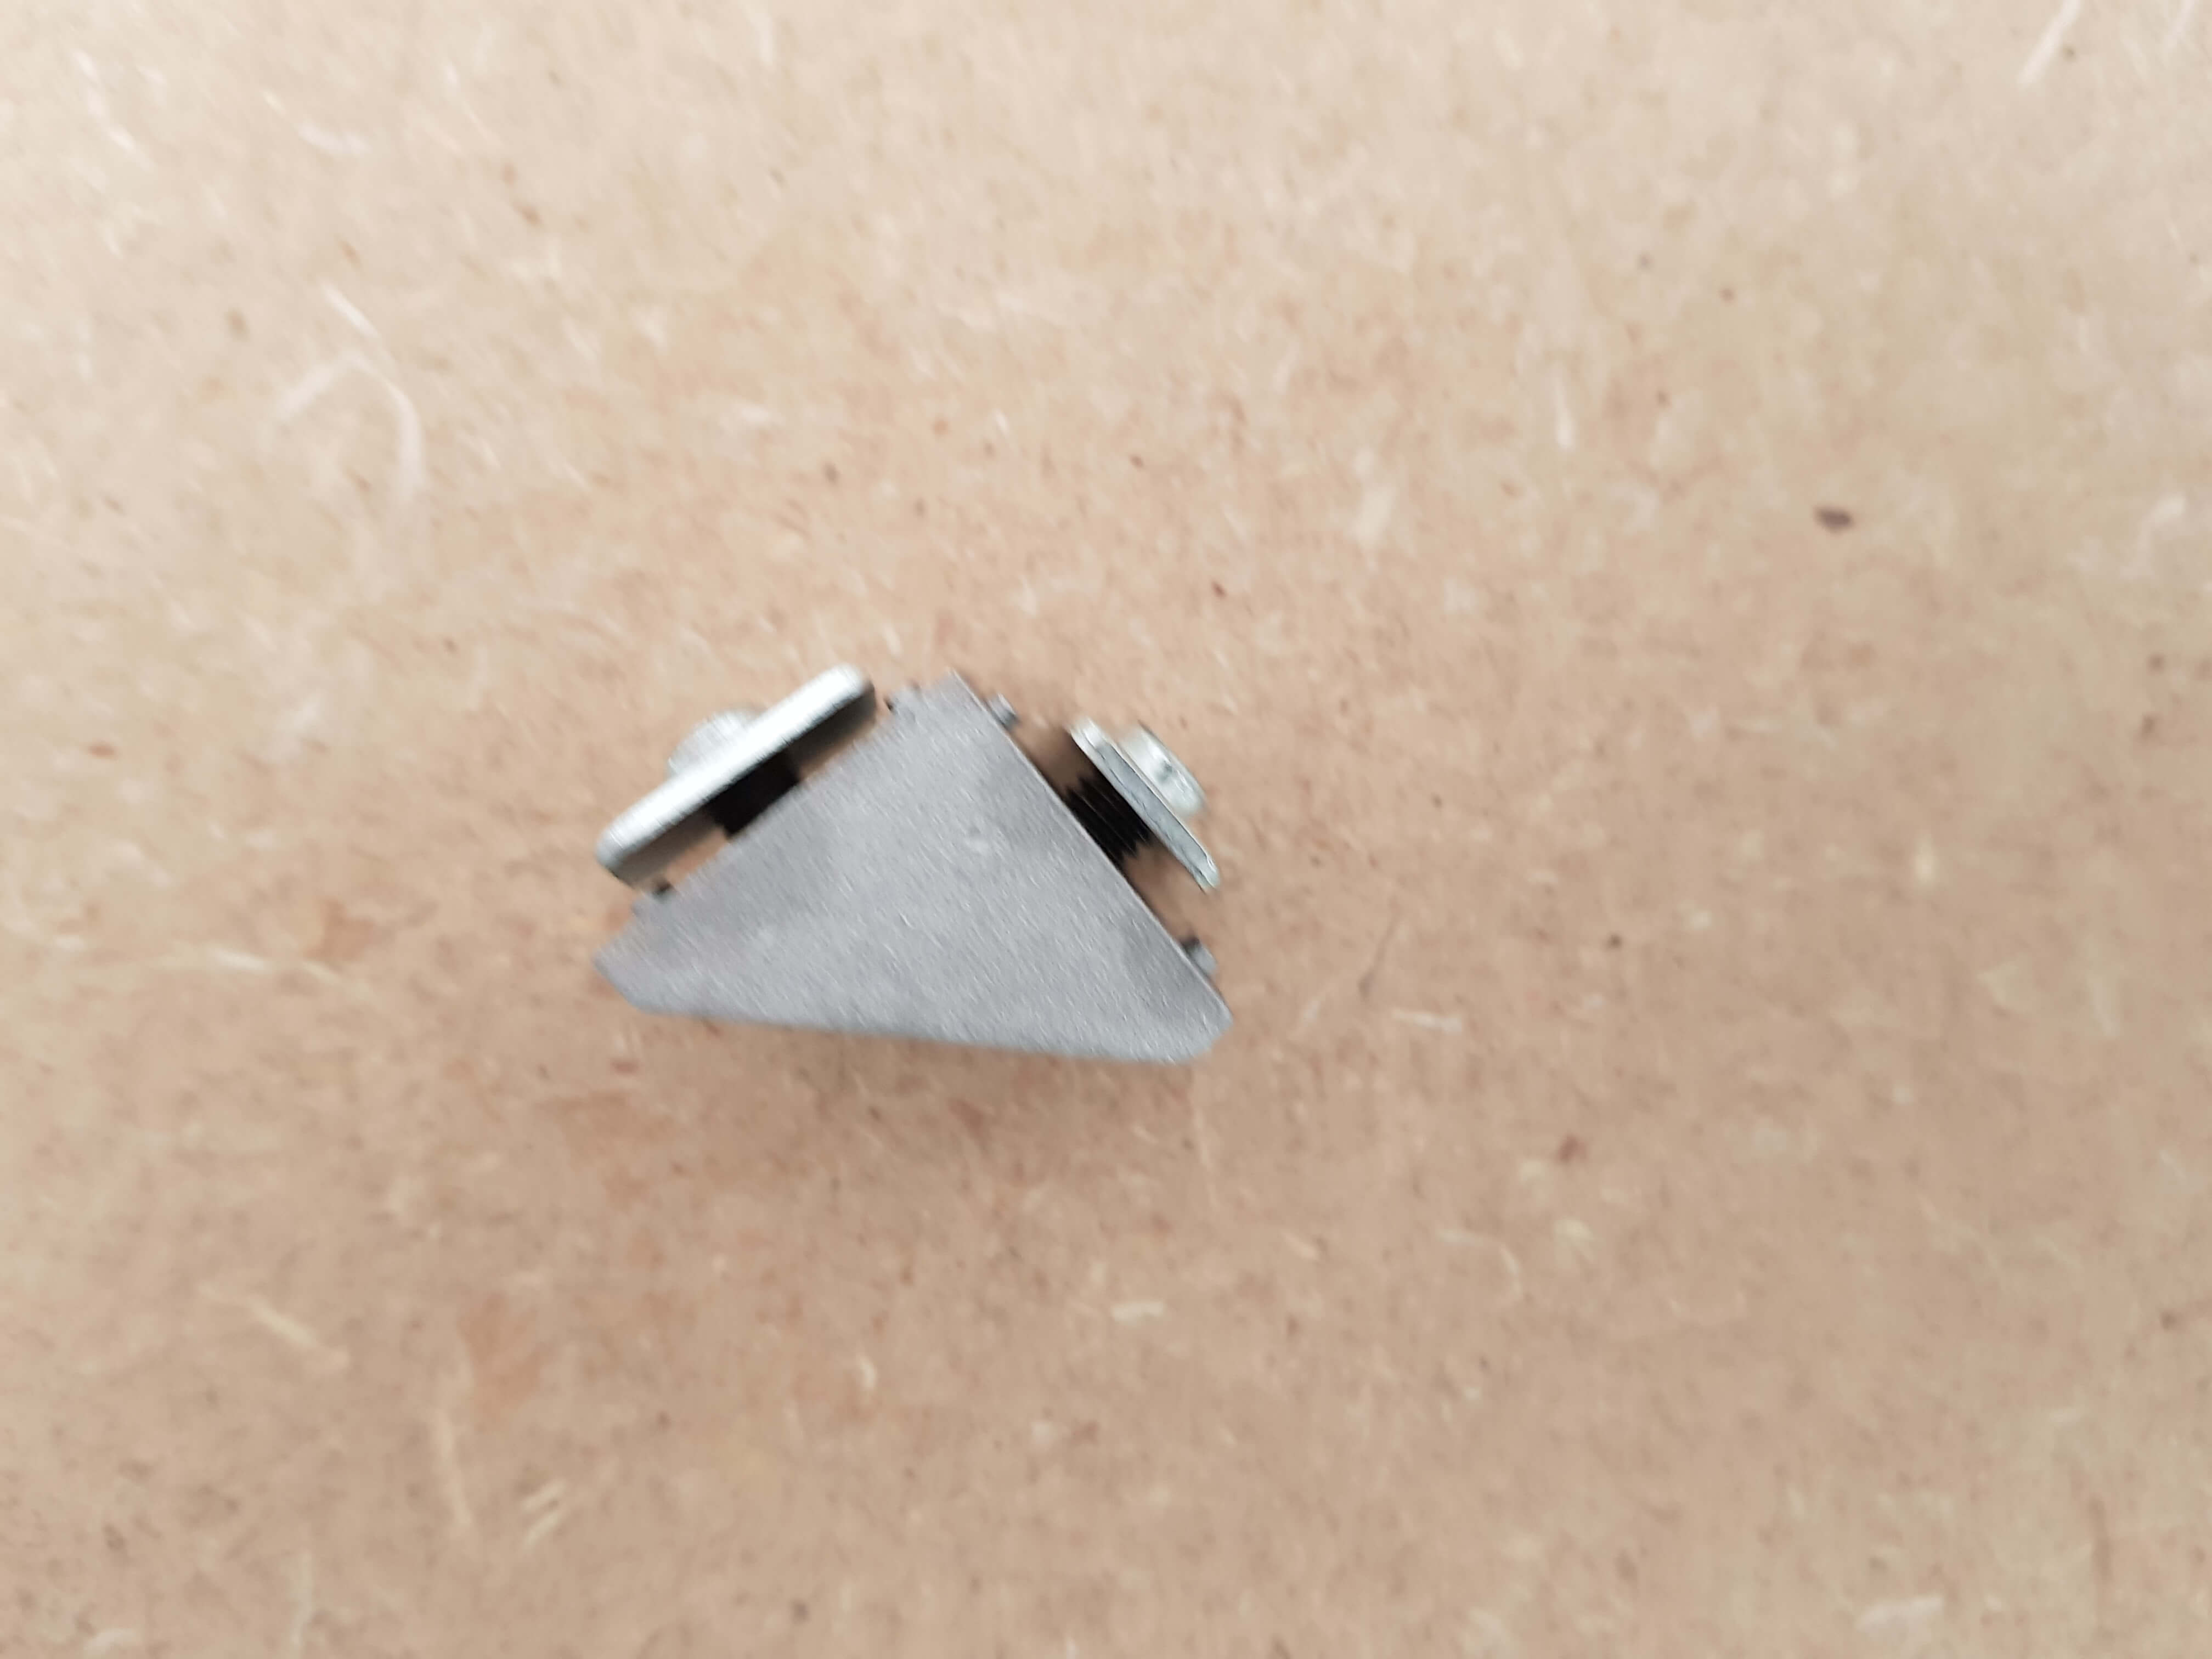
Use M5 x 8mm button head screws to prepare corner brackets:
from here, same as x carve instructions
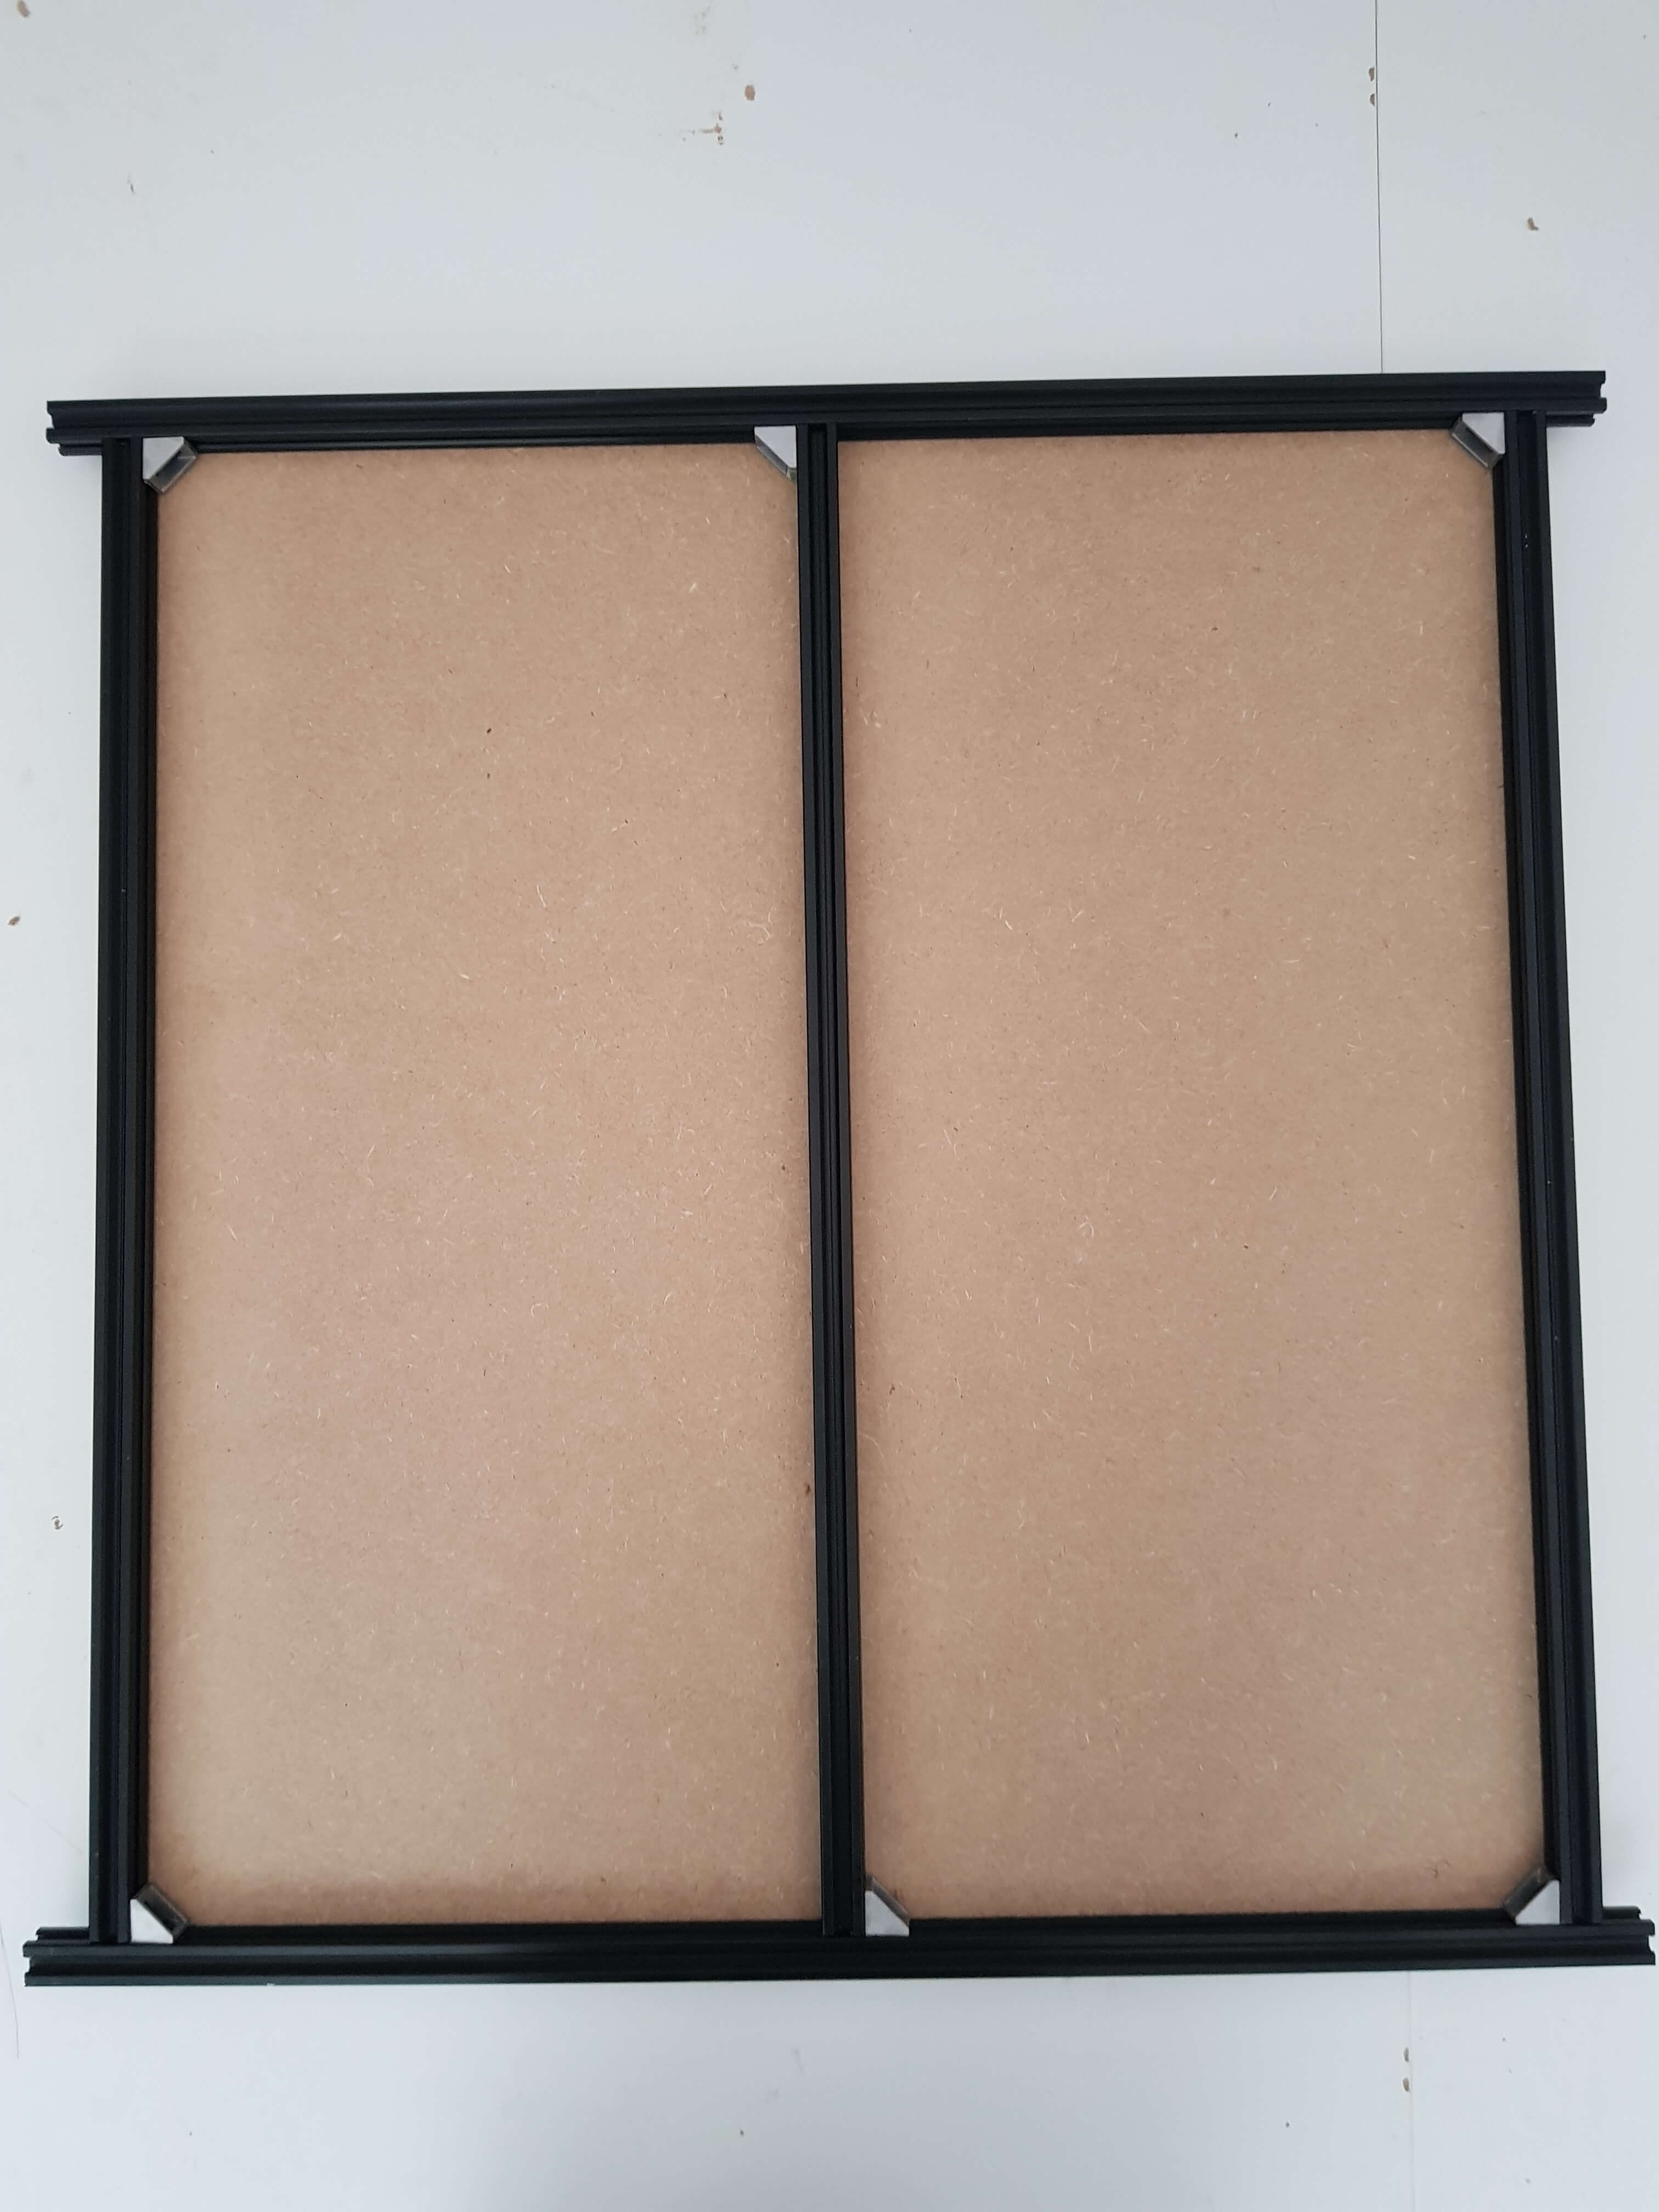
Your kit came with one or more rails that were about 4cm shorter than all the other rails. Now slide these prepared corner brackets on each top end of the short rails:
Select your machine size for this step:
500mm

750mm

1000mm
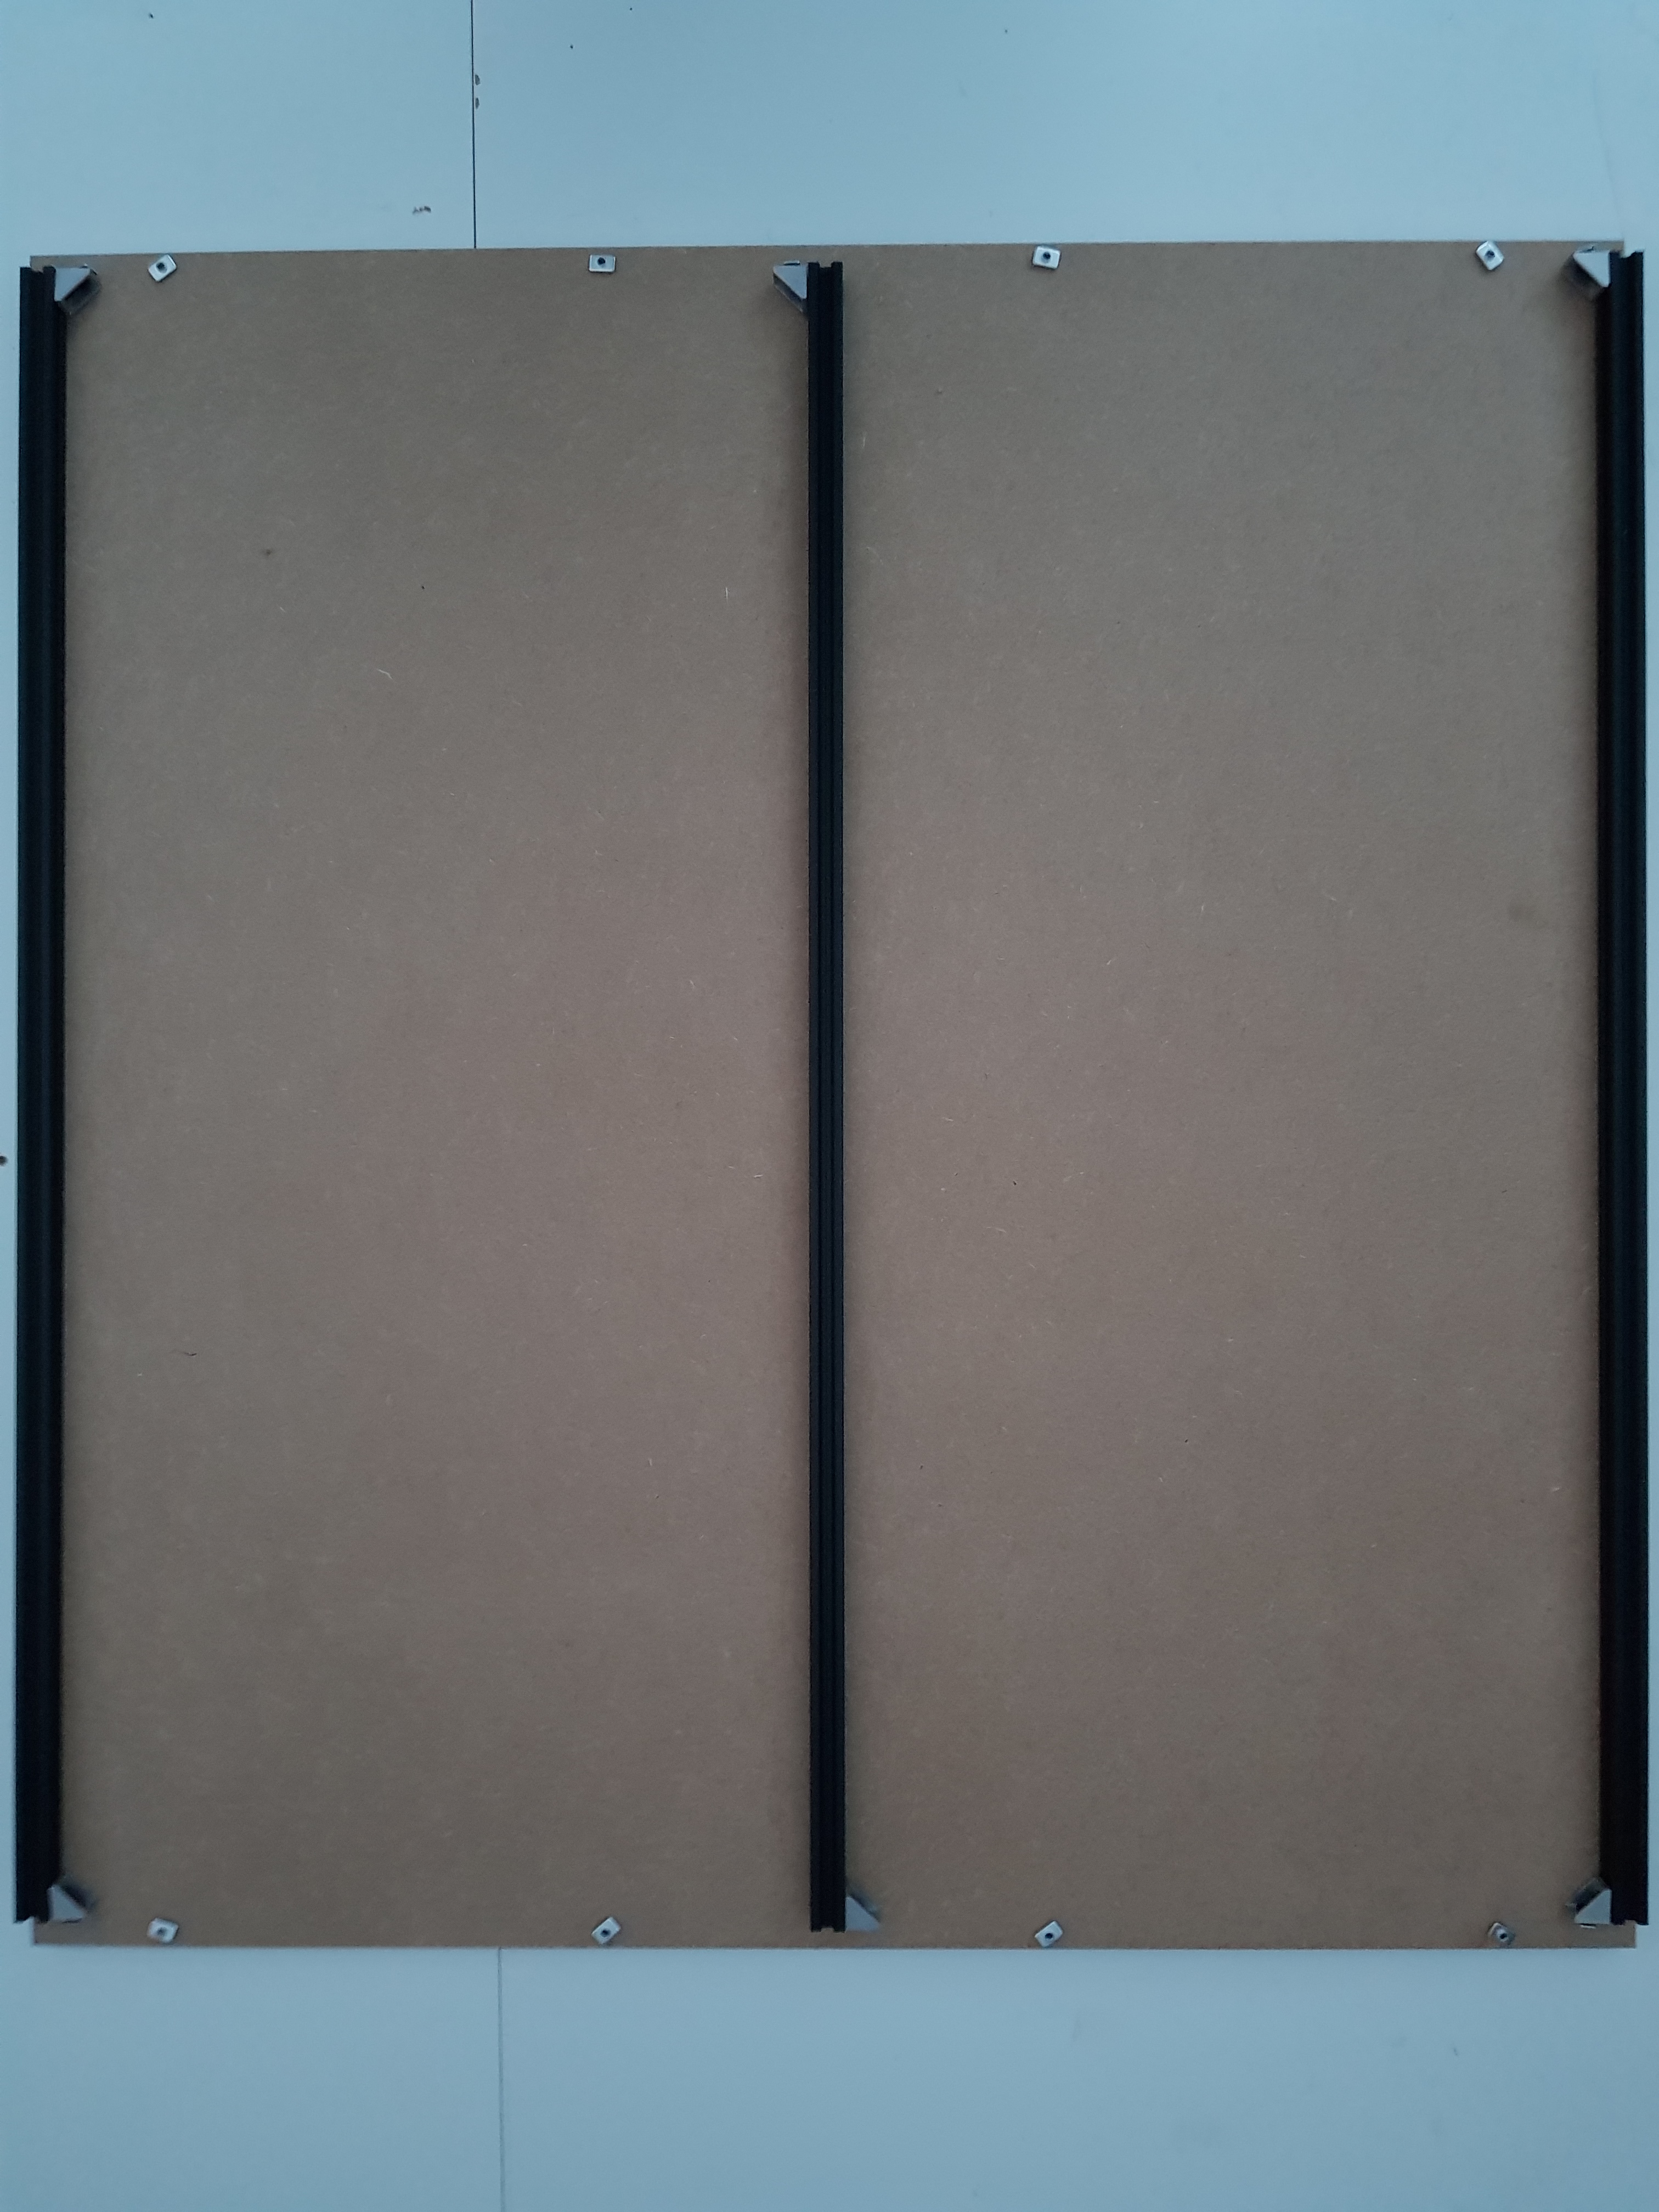
And slide the other 2020 rails like in the picture:
Select your machine size for this step:
500mm

750mm
Slide the 2 longest 2020 rails in the t-slots at the top ends (they will stick out 3cm at each end):
1000mm
Slide the 2 longest 2020 rails in the t-slots at the top ends (they will stick out 3cm at each end):

Now everything can be fastened: