
No products in the cart.

Base assembly (ballscrew)
Now we will build the structure:

So slide the X carriage from the previous step over the X axis c beam rail.
Attach the Y plates to the x axis c beam with 15mm low profile screws.
Also put in the ballscrew into this plate – with the 10mm diameter end and threaded end in the direction of where you want to place the motor for the X axis.
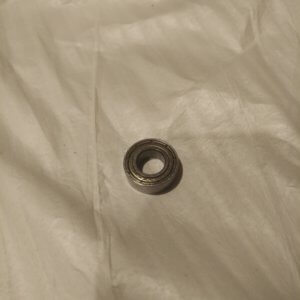
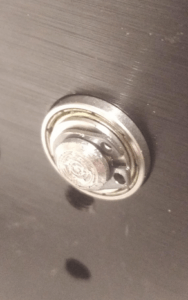
And at the side of 8mm diameter use a 8*16*5mm bearing bearing to support it in the Y plate, together with a 8mm precision shim and a circlips:


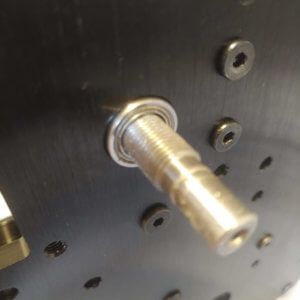
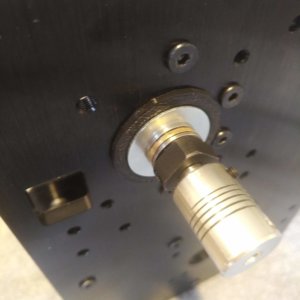
And at the other side, with the M10*1 thread, where you want to have the motor, also attach the y axis side plate to the X axis C beam with 15mm low profile screws and have the M10*1 thread go through the hole that is made for it.
Put in a 10*16mm bearing to support the ballscrew:
Now put on the little 3 printed support and a M12 spacer, to keep the pressure from the collar on the outside of the bearing:
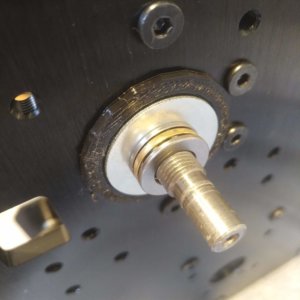
Put on a trust bearing:

And the M10*1 nut that you can use to bring the ballscrew under tension and flexible coupler:
And with a 40mm and 9mm spacers and 65mm screws you can attach the stepper motor.